Permaculture design is a way of arranging a property so that every element earns its place, and the whole system needs less labor, less purchased input and less guesswork over time. It is not a planting style or a philosophy you have to buy into. It is a planning method, and a good one for anyone who has walked back to the house for the third time in an hour because the tool, the gate or the water was in the wrong spot.
This guide covers the core tools: zones, sectors, mapping water and sun, stacking functions, and a simple walkthrough to get your first plan on paper.
Quick answer: Permaculture design organizes your land by how often you visit each area (zones 0-5) and by outside forces that cross it, like sun, wind, water and fire (sectors). Start by observing for a full season, map water flow and sun patterns, place high-use elements close to the house, and make each element do several jobs. Draw it on paper first, then build in small phases.
What permaculture design actually is
The term comes from “permanent agriculture,” coined in the 1970s by Bill Mollison and David Holmgren. Strip away the jargon and it is a design process built on observation: study the site, understand the flows of water, energy and animals through it, then place things so those flows work for you instead of against you.
It overlaps heavily with regenerative agriculture, which shares the goals of building soil, holding water and increasing diversity. Permaculture adds a layout discipline. Regenerative farming asks what practices rebuild the land; permaculture design asks where on the land each practice should go.
One honest caution: permaculture literature contains a lot of enthusiasm and not much controlled research. The zone and sector tools are practical logic you can test on your own ground. Treat bolder claims about yields or carbon with the same skepticism you would bring to any sales pitch, and check with your state extension service or NRCS office for regional data.
The zones: organizing by how often you visit
Zones are not property lines. They are concentric rings of attention, numbered by visit frequency. The logic is simple: things you touch daily belong near the door; things you touch yearly can sit at the back.
| Zone | Visit frequency | Typical contents |
|---|---|---|
| 0 | Constant | The house itself: energy, water entry, food storage |
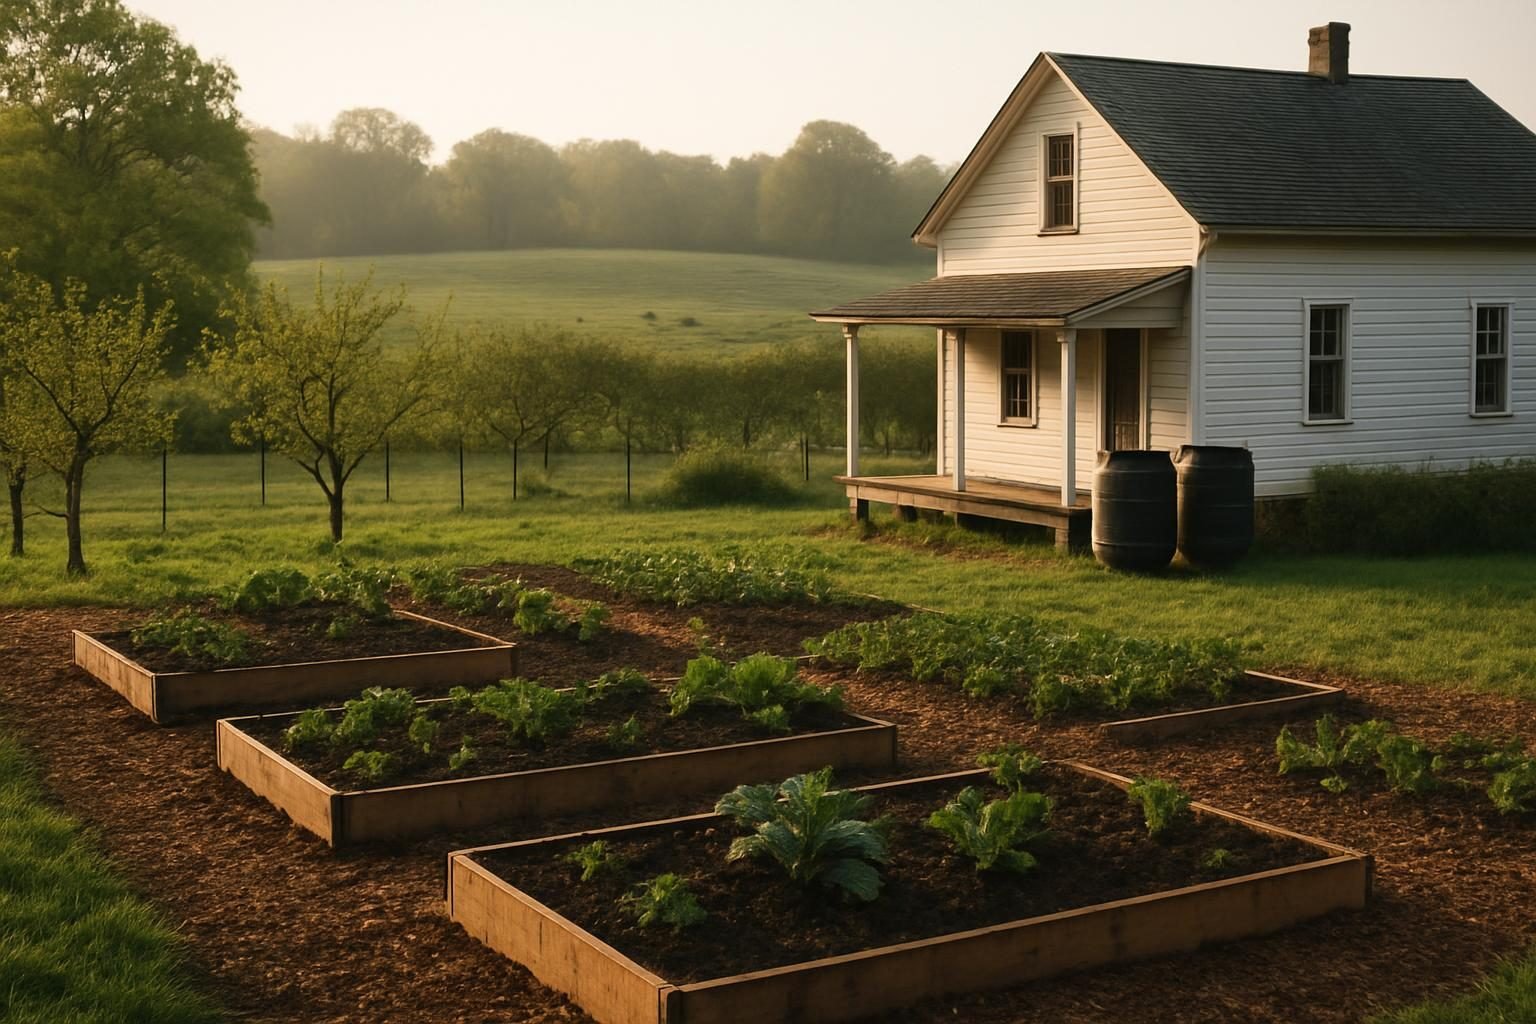
| 1 | Daily | Kitchen garden, herbs, salad beds, compost, chicken coop, rain barrels |
| 2 | Several times a week | Orchard, berry patch, larger beds, chicken tractors, bee hives |
| 3 | Weekly to seasonally | Main crops, pasture, nut trees, rotational paddocks |
| 4 | Occasionally | Managed woodlot, silvopasture, timber, forage |
| 5 | Rarely | Wild or lightly managed land for observation and habitat |
On a half-acre lot, you may only have zones 0 through 2, and that is fine. On 40 acres, zone 3 and 4 may hold most of the land. Zones also bend to terrain. A spring-fed garden 300 feet away is still zone 1 in spirit if you visit it daily.
A common mistake with zones
People put the exciting project in the wrong zone. The food forest gets planted far out because there is open land there, then nobody harvests it. Anything that needs daily attention (egg collection, salad greens, brooder chicks) must be close. If you find yourself skipping a chore, the cause is often placement, not discipline.
Sector analysis: mapping what crosses your land
Sectors are the energies that come from outside your property and move through it. Zones are about you; sectors are about the site. Typical sectors include:
- Sun: summer and winter arcs, plus shade from buildings and trees.
- Wind: prevailing winds, winter cold winds, hot drying summer winds.
- Water: where rain lands, where it runs, where it pools, where it leaves.
- Fire: the direction a wildfire would likely approach, important in the West and parts of the South.
- Views, noise, wildlife and neighbors: what you want to see, screen or invite.
The payoff is in matching elements to sectors. A windbreak goes where the cold wind enters. Heat-loving crops go on the sunny side of a wall. Fire-sector planting, such as irrigated, low-fuel plantings near structures, goes where embers would arrive. For wildfire specifics, your state forestry agency or local fire district gives guidance that fits your region.
Mapping water and sun
Water and sun are the two sectors that decide most layout questions, so spend your effort here.
Mapping water
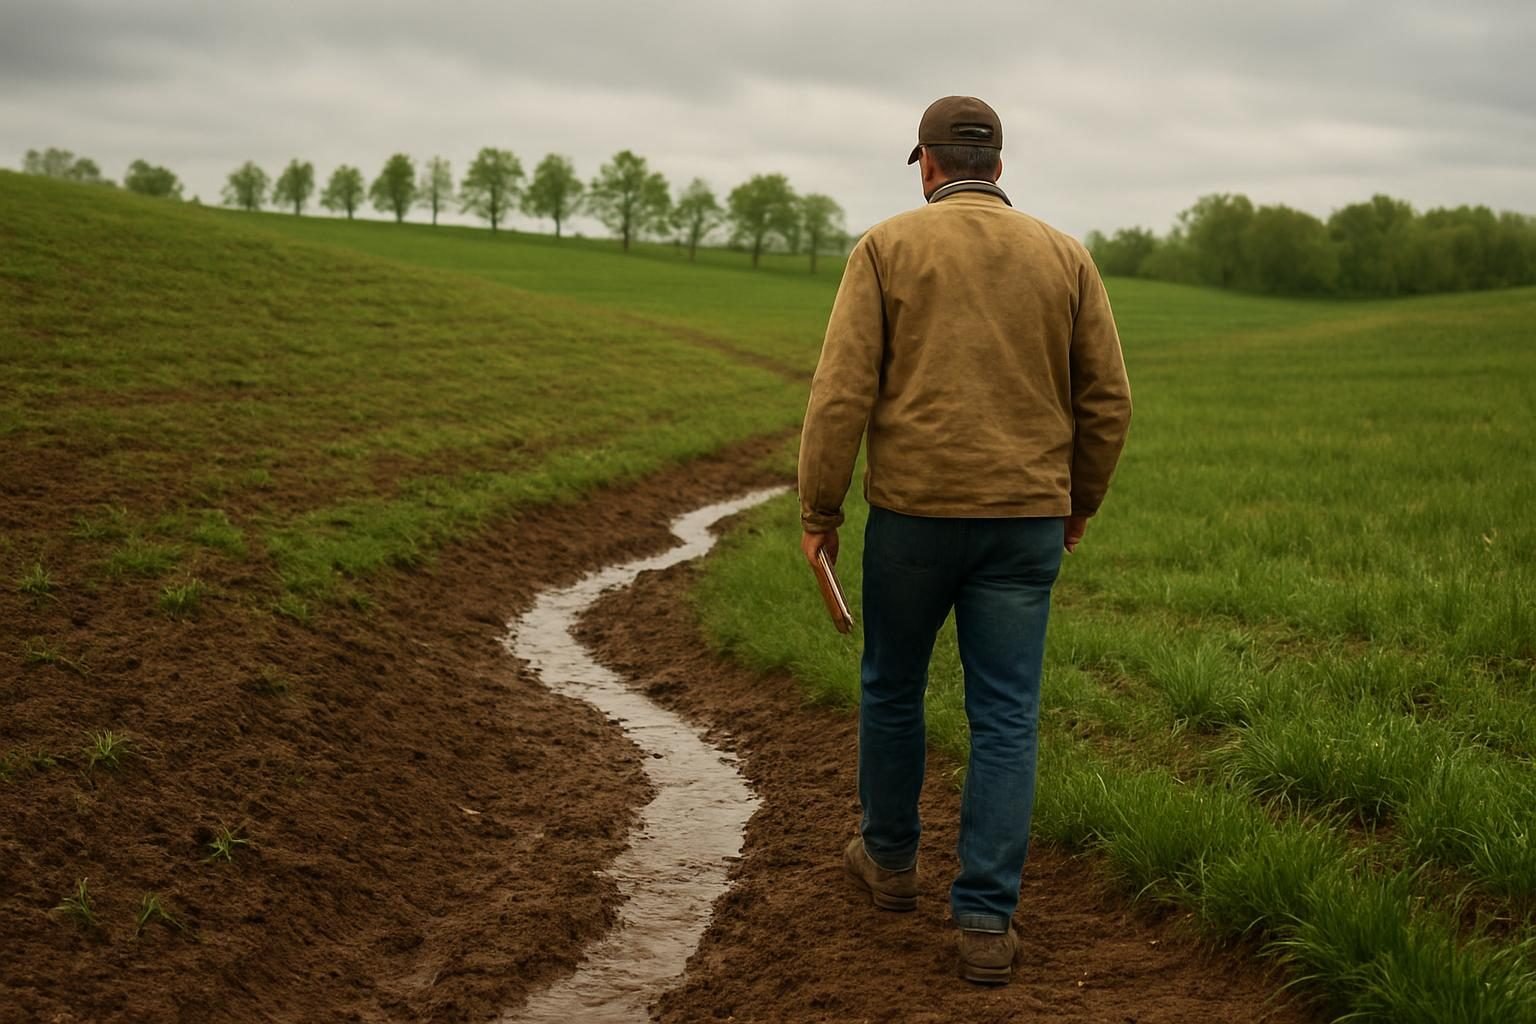
Water mapping starts with watching. Walk the property during a heavy rain with a notebook, or better, several rains. Note where water runs fast, where it spreads, where it ponds and where it carries soil. Mark roof drainage, driveway runoff and low spots.
Then look at what you can do with it:
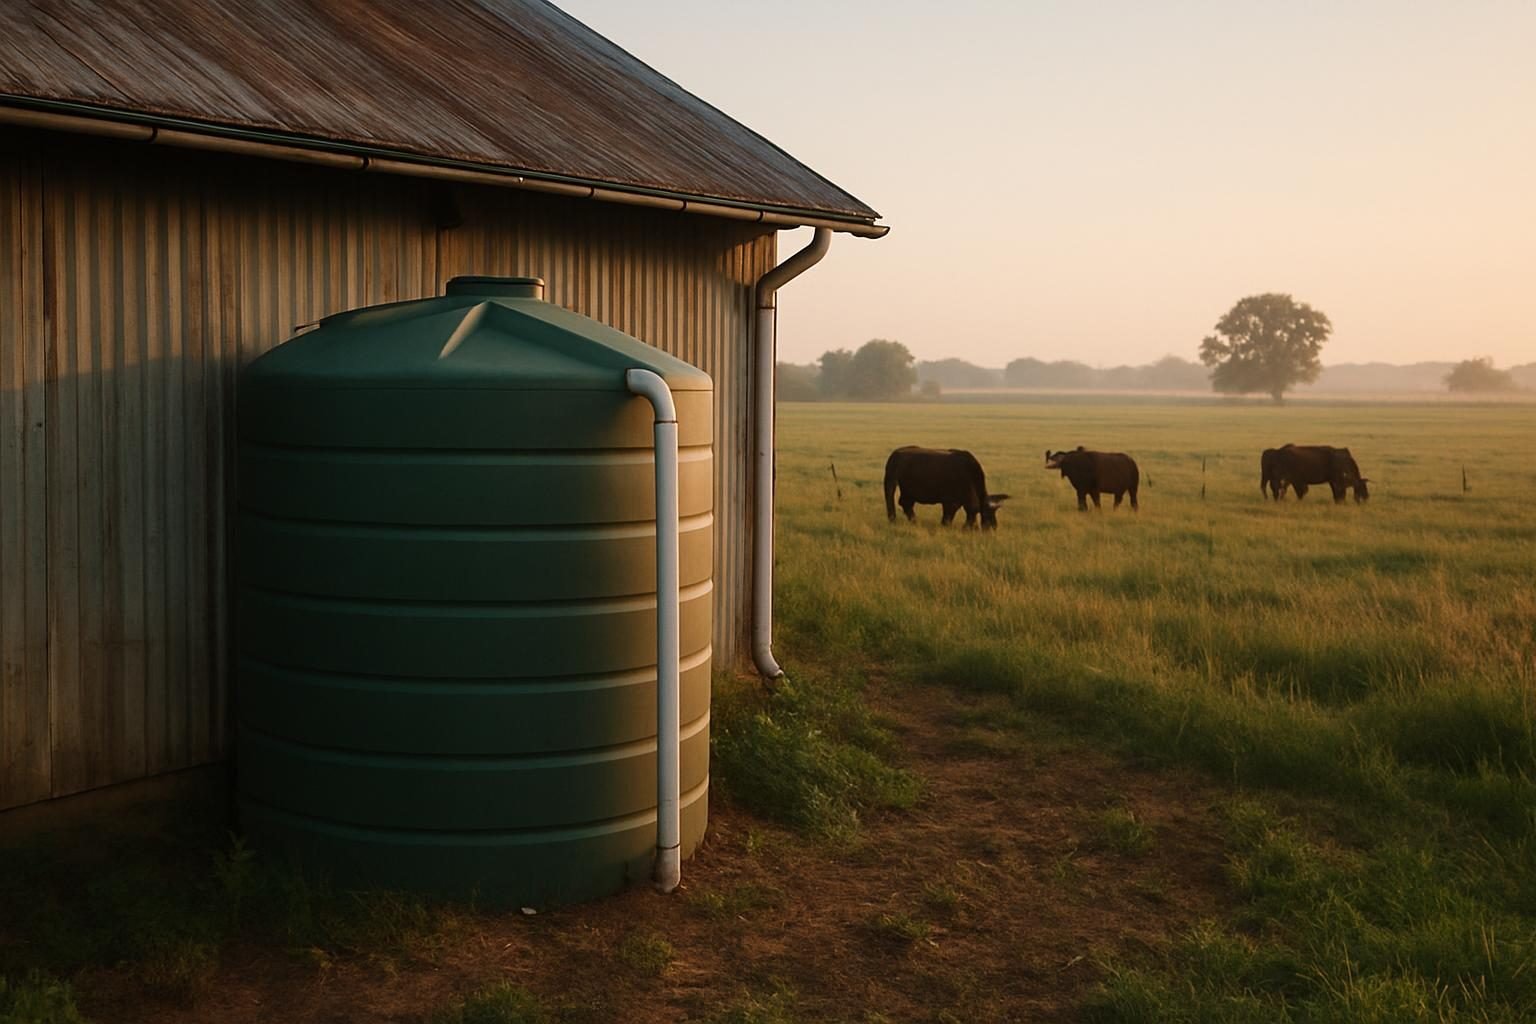
- Catch it off roofs: a roof sheds a surprising volume. As a rough rule, an inch of rain on 1,000 square feet of roof yields roughly 600 gallons, before losses. See how to set up and link rain barrels and consider filtering harvested water before it touches food crops or animals. Our upcoming guide to rainwater harvesting goes deeper on sizing.
- Slow it on slopes: contour plantings, swales where they fit and keyline design spread runoff so it soaks in. They are not right everywhere; heavy clay and unstable slopes can make them risky.
- Store it: a farm pond may suit larger sites, subject to local permitting. Check state and county rules before moving earth or diverting water.
In cold climates, plan for freeze protection from the start; see winterizing rain barrels and farm water lines.
Mapping sun
Sketch your property from above and mark where shadows fall at 9 a.m., noon and 4 p.m. in both summer and winter, or check a few times in each season. Note that deciduous trees shade in summer and let light through in winter, which is useful near a south-facing wall. Most vegetable crops want six to eight hours of direct sun; leafy greens tolerate less. Put your zone 1 beds in the best light you have.
Stacking functions
The most useful permaculture habit is asking each element to do more than one job, and each job to be covered by more than one element.
A hedgerow is a good example. Planted well, it can serve as a windbreak, pollinator habitat, a fence line, a berry harvest and a screen from the road. See hedgerows for pollinators. A chicken coop beside the garden provides eggs, manure for compost, pest control and winter heat for a greenhouse wall. An orchard understory can hold a fruit tree guild of companion plants that fix nitrogen, attract beneficials and suppress grass.
The reverse also matters: critical needs should have backups. If water is essential, have a well and a rain catchment and a pond, if the site allows. Redundancy is cheap insurance.
A caution on trade-offs: stacked designs are more complex to manage. A tree row that also hosts grazing, nuts and shade needs a management plan, such as how animals are kept off young trees. Stack what you can actually maintain.
A simple homestead design walkthrough
Here is a step-by-step process for a first plan, scaled for roughly one to five acres. Adjust for your site and region.
- Observe for a season. Ideally a full year, but at minimum through the wettest and hottest stretches. Keep a notebook of sun, wind, water and wildlife.
- Draw a base map. Use a printed aerial photo or county GIS map. Mark boundaries, buildings, utilities, slopes, existing trees, soil observations and the water paths you saw.
- Overlay sectors. Add arrows for winter wind, summer sun arc, runoff and fire direction.
- Set goals. Write down what you want: food for the family, income, animals, privacy. Rank them. Be honest about your available hours per week.
- Place zones. Put zone 1 within a short walk of the kitchen door. Work outward, matching each element to the right ring and the right sector.
- Start water and soil first. Gutters to barrels, compost area, mulch and cover crops come before trees. Healthy soil makes everything after it cheaper; see our soil health guide and no-till gardening for a low-effort way to start beds.
- Build in phases. Year one: zone 1 garden, water catchment, a small windbreak or hedge. Year two: orchard and animals. Year three and beyond: larger tree systems and zone 3 work.
- Review annually. Note what died, what thrived and what you never visit. Move things on paper before you move them in soil.
As the garden grows, consider efficient watering such as drip irrigation for small farms to conserve the water you worked to catch. On the tree side, the food forest planting guide and nut trees for agroforestry cover the longer-term plantings.
Regional notes
- Humid East and South: Water is usually abundant, so the design challenge is drainage, disease pressure from humidity and managing fast vegetation growth.
- Corn Belt: Flat, productive soils favor alley cropping and field-edge buffers; tile drainage may affect your water plans.
- Arid West: Every drop counts, and water rights law may restrict rainwater collection or diversion. Confirm your state’s rules before building anything.
- Cold North: Season length drives placement. Use south-facing slopes and wind protection, and plan for frozen plumbing.
Key takeaways
- Zones organize by visit frequency; sectors organize by outside forces like sun, wind, water and fire.
- Observe before you build. A season of notes beats any template.
- Map water and sun first; they decide most layout questions.
- Put daily-use elements near the door and stack several functions into each element.
- Draw on paper, build in phases and review every year.
- Check local rules on water rights, ponds and earthmoving before you dig.
Frequently asked questions
What are the zones in permaculture design?
Zones 0 through 5 are rings of attention based on how often you visit. Zone 0 is the house, zone 1 the daily kitchen garden and coop area, zone 2 the orchard and larger beds, zone 3 main crops and pasture, zone 4 managed woodland, and zone 5 wild land left mostly alone.
How long should I observe my land before designing?
A full year is ideal because you see every season’s sun angle, wind and rainfall. If you cannot wait, observe at least through one wet period and one hot, dry period, and start with reversible, low-cost elements like beds and rain barrels before committing to trees or earthworks.
Do I need a lot of land for permaculture design?
No. The same logic works on a city lot, where zones 0 to 2 may cover everything, up to hundreds of acres. For tight spaces, see our guide to small-scale regenerative farming.
Is permaculture the same as regenerative agriculture?
They overlap but are not identical. Regenerative agriculture focuses on outcomes like soil health and biodiversity, mostly at farm scale. Permaculture is a design framework for arranging a whole site, often at homestead scale. Many farmers use permaculture tools within a regenerative system.
Where should I start if I have limited time and money?
Start in zone 1: a kitchen garden near the door, mulched or no-till, with gutters feeding a couple of rain barrels. It gives you food, builds soil and teaches you the site cheaply. Expand outward only after that area works. Browse more in our Agroforestry & Water category and the agroforestry guide for the tree side of the plan.