Learning how to transition to regenerative agriculture is less about a dramatic overnight switch and more about a series of small, measured changes. The farms that make it work usually start on a limited footprint, watch what happens, and scale what pays. This guide lays out a three-year roadmap you can adapt to your climate, scale and operation.
Quick answer: To transition to regenerative agriculture, start on one or two test fields, baseline your soil with lab tests and simple field observations, add cover crops, then reduce tillage gradually. In year two, integrate livestock or expand the practices that worked. In year three, scale up, refine, and tighten your financial plan. Expect a 3-5 year adjustment window, use NRCS and extension help, and monitor results instead of guessing.
Why a Phased Transition Works Better Than a Full Switch
Regenerative systems change how your soil, weeds, pests, water and labor behave. Those shifts take time, and they differ from field to field. Changing everything at once means a mistake can cost you an entire crop year, and you will not know which change caused which result.
A phased approach lets you learn on a small scale, keep cash flow stable and build confidence. If you are still sorting out the basics, start with what regenerative agriculture is and how to start, then come back to this roadmap. The principles behind it, such as keeping soil covered, minimizing disturbance, keeping living roots in the ground and integrating animals, are covered in more depth in our guide to the soil health principles.
Before You Start: Set Goals and Pick Your Test Fields
Write down what you want. Lower input costs? Better water infiltration? A premium market? Improved drought resilience? Your goal shapes which practices to prioritize. For a deeper look at what outcomes are realistic, see the evidence on the benefits of regenerative agriculture.
Choosing test fields
- Pick representative ground. Avoid your very best and very worst fields. A typical field teaches you the most.
- Start small. Many farmers begin with roughly 5-15% of cropland, or one or two pastures. Market gardeners may start with a few beds.
- Choose accessible fields. You will be visiting them often to observe and sample.
- Keep a comparison. Leave a similar area managed the old way so you can compare honestly.
The 3-Year Roadmap at a Glance
| Phase | Main focus | Key actions |
|---|---|---|
| Year 1: Learn and baseline | Observe, test, experiment small | Soil tests, field notes, cover crop trials, first tillage reductions, apply for NRCS help |
| Year 2: Expand and integrate | Scale what worked, add animals | More acres in covers, further tillage cuts, begin adaptive grazing or custom grazing, re-test soil |
| Year 3: Refine and commit | Whole-farm planning and markets | Extend practices farm-wide, optimize inputs, evaluate finances, explore premium markets |
Year 1: Baseline, Observe and Experiment
Step 1: Baseline your soil
You cannot manage what you do not measure. Pull a standard lab soil test on each test field (and your comparison field) for pH, organic matter, major nutrients and cation exchange capacity. Consider adding a biological or soil health panel offered by many labs, and confirm with your extension office which tests are appropriate for your region.
Pair the lab work with simple field checks you can repeat yearly:
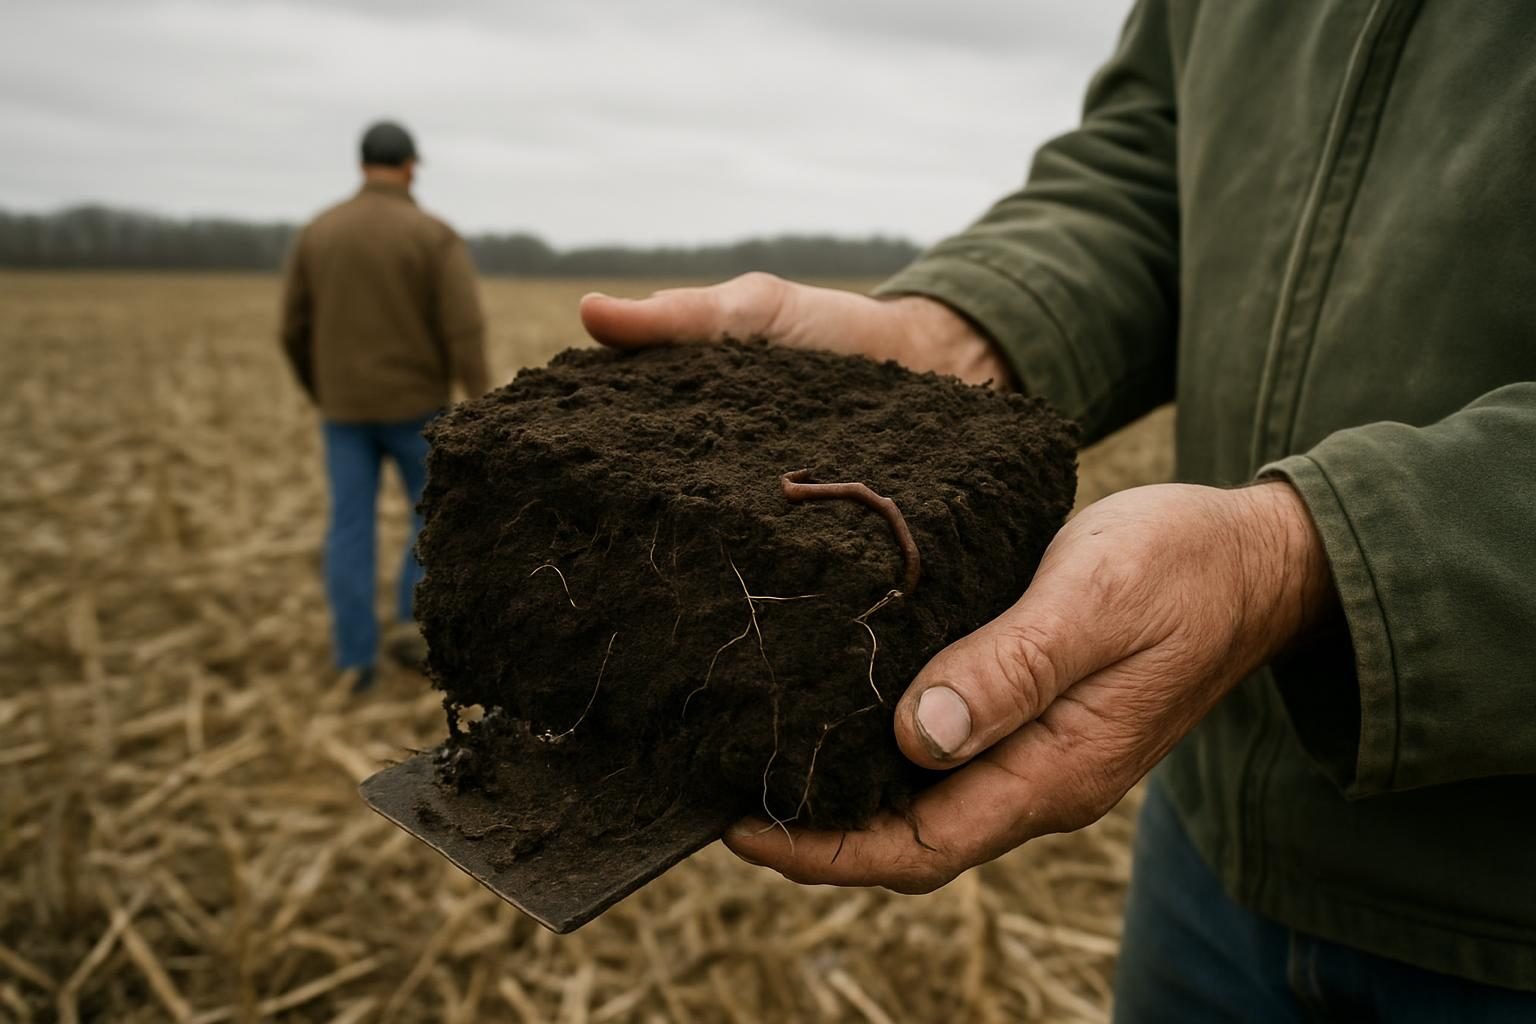
- A spade test: dig a block and note structure, roots, earthworms and smell.
- A water infiltration test using a ring pushed into the soil.
- Ground cover and residue photos taken from the same spot each season.
- A slake test to see whether soil aggregates hold together in water.
Sample at the same time of year and the same depth each time, and record GPS points so future samples are comparable. Organic matter changes slowly, often a few tenths of a percent per year at best, so treat it as a long-term indicator rather than an annual scorecard.
Step 2: Start cover crops
Cover crops are the most common entry point because they address multiple principles at once: living roots, soil cover and diversity. Begin with a simple mix or a single species suited to your region, such as cereal rye in many northern and Midwestern systems, or a legume and grass blend in the South. Our beginner’s guide to choosing, planting and terminating cover crops covers species selection, seeding methods and termination timing.
Common first-year lessons include managing termination dates, watching moisture use in drier regions and adjusting nitrogen expectations after a heavy grass residue. In the arid West, cover crops need careful water budgeting. In the humid East and South, they often establish easily but need a plan for spring termination.
Step 3: Begin reducing tillage
Cutting tillage gradually lowers risk. A common path is moving from moldboard plowing to chisel or disc, then to strip-till, then to full no-till, as equipment, weed pressure and soil conditions allow. Plan on a learning curve with planter setup, residue handling and weed control. Read our guide to no-till farming, its pros and cons, and how to make the switch before you commit equipment dollars.
On small farms and gardens, the equivalent is shifting to permanent beds and mulch. See no-dig gardening for how to build beds without tilling.
Step 4: Find mentors and apply for help
Do not do this alone. Talk to your local NRCS field office, your county extension agent and your conservation district. Look for farmer-led groups, field days and SARE-supported networks in your state. Visiting a neighbor who has done this for five years is worth more than any article.
NRCS cost-share programs may help pay for cover crops, nutrient management and grazing infrastructure. Our guide to EQIP for regenerative farmers explains how the process works. Application windows, payment rates and eligibility change, so confirm current details directly with your local NRCS office, and start early because ranking cycles take time.
Year 2: Expand, Add Livestock and Monitor
Scale what worked
Review your Year 1 notes and soil results honestly. Expand the practices that improved function or lowered costs, and drop or adjust those that did not. If cover crops established well, add acres. If a tillage reduction caused weed problems, address the weed strategy before expanding.
Integrate animals
Livestock close the nutrient cycle and can turn cover crops and crop residue into income. You do not need to own animals to start. Options include custom grazing agreements with a neighboring rancher, renting your cover crops for grazing, or adding a small herd or flock yourself.
If you are on pasture, move from continuous grazing toward planned rotation. Start with our complete guide to rotational grazing, then explore adaptive multi-paddock grazing for more intensive management. Stocking decisions matter, so use our stocking rate explainer as a starting point and adjust to your forage, rainfall and recovery periods. Where you have trees or want shade and diversified income, silvopasture is worth studying.
Re-test and compare
Repeat your field observations every season and consider a follow-up lab test after two years, keeping the same methods and sampling depths. Compare test fields to your control. Look at yields, input costs, workload and weather resilience, not just soil numbers.
Year 3: Refine, Commit and Think Beyond the Field
By Year 3, you should have enough data to make whole-farm decisions. Extend successful practices across more acres, tune your cover crop mixes, adjust fertility based on tests and refine grazing plans. This is also the time to consider diversification such as agroforestry. If tree crops interest you, read how to plant a food forest, and if you are comparing frameworks, our upcoming piece on permaculture vs regenerative agriculture will help sort out the overlap.
It is also worth seeing how others have done it. Our forthcoming regenerative agriculture examples will profile what this looks like on different kinds of farms, and our look at regenerative agriculture criticism will help you separate real limits from myths.
Managing Finances Through the Transition
Money is where many transitions stall, so plan for it before you plant anything.
- Expect a dip before a gain. Yields can fluctuate in the first years while soil biology, weed control and management skills adjust. Some farms see little change, others see temporary declines, and results vary by crop, region and management.
- Track costs per field. Record seed, fuel, labor, fertilizer, herbicide and equipment hours. Savings in fuel, fertilizer and repairs often show up gradually.
- Budget for new equipment carefully. A no-till drill or fencing and water systems are real expenses. Consider renting, borrowing, custom hiring or using cost-share before buying.
- Hold a cash cushion. Keep reserves or an operating line available for a rough first season.
- Talk to your lender and insurer. Ask about how cover crops and conservation practices interact with crop insurance rules, and confirm details with your agent and the relevant agency.
On the income side, premium markets, direct sales, grass-fed programs and certifications can add revenue, though none are guaranteed. Our regenerative farming business guide covers funding, certification and sales channels. If you are weighing labels, compare Regenerative Organic Certified and other labels, and see regenerative vs organic farming to understand how they differ. Confirm current certification requirements and costs with the certifier. This article is not financial, tax or legal advice, so consult a qualified professional for your situation.
Common Mistakes to Avoid
- Changing every field and every practice in the same year.
- Skipping baseline data, then having no way to judge progress.
- Planting cover crops with no termination plan.
- Dropping tillage before addressing compaction or weed pressure.
- Overstocking animals before pasture and water infrastructure are ready.
- Expecting soil organic matter to jump in a single season.
- Ignoring local advice from extension agents and neighbors.
For the larger picture of what farms can and cannot do for the environment, see our upcoming piece on regenerative agriculture and climate change. If you are a small-scale grower, how to start a market garden shows how these ideas apply on a few acres. You can also browse more beginner resources in the Regenerative Agriculture 101 category.
Key Takeaways
- Start on test fields, not the whole farm, and keep a comparison area.
- Baseline soil with lab tests and repeatable field observations before changing practices.
- Add cover crops first, then reduce tillage in steps.
- Integrate livestock in Year 2, even through custom grazing if you lack animals.
- Monitor soil, costs, yields and workload, and re-test with consistent methods.
- Plan finances for a learning curve, and confirm program details with NRCS and your lender.
- Lean on mentors, extension and farmer networks throughout.
Frequently asked questions
How long does it take to transition to regenerative agriculture?
Most farms need three to five years to work through the major changes and see consistent results, though some benefits such as better ground cover and infiltration can appear sooner. Soil organic matter changes slowly. Treat the transition as ongoing management rather than a finish line.
Will my yields drop during the transition?
It depends on your crop, region, soil and management. Some farms see temporary yield dips as they learn new systems, while others see little change. Starting on test fields and tracking costs and returns helps you manage that risk without betting the whole operation.
Do I need livestock to farm regeneratively?
No, but animals can speed nutrient cycling and add income. If you do not have livestock, you can use custom grazing, partner with a neighbor or focus on cover crops, reduced tillage and diversity. Many crop-only farms make real progress without animals.
Can NRCS programs help pay for the transition?
Often, yes. NRCS offers cost-share and technical assistance for practices like cover crops, nutrient management and grazing systems. Eligibility, payment rates and sign-up periods change, so contact your local NRCS office to confirm current options and deadlines.
What is the single best first step?
Pick one or two test fields and take a baseline soil test with simple field observations. That gives you a starting point, and from there a small cover crop trial is a low-risk way to begin changing management while you learn what works on your land.