Knowing how to start a market garden mostly comes down to starting small, choosing a few reliable crops, and lining up buyers before the first seed goes in. Most failures come from too much ground, too many crops and no sales plan, not from bad soil. This guide walks through the decisions in the order you will face them.
Quick answer: To start a market garden, pick a site with full sun, good drainage and a reliable water source. Test the soil and water. Begin with a quarter to half acre of permanent beds prepared with no-dig methods. Grow 8 to 12 quick-turn, high-value crops with drip irrigation. Line up one or two markets, such as a farmers market, a small CSA or a few restaurants, before planting. Budget roughly $8,000 to $30,000 for startup, excluding land, and aim in year one to learn, keep records and cover your costs.
How to start a market garden: define your scale first
Before buying anything, decide how much time, money and land you really have. A beginner working alone, even part time, can usually manage a quarter to half acre of intensively managed beds. That is about 10,000 to 20,000 square feet, which is plenty to learn on. Many growers who try for an acre in year one spend the season behind on weeding and harvesting.
Write down three things: how many hours per week you can work in peak season, how much cash you can put in without strain, and what you want from the farm (side income, a full living, or a mix). Those answers shape every decision below. If you want the bigger picture of what regenerative practices mean on a farm, start with our overview of regenerative agriculture principles.
Choose land and water
Land
Look for these in roughly this order of importance:
- Water access. A well, pond, municipal tap or irrigation district connection. No water, no market garden.
- Sun. At least 6 to 8 hours of direct light in summer, with few trees on the south side.
- Drainage and slope. Gentle slopes drain well. Low spots hold cold air and water, which means late frosts and wet feet.
- Access. Close to home and to a road you can drive a loaded truck on. Distance eats labor.
- Soil. Workable loam is ideal, but almost any soil can be built up over time with compost and cover.
Get a soil test from your state extension service or a reputable lab, including organic matter, pH, nutrients and, on old farmsteads or urban lots, lead and other heavy metals. If the site was once an orchard, a paint-heavy building site or near a busy road, test before you plant anything you will eat. Growing in the city adds its own wrinkles, which we cover in our upcoming guide to urban farming.
Water
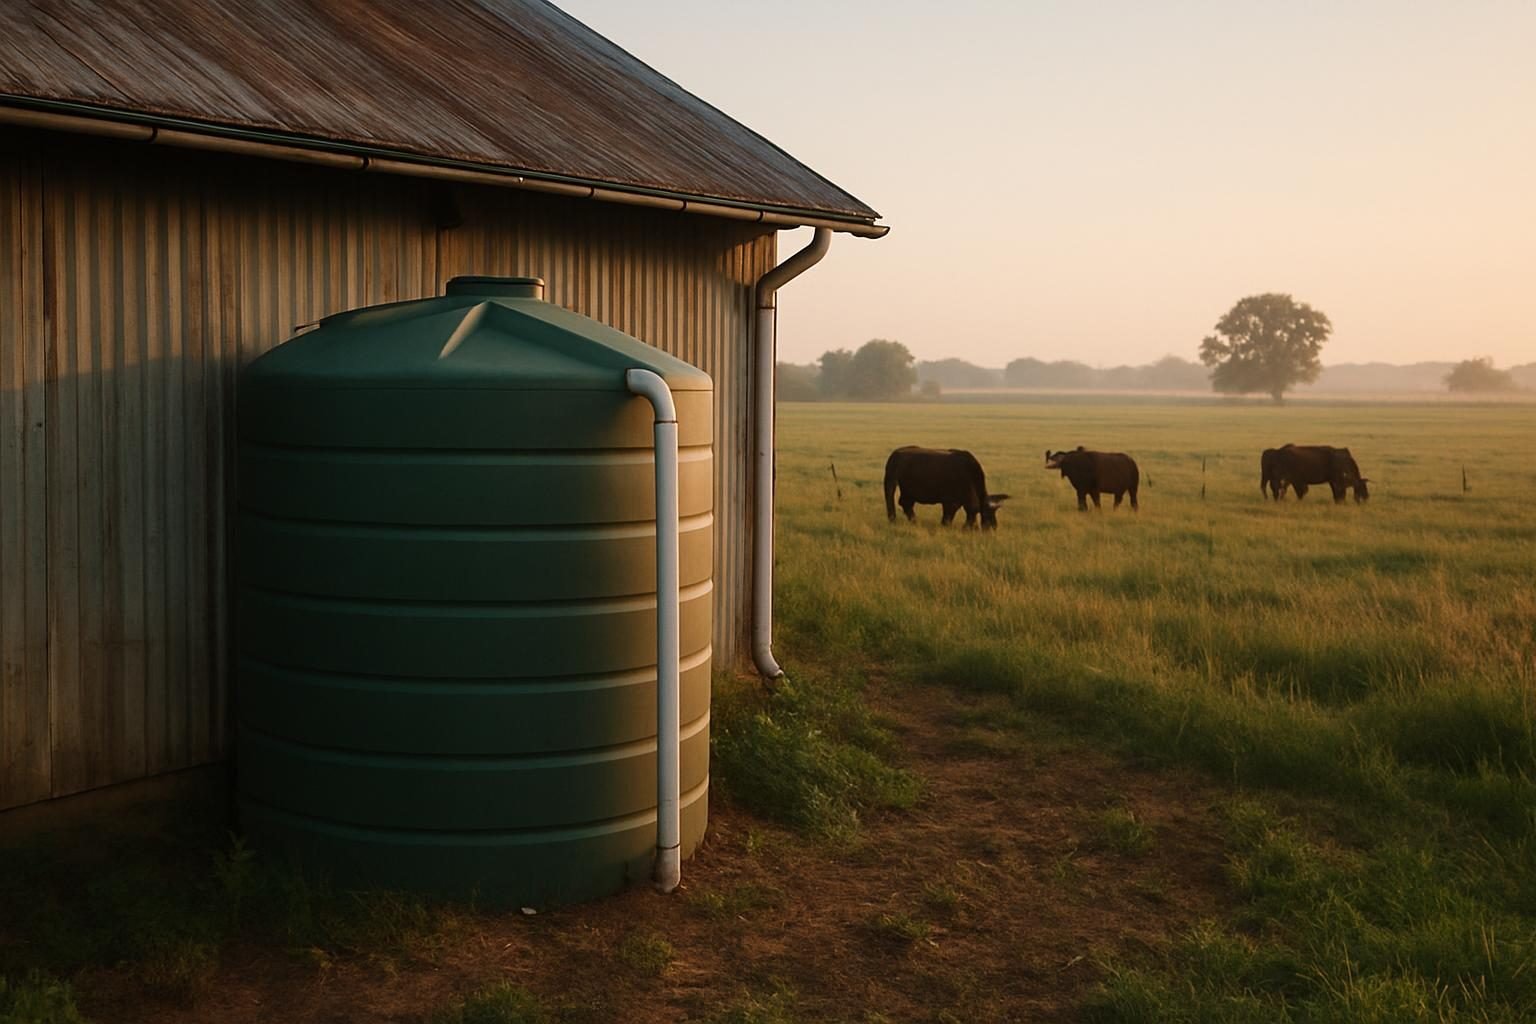
Vegetables typically need about an inch of water a week during the growing season, and more in hot, windy or sandy conditions. Test your irrigation water for bacteria and basic quality, especially if it comes from a pond or surface source. Produce food safety rules may apply depending on your sales volume and state, so confirm the current requirements with your state department of agriculture or extension office.
Lay out your beds and gather basic tools
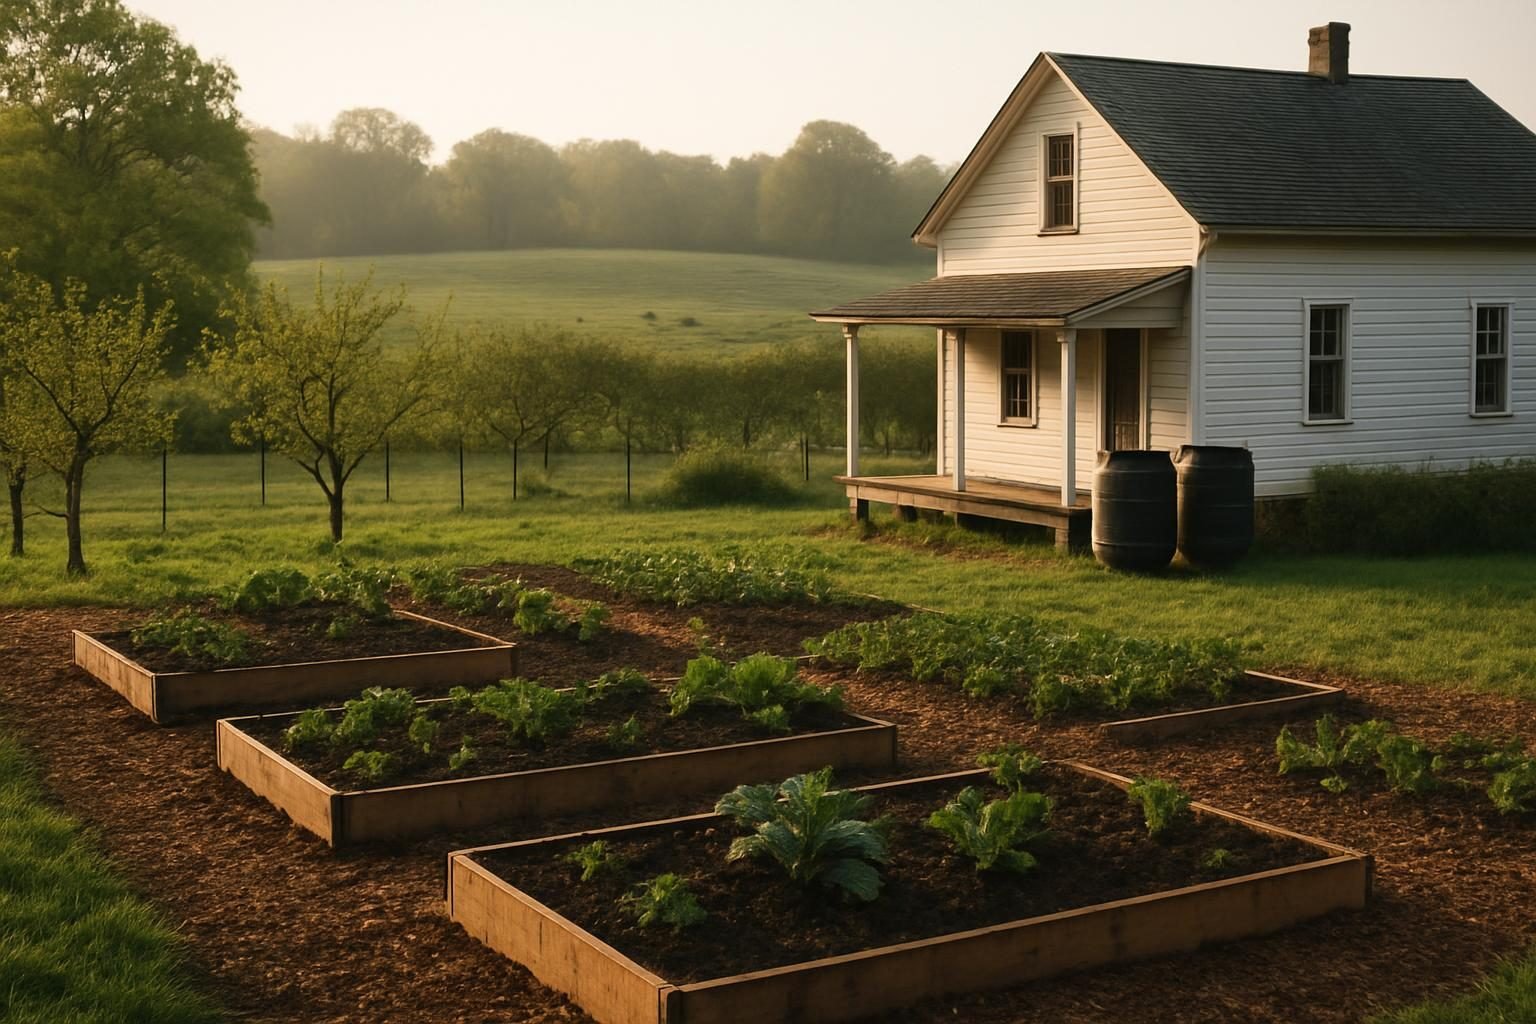
Permanent beds are the backbone of an efficient market garden. A common layout is beds about 30 inches wide, 50 to 100 feet long, with 12 to 18 inches between them for walking and wheel hoes. Standard dimensions make it easy to buy row cover, tarps and drip tape in matching sizes. Never walk on the beds themselves, which protects soil structure.
Orient beds north to south where you can for even light, and keep a wide headland at the end for a cart or truck. Put the wash and pack area close to the water and the cooler close to the wash area. Every extra trip with a harvest bin adds up over a season.
A realistic starter tool list:
- Broadfork for loosening compaction without flipping the soil
- Wheel hoe or stirrup hoe for weeding
- Harvest knives, snips and sturdy bins or crates
- Seed trays and a simple seeder
- Row cover, hoops and sandbags
- Silage tarps for smothering weeds and beds
- A decent scale, wash tubs or a drip rack, and a cooler or shaded cool space
Buy used where you can, and add tools only when a specific task proves painful.
Prepare beds with no-dig methods
No-dig bed prep keeps soil structure and fungal networks intact, suppresses weeds and builds organic matter from the top down. The basic sequence for a new bed:
- Mow or cut down existing vegetation as low as possible.
- Loosen if needed. If the ground is compacted, push a broadfork in and rock it back without turning the soil.
- Smother weeds with a layer of plain cardboard (tape and labels removed) or by covering with a silage tarp for several weeks in the warm season.
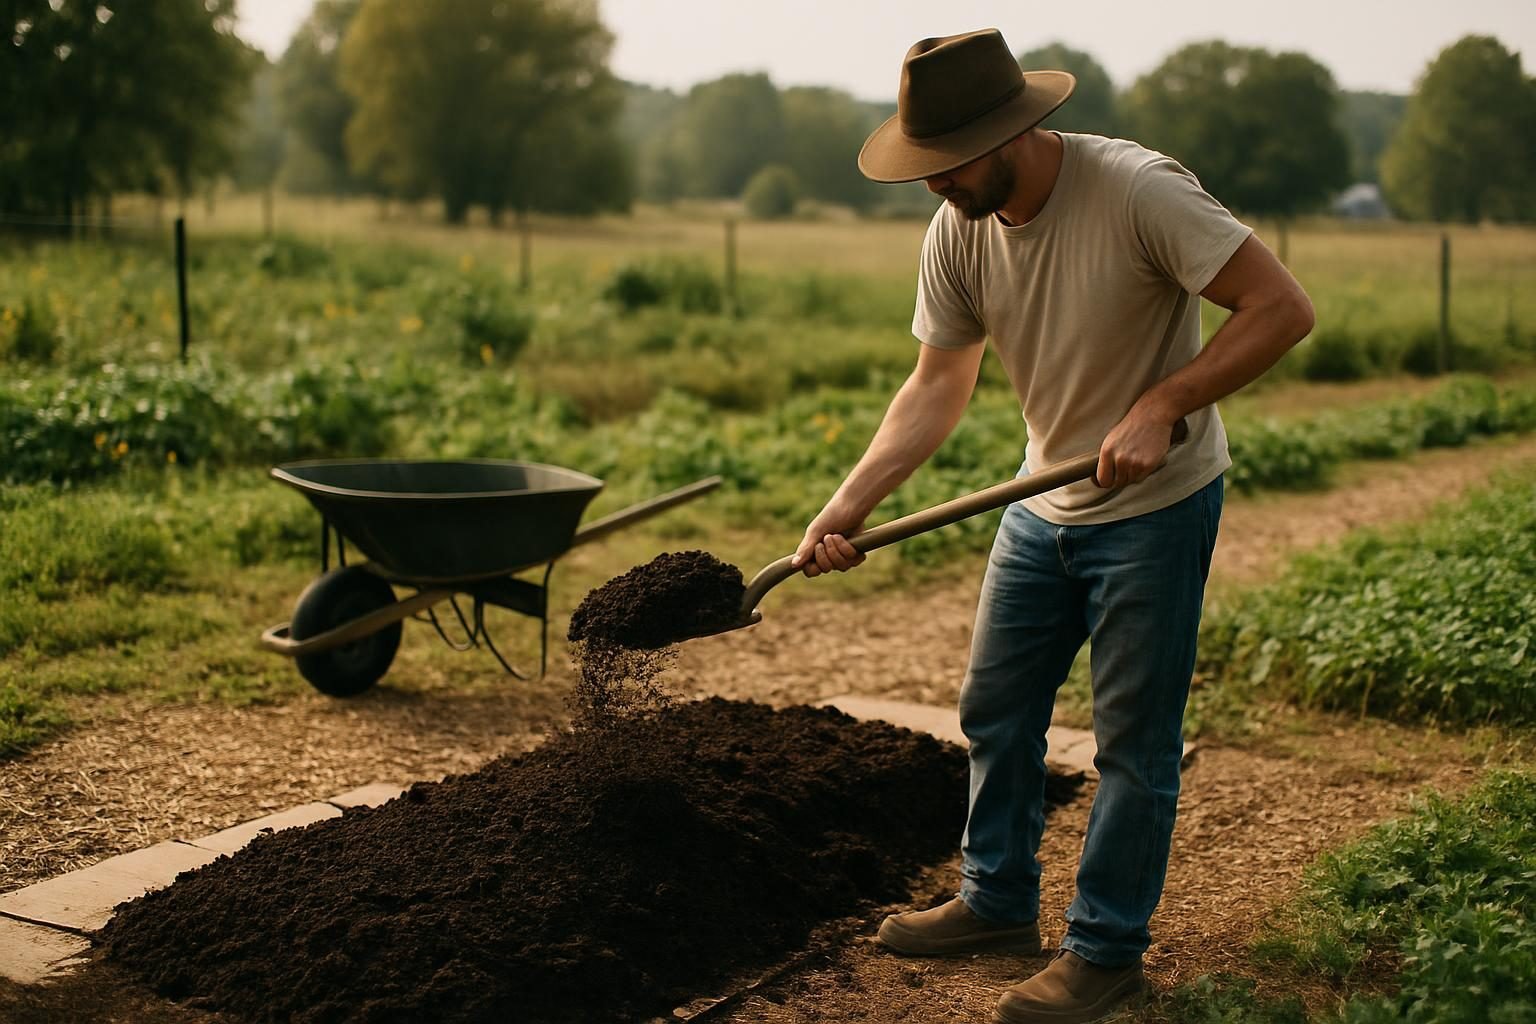
- Add 2 to 4 inches of finished compost on top. Plant or direct seed into the compost layer.
- Top up with an inch or two of compost between crops, and mulch paths with wood chips or straw.
Compost quality matters. Buy from a source you trust, ask what went into it, and avoid anything with herbicide residue. If you plan to make your own, see our upcoming guide to hot composting. For a deeper dive on techniques and materials, watch for our no-dig gardening guide.
Between plantings, keep soil covered. Fast cover crops such as buckwheat in summer or oats and peas in fall fill gaps and feed the soil. Our cover crops for beginners guide covers choosing, planting and terminating them without tillage in mind.
Pick crops for profit, not just for fun
The best market garden crops earn a lot per square foot, per bed-week and per hour of labor. In general, that means crops with quick turnaround, repeat harvests and strong demand.
| Crop type | Examples | Why it works |
|---|---|---|
| Quick-turn greens | Salad mix, spinach, arugula, baby kale | Fast cycles, repeat sowings, regular buyers |
| Roots and bunching crops | Radishes, carrots, beets, salad turnips, scallions | Short beds-time, good for tables and CSA boxes |
| Warm-season showpieces | Tomatoes, peppers, cucumbers, zucchini | High demand, but need trellising and disease management |
| Long-season specialty | Garlic, cut flowers, herbs | Premium prices, good fit for restaurants and market stalls |
| Space hogs | Potatoes, sweet corn, winter squash, melons | Often low return per square foot on small plots |
Start with 8 to 12 crops you can grow well, and add slowly. Ask potential buyers what they cannot find locally. Prices and returns vary a lot by region and market, so use local farmers market price lists and your own records. Our upcoming guide to the most profitable crops for small farms goes deeper on crop economics.
Regional notes matter. In the humid East and South, disease pressure and weeds often decide what you can grow in summer. In the arid West, shade cloth and water efficiency are the main concerns. In the Corn Belt and northern states, wind, short seasons and hail push many growers toward protected growing, while some producers in suitable regions integrate trees and livestock with forage for diversified systems.
Set up irrigation that fits your beds
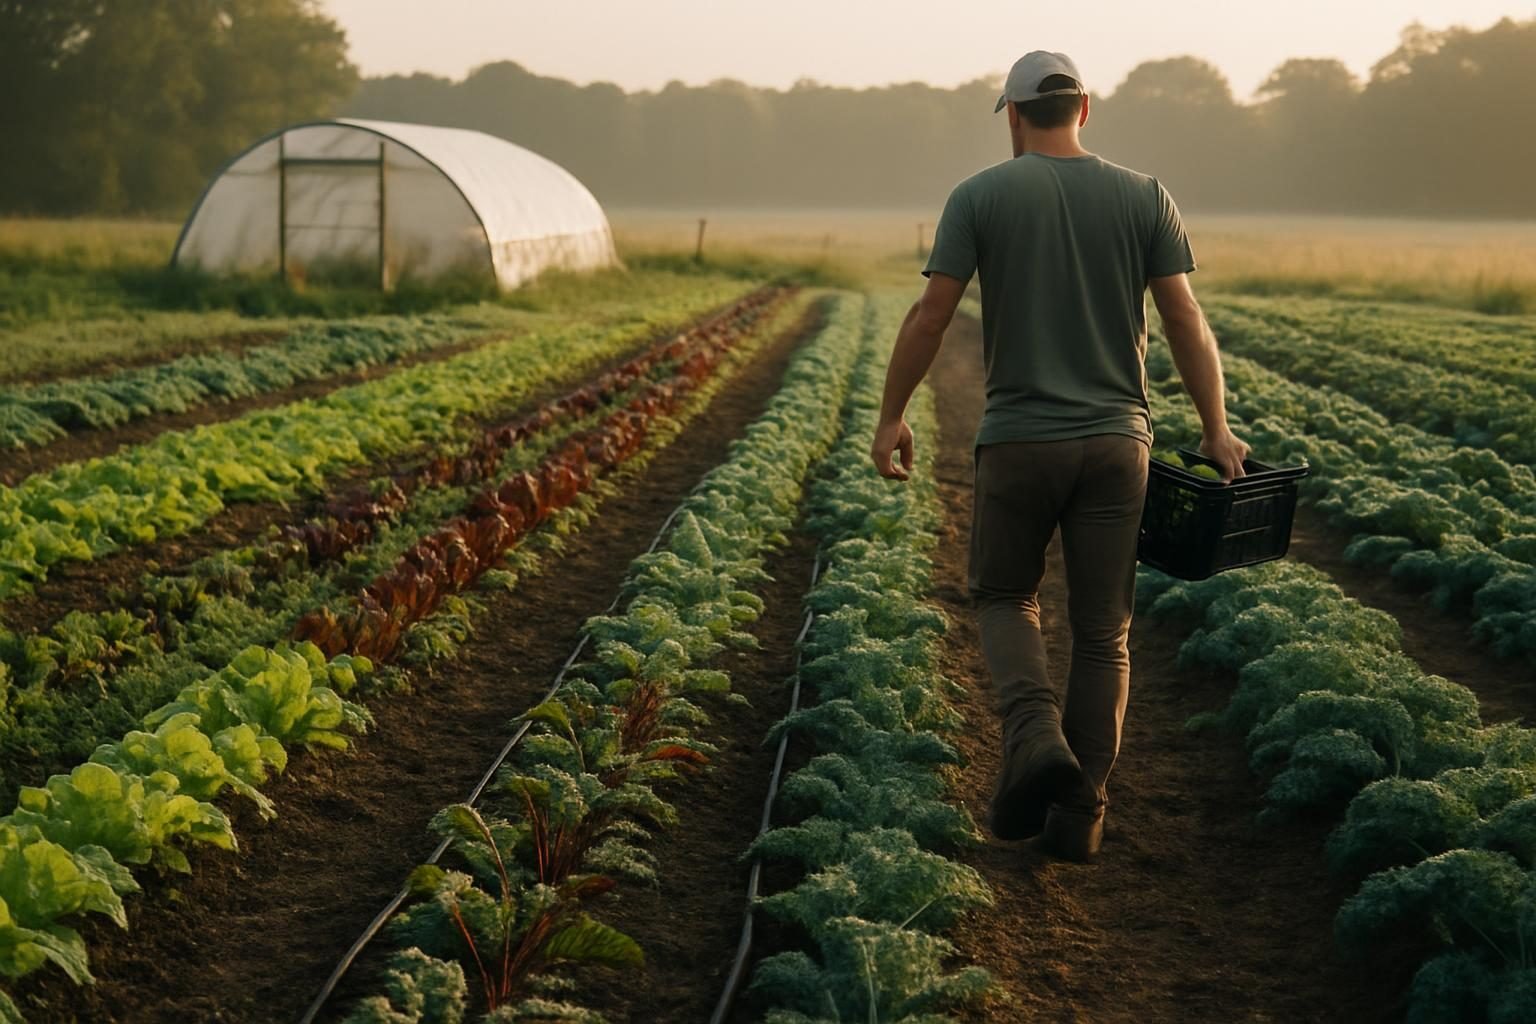
Drip irrigation is the standard for market gardens. It puts water at the root zone, keeps foliage dry (which reduces disease), and uses less water than overhead systems. Lay one to three lines per bed depending on the crop, with emitter spacing of 8 to 12 inches for most vegetables.
A basic system includes a backflow preventer, filter, pressure regulator, mainline, valves and drip tape or tubing. Zone the system by crop type, with one zone for direct-seeded crops, one for transplanted crops, and so on, so each gets the right amount. Overhead sprinklers or a fine mist still help germinate carrots, lettuce and other small seeds.
Check soil moisture by hand rather than only by clock. Mulch and compost-rich soil hold water longer, so you may find you water less each season as the beds improve.
Extend the season
A longer season is often the biggest lever on income, because early tomatoes and winter greens command better prices and give you something to sell when others have nothing. Start simple:
- Row cover over hoops protects against light frost and insects.
- Low tunnels add a few degrees of protection for spring and fall greens.
- Unheated high tunnels allow earlier tomatoes and cold-season salad crops in most regions.
Our upcoming guide to the hoop house covers sizing, siting and costs. Check with your local zoning office and NRCS service center, since some structures may need permits or may qualify for cost-share programs like EQIP. Confirm current program details directly with the agency.
Find your markets before you plant
The most common mistake is growing first and selling later. Pick one or two outlets and plan your crops around them.
- Farmers markets. Direct retail prices and instant feedback, but you pay stall fees and spend a full day away from the farm each week. Visit several markets first to see what is saturated.
- CSA (community supported agriculture). Members pay up front for weekly boxes, which gives you cash before the season starts. It also requires variety and reliable harvests over many weeks. Start small, with 15 to 30 members, and read our upcoming guide on how to start a CSA before you commit.
- Restaurants. Chefs value consistent quality, reliable delivery and a weekly availability list. Prices can be good, but orders are small and they expect dependability. Always get orders in writing or by text, and invoice clearly.
- Farm stand, food hubs and wholesale. Lower prices per unit, but less time selling. Worth exploring once you have volume.
Your regenerative practices can be a selling point, but be honest about them. Label what you do accurately and do not use the word “organic” unless you meet the legal requirements. Our comparison of regenerative vs organic farming explains the difference, and the regenerative farming business guide covers funding, certification and sales channels in more detail.
Startup cost ranges
These are rough planning estimates for a quarter to half acre, excluding land purchase or lease. Costs vary widely by region, how much you buy used, and whether you hire help or contractors.
| Item | Typical range |
|---|---|
| Soil and water tests | $50 to $300 |
| Hand tools and harvest gear | $500 to $2,000 |
| Drip irrigation and fittings | $500 to $2,500 |
| Compost, mulch and cardboard | $1,000 to $5,000 |
| Seeds, trays and transplants | $1,000 to $3,000 |
| Row cover, tarps and low tunnels | $500 to $2,000 |
| Cooler or cool space and wash station | $500 to $3,000 |
| High tunnel (optional) | $2,000 to $10,000+ |
| Insurance, licenses, market fees, packaging | $500 to $2,000 |
A lean start without a high tunnel often lands near the lower end of $8,000 to $30,000 total, and a more equipped start lands near the upper end. For tax, licensing and legal questions, talk with a local accountant, your state agriculture department and an extension office.
First-year goals
Year one is for learning, not for getting rich. Realistic goals:
- Grow 8 to 12 crops well and sell most of what you harvest.
- Keep simple records of sowing dates, yields, sales and hours worked.
- Cover your direct costs (seed, compost, fees) from sales.
- Build good relationships with a handful of repeat customers.
- Retest your soil at the end of the season and plan cover crops for fall.
- Resist expanding until you can keep every bed weeded and harvested on time.
For more on getting started on a small footprint, browse our Small & Urban Farms section.
Key takeaways
- Start with a quarter to half acre and a reliable water source.
- Test soil and water before planting, especially on old or urban sites.
- Use permanent beds and no-dig prep to save labor and build soil.
- Choose quick-turn, high-value crops and sell them to buyers you have already talked to.
- Drip irrigation and simple season extension pay off quickly.
- Keep records from day one so year two is better than year one.
Frequently asked questions
How much land do I need to start a market garden?
A quarter to half acre of intensively managed beds is plenty for a beginner. Many small growers work well under an acre, and the limiting factor is usually labor and sales, not land.
Can I make a living from a market garden?
Some growers do, but most start with a part-time income and build up. Results depend on your markets, crop mix, labor, season length and costs. Use your own records and local prices instead of relying on averages, and plan for a few years to reach a stable income.
Do I need organic certification to start?
No. Many market gardeners start without certification and describe their practices honestly. If you want to use the organic label, confirm the current rules and exemptions with the USDA National Organic Program or a certifying agency.
What is the best way to prep beds without tilling?
Cut vegetation low, loosen compaction with a broadfork if needed, smother weeds with cardboard or a silage tarp, then add 2 to 4 inches of quality compost and plant directly into it. Top up with compost each season and keep paths mulched.
When should I start selling?
Start talking to buyers before you plant. Visit markets, sign up members for a small CSA early, and ask chefs what they need. You can begin selling as soon as the first quick crops, such as radishes and salad greens, are ready, often 4 to 8 weeks after seeding.