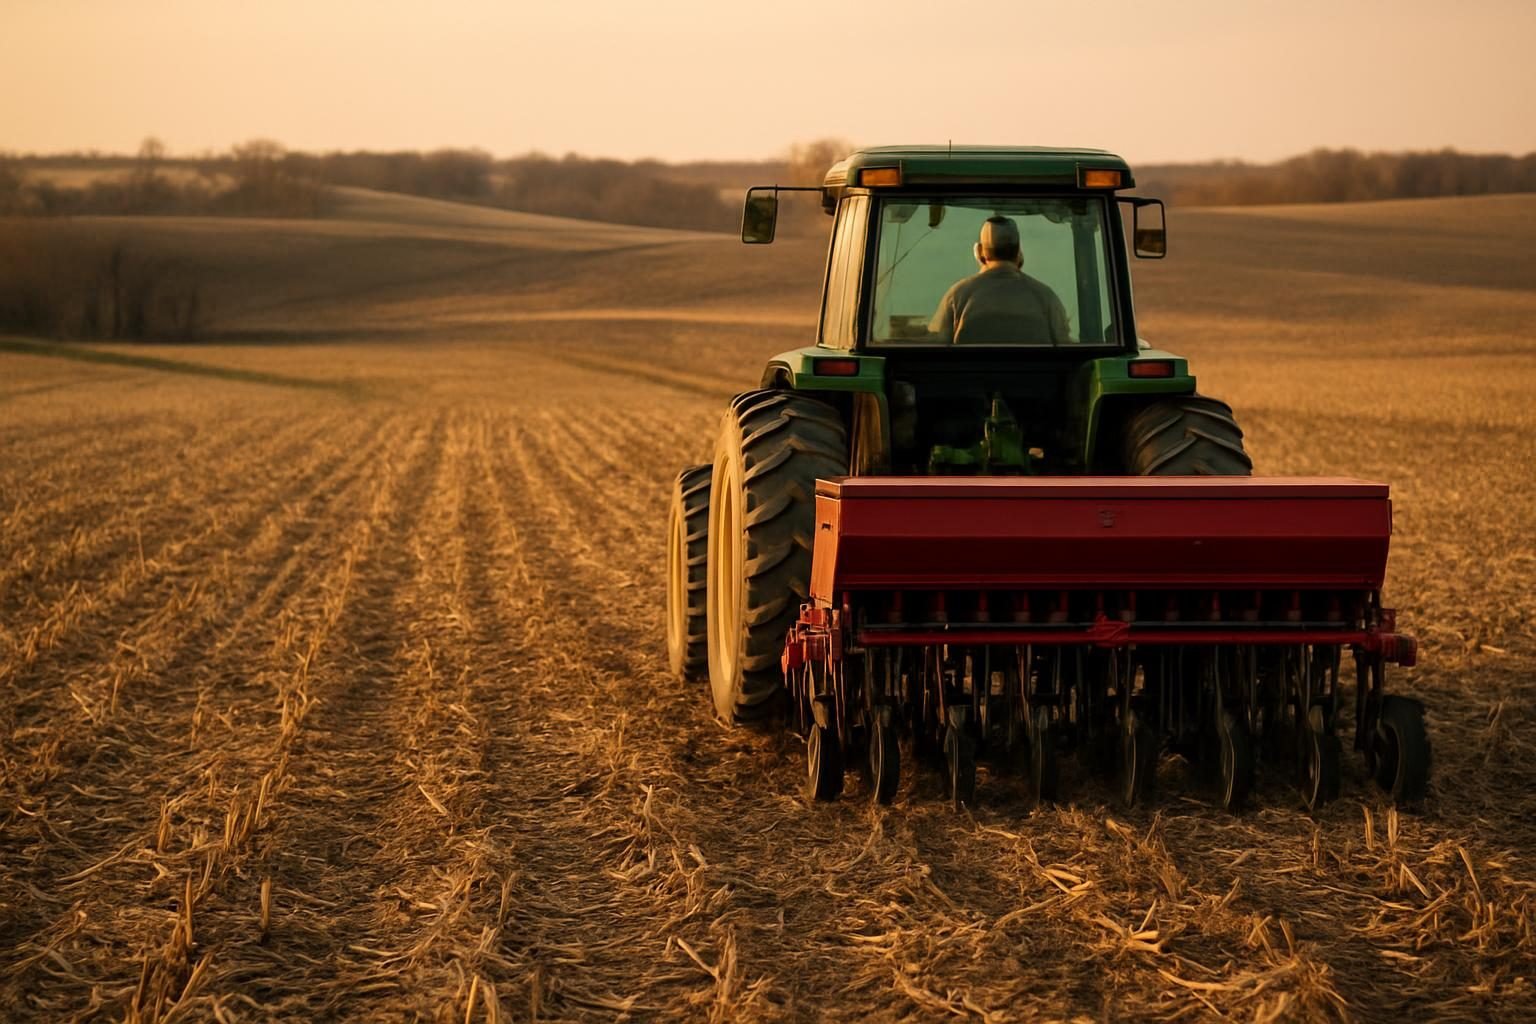
No till farming means planting directly into last season’s residue without plowing, disking or otherwise turning the soil. Done well, it protects soil structure, feeds soil life and cuts fuel and labor. Done carelessly, it can mean weedy fields, cold seedbeds and a rough first few years. This guide covers both sides, plus a practical path for switching.
Quick answer: No-till farming plants crops into undisturbed soil with residue left on the surface. It typically improves aggregation, water infiltration and biological activity, and reduces erosion, fuel and labor. The trade-offs are a possible yield dip in the first one to three years, a heavier reliance on weed-control planning (herbicides or cover crop termination), and equipment changes. Start on your best-drained, least compacted field, add cover crops, and expand as you learn.
What no-till does to soil
Tillage works like a short-term stimulant: it warms and loosens the seedbed, but it also burns through organic matter, breaks up fungal networks and leaves bare soil exposed to rain and wind. Leaving the soil alone lets several things happen over time.
Structure and aggregation
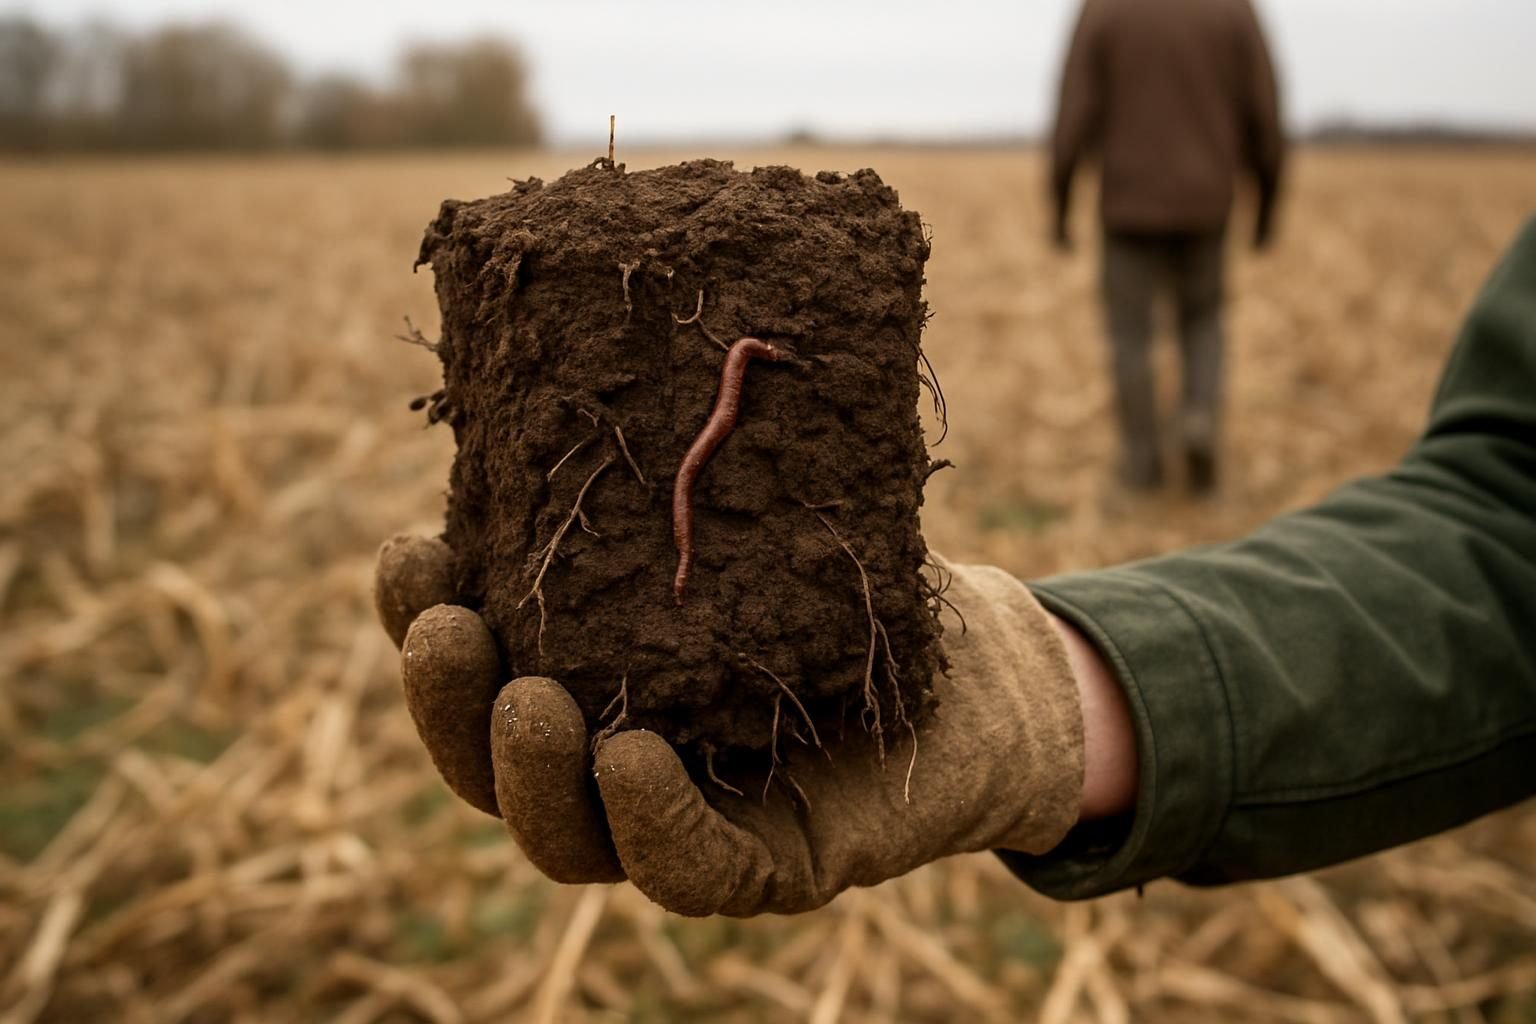
Stable aggregates form when roots, fungal hyphae and microbial glues bind soil particles together. Tillage shatters them. Without disturbance, aggregates build, pore networks stay connected, and water moves in instead of running off. Most farmers see the difference in infiltration within a few seasons, though how fast depends on soil type, climate and starting condition.
Biology
Earthworm channels, fungal networks and root-associated microbes all do better when they are not being cut up every spring. That includes mycorrhizal fungi, which extend a crop’s effective root reach and are sensitive to repeated disturbance. A good soil test baseline, repeated every year or two, helps you track whether the biology and nutrient cycling are actually shifting on your ground.
Organic matter and carbon: keep expectations realistic
No-till slows the loss of organic matter, and surface layers often gain carbon. Deeper in the profile, results in research are mixed, and gains are slow and limited by climate and soil. If building carbon is a goal, pair no-till with cover crops, diverse rotations and, where it fits, grazing. For the timeline, see our upcoming guide on how to increase soil organic matter. It is one of several outcomes covered in what the evidence shows on the benefits of regenerative agriculture.
Pros and cons of no-till at a glance
| Advantages | Drawbacks |
|---|---|
| Less erosion and runoff; better water infiltration | Yield dip is possible in the first 1 to 3 years |
| Lower fuel, labor and machinery wear | Planter and drill upgrades may be needed |
| Improved moisture retention, especially in dry spells | Cooler, wetter spring soils can delay emergence |
| Better habitat for soil life and beneficial insects | Weed control needs a different system (burndown, residue, cover crops) |
| Better trafficability on well-structured soils over time | Slugs, voles and residue-borne disease can increase in some regions |
Results vary by region. In the humid East and South, residue can keep soils cold and wet and favor slugs. In the Corn Belt, heavy corn residue is the main management issue. In the arid West, moisture conservation is often the biggest win, but residue production can be limited.
Equipment you actually need
You do not need to buy everything at once. Many farmers start with custom drilling or a rented or shared no-till drill.
- No-till drill or planter: Needs enough down-pressure and sharp, well-set openers to cut residue and place seed at consistent depth.
- Row cleaners: Move residue off the seed row in heavy corn stalks so seed contacts soil.
- Coulters or disc openers: Slice residue and firm soil, especially in cover crop stands.
- Sprayer: For burndown and residual herbicide programs if you use them.
- Roller crimper: For terminating cover crops mechanically. See our upcoming guide to the roller crimper.
- Residue spreaders: Combine chaff spreaders and straw choppers help avoid windrows that block the planter.
Small growers and market gardeners can get similar results with tarps, occultation (smothering with opaque cover), broadforks and hand tools. See how to start a market garden for bed-scale approaches.
Residue management and weed control
Residue is an asset: it shades the soil, slows evaporation and feeds biology. It only becomes a problem when it is uneven or too thick for your planter.
Residue basics
- Spread chaff and straw evenly at harvest.
- Match crop sequence to residue: following corn with soybeans is easier than corn on corn.
- In wet or cold regions, row cleaners and slightly later planting can help.
Weed control strategies
Without tillage, weeds must be managed by other means. Most successful systems layer several tactics:
- Start clean. Begin the transition on fields with a manageable weed seedbank, and control perennials before you stop tilling.
- Burndown. Many conventional no-till farmers use a burndown herbicide before planting. Follow label requirements and local extension guidance.
- Cover crops. Dense cover crop residue suppresses weeds by shading and physical mulch. Choose species and termination timing carefully, as covered in cover crops for beginners. Species combinations matter too; see our upcoming guide to cover crop mixes.
- Interseeding. Establishing covers into a standing cash crop keeps the soil armored; see interseeding cover crops for the how-to.
- Rotation and timing. Diverse rotations break weed cycles. Planting date, seeding rate and row spacing all affect canopy closure.
The yield dip and how to reduce it
Many farmers report lower or more variable yields in the first few years, then a recovery as soil structure and biology adjust. Research results vary, and some operations see no dip at all, especially on well-drained soils or in drier regions. Heavy, poorly drained, cold soils are most at risk.
Practical ways to soften the transition:
- Start with one or two fields, not the whole farm.
- Fix compaction first. A compacted layer will limit roots whether you till or not; see our upcoming guide on how to fix compacted soil.
- Check fertility, pH and placement. Surface-applied nutrients can stratify near the top, so subsurface or banded placement may help.
- Keep detailed notes on stand counts, emergence and yield compared with a tilled field.
- Budget for a learning curve, not a perfect first year.
Strip-till: a middle ground
Strip-till loosens and warms a narrow band (often 6 to 10 inches wide) where the seed goes, while leaving the area between rows untouched. It can help in cold, wet or heavy-residue conditions, and allows fertilizer to be placed in the strip. You keep most of the soil-protection benefits while giving seedlings a better start.
The trade-offs are an extra pass, a dedicated implement and GPS guidance to keep the planter on the strip. For many farmers in the northern Corn Belt and cool, wet regions, it is a sensible stepping stone, or even a permanent system.
Organic no-till challenges
Organic standards prohibit synthetic herbicides, so the burndown most no-till systems rely on is off the table. Organic no-till generally depends on a high-biomass cover crop (cereal rye is common) terminated with a roller crimper at the right growth stage, then planting into the mat. It can work, but it is demanding:
- Termination timing is narrow, and a poor kill means competition with your cash crop.
- Planting dates may be pushed later to allow adequate cover crop biomass.
- Weed pressure can still require cultivation or other tools.
- Equipment and management are less forgiving than in conventional systems.
Many organic growers use reduced tillage rather than strict no-till. For how organic and regenerative approaches compare, see regenerative vs organic farming.
A step-by-step plan to make the switch
- Pick a pilot field. Choose well-drained ground with few perennial weeds and no severe compaction.
- Test and map. Get baseline soil tests, note compaction and drainage problems, and photograph the field.
- Plan the rotation and covers. Decide what follows what, and when covers go in.
- Line up equipment. Rent, borrow or hire custom drilling before buying.
- Design weed control. Decide on burndown, crimping and residual strategies before planting day.
- Plant carefully. Check seed depth and furrow closure in the field, not just from the cab.
- Scout and record. Walk the field weekly early on, and keep side-by-side comparisons.
- Expand gradually. Add acres as results and confidence build.
Cost-share may be available for practices like no-till and cover crops. See EQIP for regenerative farmers, and confirm current practices, payment rates and deadlines with your local NRCS office, since they change. No-till is one practice within a larger approach; for the full picture, start with what regenerative agriculture is and how to start, and browse more in our soil health section.
Key takeaways
- No-till protects soil structure and biology and reduces erosion, fuel and labor, but benefits build over years.
- Expect a possible yield dip or variability in years one to three, especially on cold, wet or compacted soils.
- Weed control is the make-or-break issue; plan burndown or cover crop termination before you plant.
- Start small, rent equipment first, and keep side-by-side records.
- Strip-till is a legitimate middle ground in cold, heavy-residue conditions.
- Organic no-till is possible but demands precise timing and a roller crimper or similar tools.
Frequently asked questions
Does no-till farming reduce yields?
It can in the first few years, particularly on heavy, cold or poorly drained soils, but results vary widely. Many farmers see yields recover or match tilled fields as soil structure improves, and in dry regions no-till can outperform tillage by conserving moisture. Starting with a pilot field and good compaction and fertility management reduces the risk.
Can you do no-till without herbicides?
Yes, but it is harder. Organic and low-input growers rely on dense cover crops terminated with a roller crimper, tarping or occultation, mulch and careful rotation. Timing is critical, and many systems still need some cultivation. Expect a steeper learning curve than with herbicide-based burndown.
What equipment do I need to start no-till?
At minimum, a no-till drill or planter that can cut residue and place seed at consistent depth. Row cleaners, coulters and a sprayer or roller crimper are common additions. Many farmers begin with custom drilling or a rented or shared drill before buying.
How long does it take to see soil benefits?
Improvements in infiltration, aggregation and earthworm activity are often noticeable within two to five years, while measurable organic matter gains are slower and depend on climate, soil type and the use of cover crops. Track progress with repeat soil tests and simple field observations.
Is strip-till the same as no-till?
No. Strip-till disturbs a narrow band where the seed row goes and leaves the rest of the soil undisturbed. It warms and loosens the seedbed in cool, wet or residue-heavy conditions while keeping most no-till benefits, though it requires an extra pass and specialized equipment.