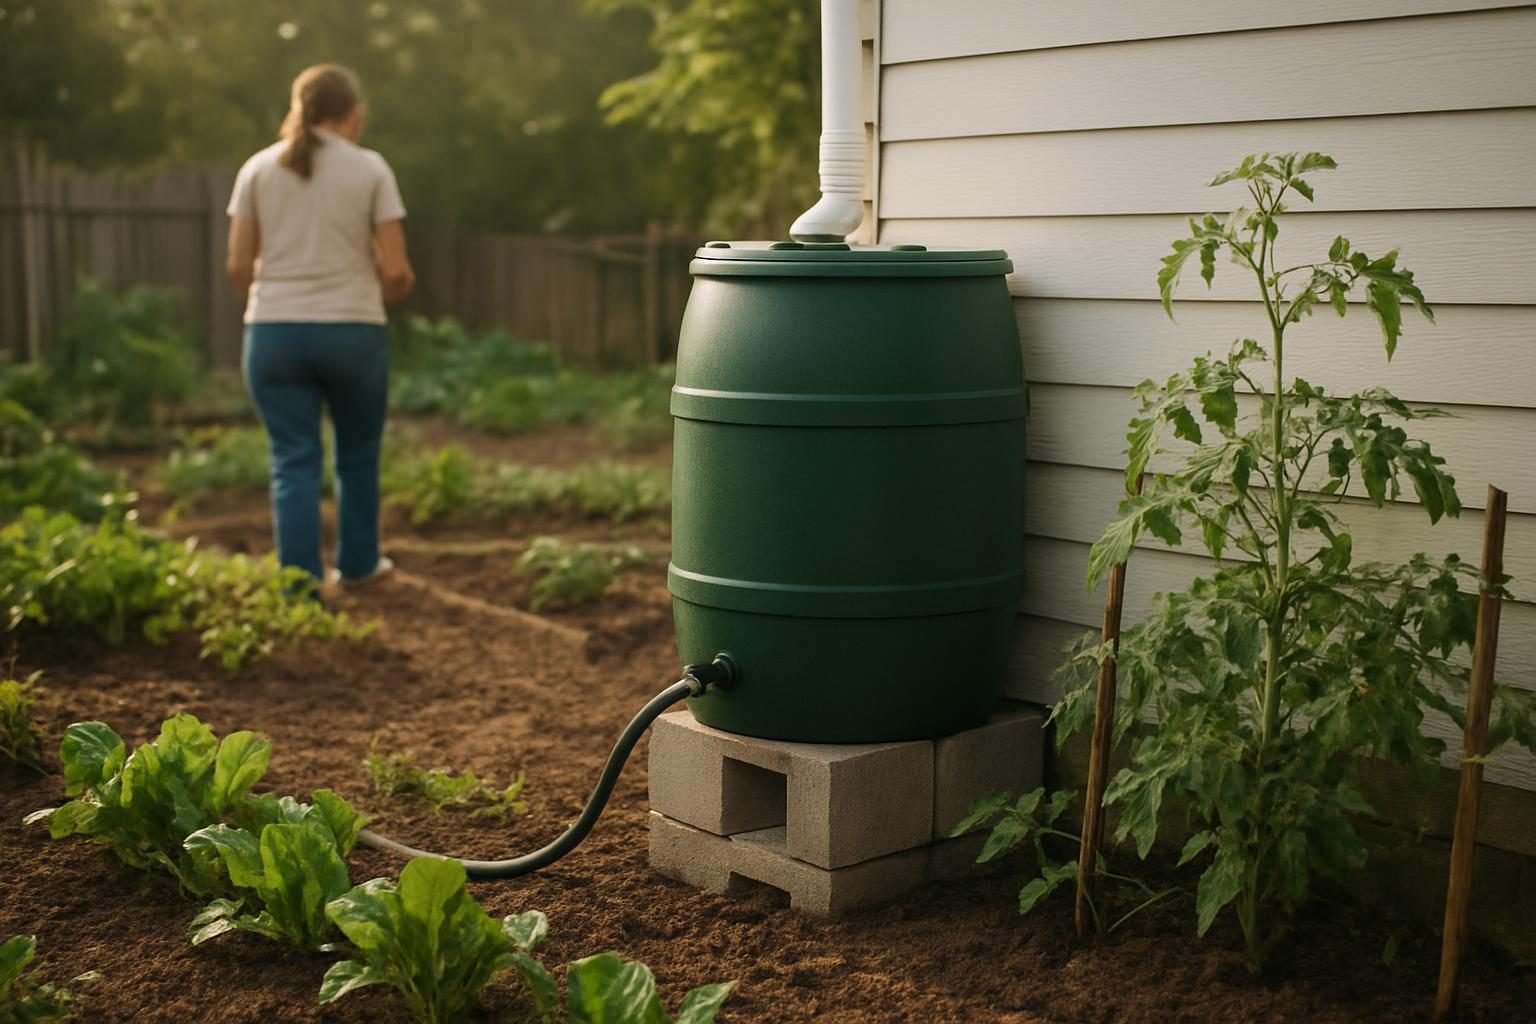
A downspout diverter is the small fitting that decides whether your rain barrel actually works or becomes a mosquito-breeding, foundation-soaking headache. It splits roof runoff between your barrel and the rest of your drainage, and the right style depends on your downspout, your barrel layout and your climate. This guide compares the three common types and walks through installation, overflow and winter shutoff.
Quick answer: Use a fill-stop (automatic) downspout diverter if you want hands-off collection that sends water back down the spout when the barrel is full. Choose a flip-top or manual diverter if you want control, simple parts and easy winter shutoff. Match the diverter to your downspout’s shape and size (typically 2×3 or 3×4 inch rectangular, or 3 or 4 inch round), cut the spout cleanly, and always route overflow at least 6 to 10 feet from your foundation.
What a downspout diverter does and why it matters
A barrel without a diverter either fills once and overflows all over your foundation or requires you to rig up something improvised. A diverter gives you a deliberate path: water goes to the barrel when you want it to, and goes back into your normal drainage when you do not.
For a homestead or market garden, this is the first piece of the larger plan covered in our guide to rainwater harvesting for farms and homesteads. A single 1,000 square foot roof sheds roughly 600 gallons per inch of rain, so even a modest storm can overwhelm a 55-gallon barrel in minutes. The diverter and overflow plan matter as much as the barrel itself.
The three main diverter types compared
| Type | How it works | Best for | Trade-offs |
|---|---|---|---|
| Fill-stop (automatic) | Water fills the barrel through a hose; once full, rising pressure or a float closes the inlet and flow returns down the spout | Single barrels you will not babysit; busy farms | More moving parts; can clog with debris; may be slow in light rain; can freeze |
| Flip-top (hinged flap) | A flap or cover redirects water into a port or hose when open; closed, water continues down the spout | People who want simple, visible control | You must remember to close it; barrel can overflow if you forget |
| Manual (valve or plug) | A diverter body with a manual gate, valve or removable plug that you set before and after storms | Winter shutoff, low-tech setups, tight budgets | Most labor; easy to leave open at the wrong time |
Fill-stop diverters
These sit in the downspout and capture water in a collection chamber that feeds a hose to the barrel. When the barrel fills, water backs up and flow bypasses down the original spout. The appeal is clear: no daily attention. The downside is that debris, pollen and shingle grit can foul the mechanism, so plan on a spring and fall cleaning. Pair them with a first flush diverter if you collect for garden use and want the dirtiest initial runoff kept out.
Flip-top diverters
A flip-top has a hinged lid or flap in the spout. Open, it sends water toward the barrel; closed, water passes through. They are reliable because there is little to break, and you can see at a glance what position they are in. The catch is human error. If you leave one open during a long storm and the barrel is full with no good overflow, you will find out the hard way.
Manual diverters
These are the simplest: a valve, gate or plug you operate yourself. They shine in winter, when you want an unambiguous off switch, and they cost the least. If you are comfortable with a routine, a manual diverter paired with a solid overflow is hard to beat.
Match the diverter to your downspout and barrel setup
Fit is where most installs go wrong. Check these before you buy.
- Downspout shape and size. Common residential spouts are 2×3 inch or 3×4 inch rectangular, and 3 inch or 4 inch round. Farm outbuildings and barns often use larger 4×5 inch or 5 or 6 inch spouts. Measure the inside dimensions with a tape.
- Material. Aluminum and vinyl cut easily. Galvanized steel and copper need tin snips or a hacksaw and sharper edges to deburr.
- Barrel inlet. Confirm whether your barrel takes the diverter hose on top (most common) or low on the side, and whether the fitting is threaded or a slip connection.
- Height. The diverter must sit higher than the barrel inlet so gravity does the work. Plan on the barrel resting on a level stand of cinder block or timber.
- Barrel count. One barrel is simple. If you plan to chain several, read our guide to a rain barrel system and how to link barrels before choosing, since overflow and linking change which diverter makes sense.
If your roof area is large and one barrel will never keep up, think bigger than a barrel. Our guides to rainwater collection tanks and rainwater harvesting system cost cover when to step up to a cistern.
How to install a downspout diverter
Plan on about an hour for a first install. You will need a tape measure, level, hacksaw or tin snips, marker, drill, screwdriver, and the diverter kit.
- Set the barrel base. Place a level, solid stand (cinder blocks or pressure-treated timber) beside the downspout. A full 55-gallon barrel weighs over 450 pounds, so the ground must be firm and flat.
- Mark your cut. Hold the diverter against the spout so its outlet will sit above the barrel inlet. Mark the section of spout to remove, usually a few inches taller than the diverter body.
- Support the spout. Make sure the upper section is held by a bracket or strap so it does not drop when you cut.
- Cut cleanly. Use a hacksaw or snips, cut straight, then deburr the edges so they do not snag the diverter or cut your hands.
- Fit the diverter. Slide the upper spout into the diverter inlet and the lower spout onto the outlet, following the manufacturer’s overlap guidance. The upper piece should sit inside the diverter so water flows into it, not around it.
- Secure it. Fasten with the supplied screws or clamps. Seal gaps lightly with exterior sealant if the kit calls for it.
- Connect the hose. Run the hose to the barrel inlet with a steady downward slope and no sags or kinks. Keep it short, usually under 3 feet, for best flow.
- Test. Run a garden hose into the gutter or wait for rain. Check for leaks at every joint and confirm the diverter actually directs water to the barrel and bypasses when full.
Overflow: the part that protects your foundation
Every barrel fills. What matters is where the extra goes. Skipping overflow planning is the most common mistake we see on homestead installs.
- Use the diverter’s bypass. A fill-stop sends excess back down the spout automatically; make sure the lower spout discharges well away from the structure.
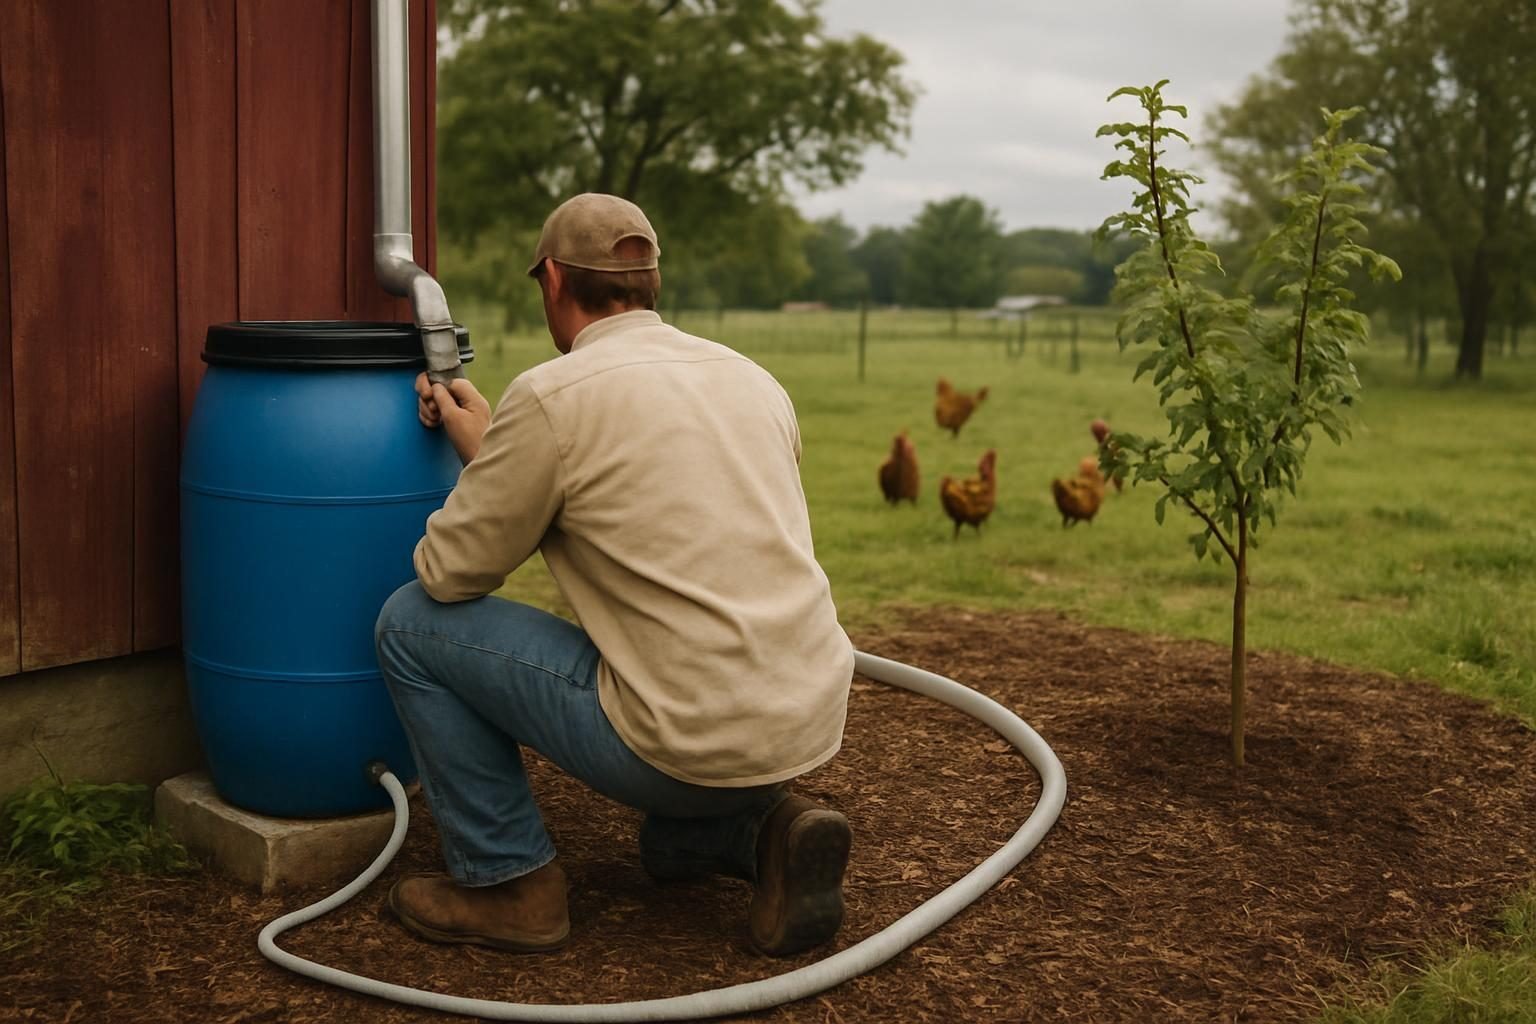
- Add a barrel overflow port. Install an overflow fitting near the top of the barrel and run a hose or pipe at least 6 to 10 feet from the foundation, sloping away.
- Send it somewhere useful. Overflow can feed a second barrel, a mulched planting, or a rain garden that soaks it in. On sloped land, a swale can spread and infiltrate it, though they work in some sites and not others.
- Protect screens. Keep a fine mesh over the inlet to block mosquitoes, leaves and debris.
Overflow that waters a tree or a shrub bed is rainwater doing double duty. If you are planting for the long term, our guides to fruit tree guilds and how to plant a food forest show good places to land that extra water.
Winter shutoff in cold climates
Frozen water expands with enough force to split barrels, crack diverters and burst fittings. In freezing climates, plan to shut things down before the first hard freeze, typically when nights regularly drop below 28 degrees Fahrenheit.
- Disable the diverter. Close a flip-top, shut or plug a manual diverter, or remove the hose from a fill-stop so water runs straight down the spout.
- Drain the barrel completely. Open the spigot, tip out the last inches, and leave the spigot open.
- Disconnect hoses and fittings. Drain them and store them indoors if possible.
- Store or invert the barrel. Flip it upside down or cover it so it cannot refill with snowmelt.
- Reconnect the spout. Restore the original downspout path so winter runoff exits normally.
For the full routine, including hoses and farm water lines, see our guide to winterizing rain barrels and farm water lines. In mild Southern and coastal climates you may only need to shut off during rare cold snaps, while in the northern Corn Belt and mountain West you will want a dependable manual or flip-top you can close in seconds.
What to do with the water and what to check first
Roof water carries grit, pollen and bird droppings. That is fine for watering ornamentals and many garden beds, and a good match for drip systems with proper filtering; see drip irrigation for small farms and market gardens and our guide to rainwater filtration. For specific uses, our upcoming guide on using harvested rainwater will cover irrigation, livestock and household options.
Rules vary. Some states and localities regulate collection volume, storage or use, and HOAs may have their own restrictions. Before you install, confirm local requirements; our upcoming guide on rainwater harvesting laws by state will help you know what to check. Roof material also matters, since treated wood shakes, certain coatings and older asphalt shingles are poor sources for edible crops.
Key takeaways
- Fill-stop diverters are automatic, flip-tops are simple and visible, and manual diverters are cheapest and best for firm winter shutoff.
- Measure your downspout’s inside dimensions and confirm barrel inlet height before buying.
- Install the diverter above the barrel inlet on a level, solid base, with a short, sloped hose.
- Plan overflow first: route it 6 to 10 feet from the foundation, ideally into a planting or infiltration area.
- Disable the diverter and drain the barrel before hard freezes.
- Check local rules and roof material before using water on food crops.
Rainwater capture is one piece of a whole-farm water plan, from permaculture design to the broader practices in our agroforestry guide. You can also browse more in the Agroforestry & Water category.
Frequently asked questions
What size downspout diverter do I need?
Match the diverter to your downspout’s shape and inside dimensions. Common residential sizes are 2×3 and 3×4 inch rectangular, or 3 and 4 inch round. Larger barns and outbuildings may use 4×5 inch or bigger. Measure the spout, then buy a diverter rated for that size or an adapter kit that covers it.
Is a fill-stop diverter better than a flip-top?
Neither is better in every case. A fill-stop is better if you want hands-off operation, because it sends water back down the spout when the barrel is full. A flip-top is better if you want simple, visible control with fewer parts to clog. Many farmers choose fill-stop for summer and a manual shutoff routine for winter.
Where should rain barrel overflow go?
Route it at least 6 to 10 feet from your foundation, sloping away from the structure. Better yet, send it somewhere useful, such as a second barrel, a mulched planting, or a rain garden. Avoid discharging near footings, basement walls, septic fields or neighbor property.
How do I stop my diverter from freezing in winter?
Shut it off before hard freezes. Close or plug the diverter so water runs down the spout, drain the barrel completely, disconnect and drain the hose, and leave the spigot open. In very cold regions, remove the diverter hose and store it indoors.
Can I use a diverter with more than one barrel?
Yes. A common approach is to run the diverter to the first barrel and link barrels with overflow or connecting hoses so they fill in sequence. Keep barrels level and plan the final overflow path carefully so the last barrel does not spill near the foundation.