Day-old chicks are tough little animals with one big weakness: they cannot hold their own body heat for the first few weeks. Get the brooder right and most of the rest of chick care falls into place. This guide walks you through setup, heat, bedding, feed, water, warning signs and the move outdoors.
Quick answer: Set up a draft-free brooder with about 0.5 square feet per chick at first, 2 to 3 inches of dry pine shavings, starter feed and clean water, and keep the warm zone near 95°F the first week. Drop it about 5°F each week until the chicks are fully feathered, usually around 5 to 6 weeks, then move them outdoors when outside temperatures are mild and they no longer need supplemental heat.
Before the Chicks Arrive: Brooder Setup
Have everything running for 24 hours before chicks show up. That gives you time to fix a heater that is too hot or a corner that is too drafty. If you are still deciding when to order and how to line up your timing, our upcoming guide to chick days covers that planning.
Choose the container
Almost anything works if it has solid sides, a secure top and room to grow: a large plastic tote, a stock tank, a cattle-feeder trough, a kiddie pool with a cardboard collar, or a plywood box. Sides should be at least 16 to 18 inches high, and you will want a wire or screen lid because chicks start flapping up and out by week two or three. Avoid wire-bottom cages and slick surfaces.
Size it for growth
Crowding is the most common brooder mistake. These are typical ranges, so adjust for your breed and how long you plan to brood:
| Age | Space per chick (typical) | Warm zone temperature (typical) |
|---|---|---|
| Week 1 | 0.5 sq ft | 93 to 95°F |
| Week 2 | 0.5 to 1 sq ft | 88 to 90°F |
| Week 3 | 1 sq ft | 83 to 85°F |
| Week 4 | 1 to 1.5 sq ft | 78 to 80°F |
| Week 5 | 1.5 to 2 sq ft | 73 to 75°F |
| Week 6 | 2 sq ft | Ambient (about 70°F) if fully feathered |
Heavy meat breeds and large dual-purpose birds need more room than bantams. If you are unsure, build bigger. You can always partition a large brooder and open it up as the birds grow.
Pick a spot
Put the brooder somewhere draft-free, dry and secure from cats, dogs, rats and weasels: a garage, mudroom, barn stall or spare room. Dust and ammonia build up fast, so choose a place with decent ventilation but no direct breeze across the chicks. Keep it away from where you store feed so you do not attract rodents.
Heat Sources: Heat Lamps vs Plate and Brooder Heaters
Chicks need a warm zone and a cooler zone so they can regulate themselves. The heat source should cover only part of the brooder.
Heat lamps
A 250-watt red or white heat lamp is the traditional choice. It is cheap and widely available. But it is also the leading cause of brooder fires. Bulbs fall, clamps fail, bedding dust ignites and lamps shatter when splashed with water. They also tend to overheat small brooders and run lights all night, which can disrupt rest. If you use one, hang it with a chain or wire, not just the clamp, keep it well clear of bedding, and use a ceramic or porcelain socket rated for the bulb.
Plate and radiant brooder heaters
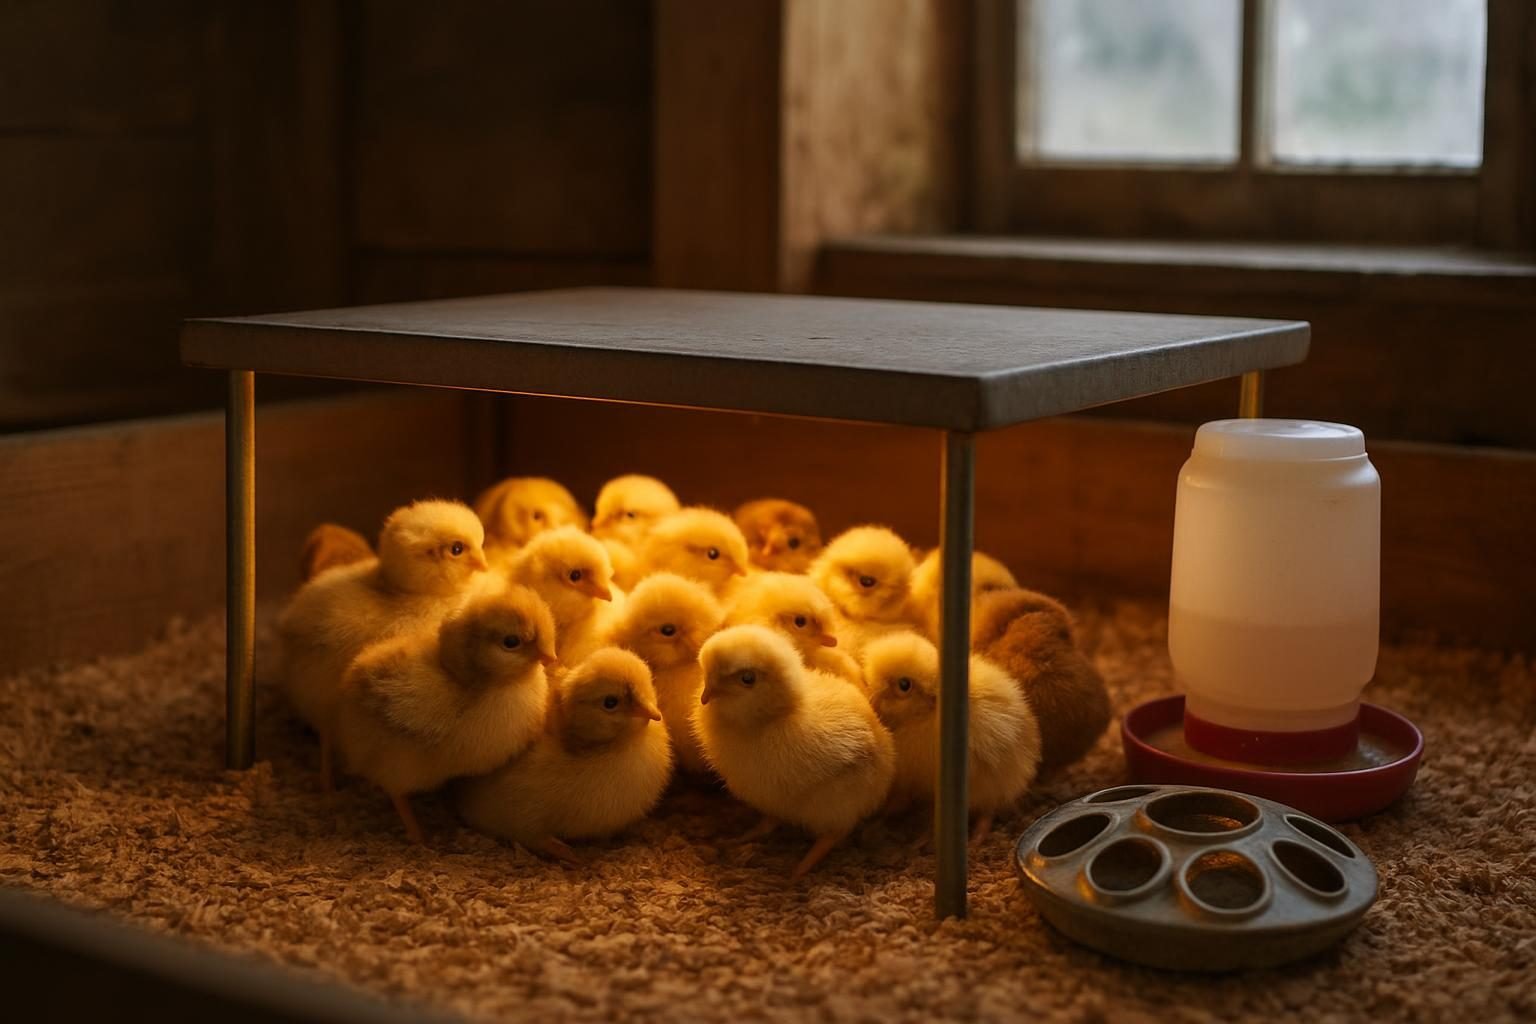
A flat radiant heater (often called a brooder plate or hover brooder) works like a hen. Chicks huddle under it, and you raise the legs each week as they grow. They draw far less power, carry a much lower fire risk and let chicks move in and out of the heat naturally. Upfront cost is higher, but many small-flock keepers consider them well worth it. Check the manufacturer’s size and capacity guidance, since a small plate covers a limited number of chicks.
| Feature | Heat lamp | Plate or brooder heater |
|---|---|---|
| Fire risk | High | Low |
| Upfront cost | Low | Moderate |
| Electricity use | Higher | Lower |
| Natural hen-like behavior | Limited | Good |
| Best for | Short-term backup only | Most small and mid-size flocks |
Whichever you use, trust the chicks more than the thermometer. Spread-out, quietly peeping chicks are comfortable. Huddled and loud means cold. Panting and crowded against the walls away from the heat means too hot.
Bedding, Feed and Water
Bedding
Use 2 to 3 inches of large-flake pine shavings. They absorb moisture, are easy to scoop and give chicks traction. Skip cedar shavings (aromatic oils can irritate lungs), and avoid slick newspaper or smooth paper towels beyond the first couple of days, since chicks on slippery floors can develop leg problems like splayed legs. Put a rough paper towel over the shavings for the first 2 to 3 days so chicks learn to eat feed, not bedding.
Spot-clean wet areas daily and replace bedding as it gets damp or smelly. A damp brooder breeds coccidiosis and ammonia, which stresses young lungs. Spent pine shavings make a decent carbon source for compost, which ties into the bigger picture in our soil health guide.
Feed
Offer a chick starter crumble with roughly 18 to 20 percent protein from day one, available at all times. Meat birds typically want a higher-protein feed, and your feed supplier can point you to the right product. Medicated starter is a personal and regional decision, particularly if your chicks are not vaccinated for coccidiosis. Ask your hatchery or extension office what is typical in your area. For a deeper look at starter, grower and layer rations, watch for our chicken feed guide, and if you want to bring costs down later, see our upcoming piece on cutting poultry feed costs.
From about week 2 or 3, offer a small dish of fine grit if the chicks are getting anything beyond starter feed, such as greens or treats. Keep treats to a minimum. Starter is a balanced ration and extras dilute it.
Water
Clean, room-temperature water is more important than feed in the first 24 hours. Dip each chick’s beak into the water as you place it in the brooder so it learns where to drink. Use a chick-sized waterer with a narrow lip, or add clean marbles or pebbles to a shallow dish to prevent drowning. Raise waterers and feeders on a small block or board as chicks grow so they stay out of the bedding. Wet bedding near the waterer is a daily chore, not an occasional one. Some keepers add electrolytes or a little sugar for shipped chicks in the first day or two. Ask your hatchery what they recommend.
Daily Checks and Signs of Stress
Spend a few minutes with the chicks every morning and evening. Healthy chicks are active, bright-eyed and curious, and they eat, drink, then flop down for naps.
- Pasting up: droppings stuck to the vent. Gently clean with warm water and a soft cloth, then check your temperature, since stress and chilling are common causes.
- Splayed legs: often linked to slippery flooring. Fix the floor quickly and consult a vet or experienced keeper.
- Lethargy, drooping wings or lots of bloody droppings: possible coccidiosis or other illness. Call your vet, your state veterinary diagnostic lab or your extension service.
- Feather picking or bullying: usually crowding, heat or boredom. Add space, lower the temperature and offer a perch or a clump of sod to scratch.
Wash your hands before and after handling chicks. Baby poultry can carry Salmonella even when they look healthy, so keep children handling them supervised and keep chicks out of kitchens and eating areas. Check the CDC and your state extension service for current handling guidance.
When Can Chicks Move Outdoors?
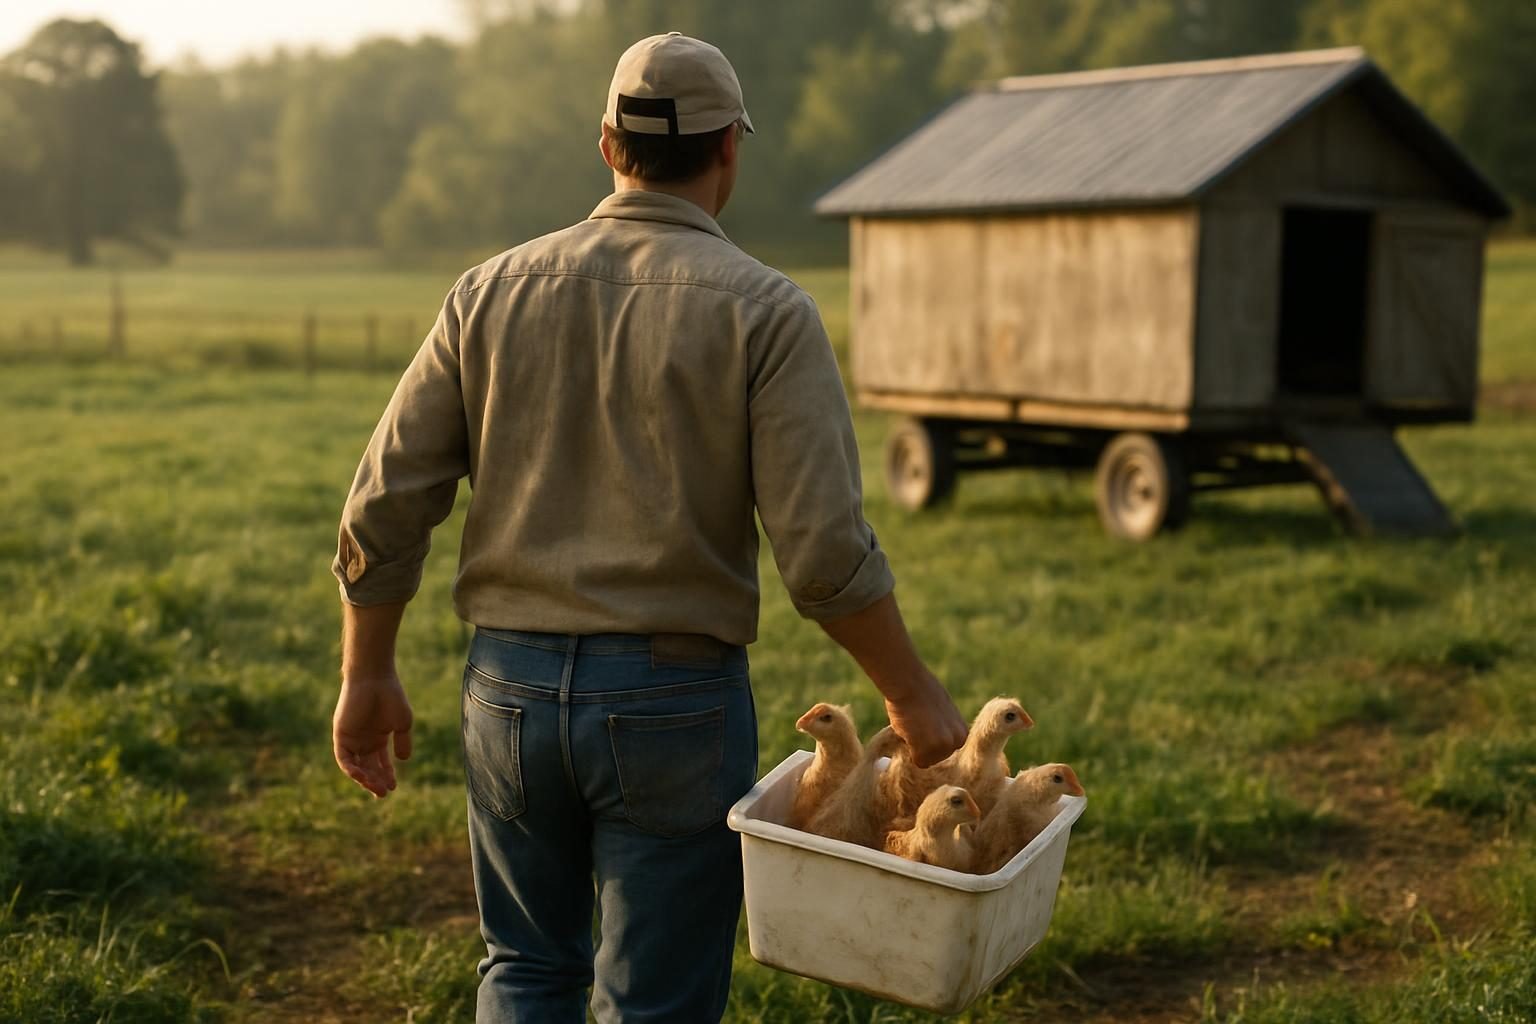
The usual benchmark is full feathering, typically 5 to 6 weeks, plus mild weather. As a rule of thumb, the nights should be above about 50 to 55°F if the birds are fully feathered, and a bit warmer if they are not quite there. In the humid East, damp cold can be as hard on young birds as freezing temperatures. In the arid West, big day-to-night swings mean you may need to hold them a bit longer. Use these checks:
- They are fully feathered, with no fuzzy patches on the back or belly.
- Nighttime lows are mild for your region, or you can provide a protected, draft-free area with supplemental heat.
- The coop and run are predator-proof with hardware cloth, secure latches and no gaps. Our guides to chicken pens and runs and the chicken coop buyer’s guide walk through the options, and our upcoming comparison of poultry wire types explains what actually keeps predators out.
- You introduce them gradually, with daytime visits first, then overnight stays once they are comfortable.
If you are heading toward grass-based systems, young birds do well in a protected tractor. See chicken tractors and pastured poultry for how to bring them onto pasture, and best chicken breeds for pasture if you are still choosing which birds to order. Heading into colder months with young birds? Winter chicken care and coop prep covers the next step.
Common Brooding Mistakes
- Starting the brooder too cold or too hot and relying only on a thermometer, instead of watching the chicks.
- Overcrowding, which drives pecking, dampness and disease.
- Using slick flooring for more than the first couple of days.
- Moving birds outside before they are feathered, especially in a cold snap.
- Skipping a plan for adult birds. If you are weighing starting with chicks against buying older birds, read our upcoming buying pullets comparison.
Key takeaways
- Test your brooder for 24 hours before the chicks arrive.
- Start near 95°F in a warm zone and drop about 5°F per week, adjusting to the chicks’ behavior.
- Plate or brooder heaters are generally safer than heat lamps, which carry real fire risk.
- Use pine shavings, chick starter and fresh water, and keep everything dry.
- Watch for pasting up, lethargy and crowding, and clean and fix problems early.
- Move birds outdoors when fully feathered, weather is mild and the coop is secure.
Raising chicks well is a good first step into broader livestock work on a small acreage. If that is your path, our small-scale regenerative farming guide shows how poultry fits into the bigger system, and more livestock articles live in the Grazing & Livestock section.
Frequently asked questions
How long do chicks need a heat source?
Most chicks need supplemental heat for about 5 to 6 weeks, or until they are fully feathered. Start near 95°F the first week and reduce by roughly 5°F weekly. Slower-feathering breeds and chicks raised in cool or damp climates may need a little longer.
How many chicks can I put in one brooder?
A common guideline is about 0.5 square feet per chick for the first week or two, rising to 1 to 2 square feet by weeks 4 to 6. Larger breeds need more room. If chicks look crowded, are pecking each other or the bedding gets wet quickly, give them more space.
Are heat lamps safe for brooding chicks?
Heat lamps work, but they are a leading cause of barn and brooder fires, and they can overheat small spaces. A plate or radiant brooder heater is generally safer and more natural for chicks. If you use a lamp, hang it securely with a chain, keep it clear of bedding and check it daily.
What should I feed baby chicks?
Feed a chick starter crumble with around 18 to 20 percent protein, available at all times, with clean water beside it. Whether to use a medicated starter depends on vaccination status and regional disease pressure, so ask your hatchery or extension service. Keep treats minimal at first.
When can chicks go outside?
Move chicks outside when they are fully feathered, usually around 5 to 6 weeks, nights are mild for your region and the coop is predator-proof. Introduce them gradually with daytime visits first, and keep a heat option available if the weather turns cold.