A first flush diverter is a simple device that sends the first bit of roof runoff away from your tank or barrel, so the dust, bird droppings and debris that built up since the last rain never reach your stored water. It is one of the cheapest upgrades in any rainwater system, and one of the most effective. Here is how it works, how to size it, and how to build one yourself.
Quick answer: A first flush diverter captures and holds the first slug of dirty roof runoff in a standpipe, then lets cleaner water continue to your tank. A common rule of thumb is to divert roughly 0.5 to 2 gallons per 100 square feet of roof, depending on how dirty your roof is and how long the dry spells run. A DIY version needs a vertical pipe, a floating ball or similar valve, and a slow drip outlet, and it needs emptying or draining between storms.
Why the first runoff is the dirtiest
Between rains, a roof collects pollen, dust, leaf litter, bird and rodent droppings, insect remains, and fine particles from the air. Asphalt shingles shed granules, and some metal and treated surfaces leach small amounts of compounds. When rain finally arrives, the first minutes of runoff wash most of that load into the gutter.
That initial surge is the “first flush.” Studies of roof runoff, including work summarized by university extension programs, consistently show that contaminant concentrations are highest at the start of a storm and drop as the roof rinses clean. Exactly how much and how fast varies with roof material, tree cover, local air quality and the length of the dry spell beforehand.
Skipping the first flush has real payoffs:
- Less sediment and organic matter in the tank, which means less sludge and less food for bacteria.
- Cleaner water for drip lines and emitters, which clog easily. See our guide to drip irrigation for small farms and market gardens.
- A lighter load on your filters, so cartridges and screens last longer.
A diverter is not a purification system. It reduces the load; it does not make water potable. If you plan any household or livestock use, pair it with proper filtration (more on that below).
How a first flush diverter works
The design is simple physics. Water from the downspout enters a vertical standpipe before it heads to the tank. The standpipe fills first, holding the dirtiest water. Once it is full, a float (usually a ball) rises and seals the top of the chamber, so the rest of the runoff takes the path of least resistance and flows onward to your storage.
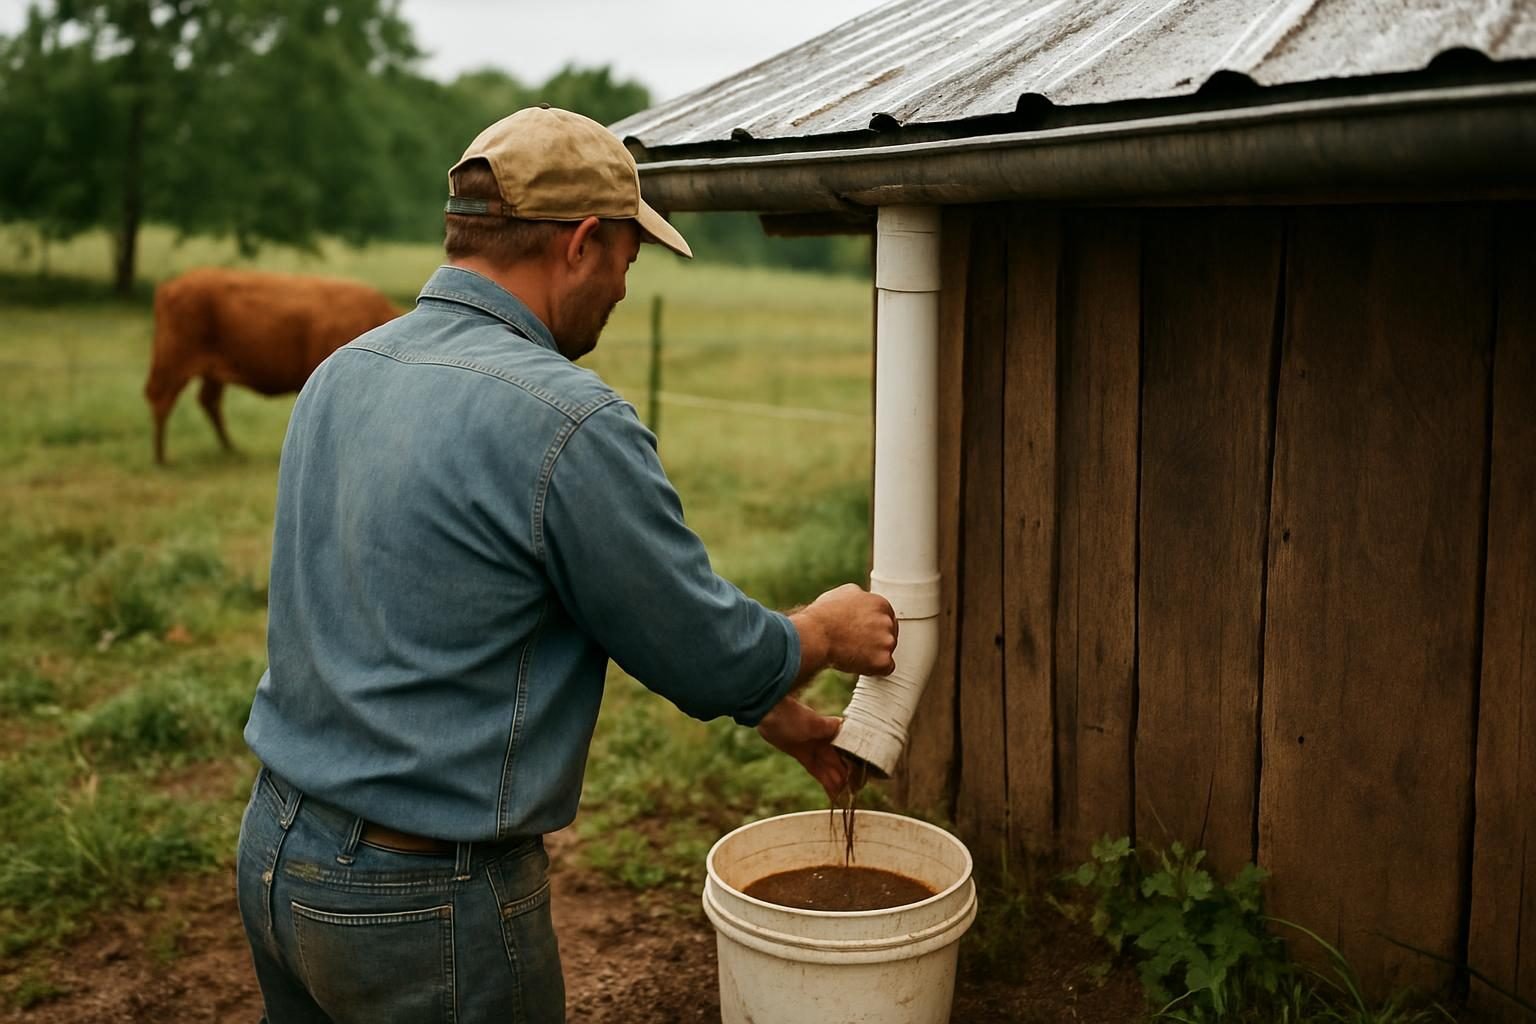
The trapped water then drains out slowly through a small hole or a cap with a pinhole, a threaded drip valve, or an adjustable screw. That slow drain resets the device for the next rain, ideally over a day or two.
The main parts
- Standpipe (chamber): usually 3 to 6 inch PVC or ABS, sized to hold the diverted volume.
- Float or ball valve: a ping pong or rubber ball that rises with the water and seals the chamber.
- Cleanout cap: a threaded or screw-off cap at the bottom so you can empty sediment.
- Drip outlet: a small hole (around 1/16 to 1/8 inch) or a hose-bib style valve for slow drainage.
- Tee fitting: directs flow either down into the chamber or sideways toward the tank.
Sizing a diverter to your roof
There is no single correct number, which is why you will see a range of rules of thumb. Extension and rainwater harvesting guides commonly suggest diverting somewhere around 0.5 to 2 gallons for every 100 square feet of collection area. Use the lower end for a clean metal roof in a rainy climate, and the higher end for a dirtier roof, overhanging trees, or long dry stretches.
First, find your roof’s catchment area, which is the footprint of the roof (length times width of the building plan), not the sloped surface. Then multiply:
Diverted volume (gallons) = catchment area (sq ft) ÷ 100 × gallons per 100 sq ft
| Catchment area | Light (0.5 gal/100 sq ft) | Moderate (1 gal/100 sq ft) | Heavy (2 gal/100 sq ft) |
|---|---|---|---|
| 500 sq ft (shed, small coop) | 2.5 gal | 5 gal | 10 gal |
| 1,000 sq ft (small barn) | 5 gal | 10 gal | 20 gal |
| 1,500 sq ft (house) | 7.5 gal | 15 gal | 30 gal |
| 3,000 sq ft (large barn) | 15 gal | 30 gal | 60 gal |
These are estimates to get you started, not engineering specs. Then convert gallons to pipe length. A 4-inch pipe holds roughly 0.65 gallons per foot, and a 6-inch pipe holds roughly 1.5 gallons per foot. So a 10-gallon diversion needs about 15 feet of 4-inch pipe, which is why many people use 6-inch pipe or build one diverter per downspout.
Rather than diverting a huge volume from one spout, it is usually easier to split the roof across several downspouts and fit a smaller diverter to each. That also keeps pipe lengths manageable.
How to build a simple DIY first flush diverter
This version uses common PVC parts from any hardware store. Costs are typically modest, often in the range of a few dozen dollars depending on pipe size and fittings. Confirm local prices, and see our overview of rainwater harvesting system cost for the bigger picture.
Materials
- 4-inch or 6-inch PVC pipe, cut to your calculated length
- A wye or tee fitting sized to match the pipe and your downspout
- A ball that fits loosely inside the pipe (a ping pong ball works for small units; confirm it floats and seals)
- A reducer or screened seat so the ball seals against a narrower opening
- A threaded cleanout cap or end cap with a screw-off fitting
- A small drill bit or a hose-bib style drain valve
- PVC primer and cement, downspout straps, and a hacksaw or pipe cutter
Steps
- Measure and cut. Cut the standpipe to the length you calculated, leaving room at the top for the ball and fittings.
- Install the tee. Cut the downspout and fit the tee or wye so the main flow can drop into the standpipe, with the side outlet leading toward the tank or barrel line.
- Set the ball seat. Place a reducer or narrowed fitting at the top of the standpipe so the floating ball seals against it when the chamber is full.
- Add the ball. Drop the ball into the standpipe so it floats up as the water rises.
- Fit the bottom cap. Glue a threaded cleanout cap at the bottom so you can unscrew it and flush out sediment.
- Drill the drip hole. Make a small hole (about 1/16 to 1/8 inch) in the cap, or install a small valve you can adjust. Aim for the chamber to drain in roughly 24 to 48 hours.
- Strap it down. Secure the pipe to the wall or a post with straps; a full pipe is heavy.
- Test it. Run a hose into the downspout and watch the chamber fill, the ball seal, and flow switch to the tank. Adjust the drip rate if needed.
If you are connecting to a barrel set, compare this approach with a downspout diverter, which handles overflow rather than first flush, and make sure both are in your plan.
Where a diverter fits in your whole system
A first flush diverter is one stage in a chain. A sensible order, from roof to use, looks like this:
- Clean roof and gutters, with leaf guards or screens at the top.
- First flush diverter on each downspout feeding storage.
- Inlet screen or leaf eater before the tank.
- Storage, whether a single barrel or a larger tank. See how to set up and link a rain barrel system and our guide to rainwater collection tanks.
- Filtration at the point of use, matched to how you will use the water. Read rainwater filtration for the farm.
For the full framework, from catchment to storage to distribution, start with our guide to rainwater harvesting for farms and homesteads. Once water is stored, our upcoming guide on using harvested rainwater for irrigation, livestock and household needs will cover matching treatment to use.
Roof materials and regional differences
Roof material matters. Metal roofs generally shed water cleanly, while asphalt shingles shed granules and may not be a good choice for water you intend to use on edibles, according to many extension resources. Treated wood shakes and roofs with chemical coatings are poor candidates. Check with your local extension office if you are unsure.
Climate shifts the math too. In the humid East and Southeast, frequent rain rinses the roof often, so a smaller diversion may be enough. In the arid West and parts of the Plains, long dry spells let dust and droppings build up, so a larger diversion makes sense. Heavy pollen seasons and wildfire smoke or ash can also justify diverting more.
Before you build, it is worth checking your state’s rules. Our upcoming guide on rainwater harvesting laws by state will help, but always confirm current rules with your state or county.
Maintaining your first flush diverter
A diverter that is clogged or left full does nothing. Build a simple routine:
- After each storm: confirm the chamber drained. If it is still full before the next rain, widen the drip hole slightly.
- Monthly during rainy season: unscrew the cleanout cap and flush out sediment and sludge.
- Seasonally: clean gutters, check the ball moves freely, and look for cracks or loose joints.
- Before winter: drain and open the chamber so standing water cannot freeze and crack the pipe. See winterizing rain barrels, hoses and farm water lines.
If the drip hole keeps clogging, add a small screen above it or switch to a larger adjustable valve. Mosquitoes can breed in standing water, so keep the chamber screened and drained within a couple of days.
Where the diverted water can go
The water you divert is dirty, not wasted. Rather than letting it pool against the foundation, direct the drip outlet to somewhere useful: a mulched tree basin, a planting bed, or a low spot built for infiltration. It works well feeding a fruit tree guild, where soil biology can handle the extra particulate load. For bigger flows, consider a rain garden for roof and driveway runoff.
Use judgment near vegetable beds and keep diverted water away from edible leaves and root crops, especially if your roof carries bird droppings or other contamination.
Key takeaways
- The first runoff off a roof carries the most debris and contaminants, so diverting it protects your tank, filters and plants.
- A common starting point is about 0.5 to 2 gallons per 100 square feet of roof; adjust for roof type, trees and dry spells.
- A DIY diverter is a vertical pipe, a floating ball seal, a cleanout cap and a slow drip outlet.
- Several small diverters (one per downspout) are easier than one giant one.
- A diverter reduces contamination but does not make water safe to drink; add filtration matched to your use.
- Check it after storms, flush it regularly, and drain it before freezing weather.
For more on managing water across your land, browse the Agroforestry & Water category, or start with the pillar guide to agroforestry, silvopasture and more.
Frequently asked questions
How much water should a first flush diverter divert?
A common rule of thumb is about 0.5 to 2 gallons per 100 square feet of roof catchment. Use less for a clean roof in a rainy climate and more for a dirty roof, nearby trees or long dry periods. Treat it as a starting estimate and adjust based on how clear your stored water looks.
Do I need a first flush diverter for a rain barrel?
It is not strictly required, but it helps, especially if you irrigate with drip lines or use the water on edibles. Even a small diverter keeps sediment and debris out of the barrel. For ornamental watering, a good inlet screen alone may be enough for some people.
Does a first flush diverter make rainwater safe to drink?
No. It reduces the amount of debris and contaminants that reach storage, but it does not remove bacteria, viruses or dissolved chemicals. If you plan to use harvested water for drinking or household needs, you need proper filtration and disinfection, and you should confirm requirements with your state or local health authority.
How fast should the diverter drain?
Aim for the chamber to empty in roughly 24 to 48 hours so it is ready for the next storm, while still holding the first flush long enough for debris to settle. If it takes too long, widen the drip hole; if it empties in minutes, narrow it.
Can I use one diverter for several downspouts?
Generally it is better to fit one diverter per downspout that feeds storage. A single unit sized for a whole roof becomes very long or very large. Splitting the roof across several smaller diverters is simpler to build, easier to maintain and more reliable.