Ask five farmers what soil health means and you will get five answers, but they usually circle the same idea: soil that works. It takes in rain, holds nutrients, feeds roots and keeps functioning year after year. This guide gives you a plain definition, the indicators worth watching, field tests you can run with a shovel and a coffee can, and the first practices that actually move the needle.
Quick answer: Soil health is the soil’s ongoing capacity to function as a living system: cycling nutrients, absorbing and storing water, supporting plant growth and buffering stress. You can gauge it with physical (structure, infiltration), chemical (pH, nutrients, organic matter) and biological (earthworms, microbial activity) indicators. The fastest ways to improve it are to disturb the soil less, keep it covered, and keep living roots in the ground as long as possible.
What is soil health, in plain terms?
NRCS defines soil health as the continued capacity of soil to function as a vital living ecosystem that sustains plants, animals and humans. Strip away the jargon and it comes down to function. Healthy soil does a handful of jobs well:
- Takes in water instead of shedding it as runoff.
- Holds water for dry spells.
- Cycles nutrients so crops are fed by biology, not only by a fertilizer bag.
- Resists erosion and compaction.
- Supports a diverse community of bacteria, fungi, protozoa, nematodes, insects and worms.
Soil health is not the same as soil fertility. A soil can test high in phosphorus and potassium and still be hard, crusted and biologically quiet. Fertility is one part of the picture. For the full framework, see our complete guide to building living soil.
The three kinds of soil health indicators
No single number captures soil health. Think in three buckets and look for patterns across them.
Physical indicators
These describe how the soil is built. Look at aggregate stability (do crumbs hold together in water?), bulk density and compaction, infiltration rate, water-holding capacity and surface crusting. Good structure is dark, crumbly and full of pores. Poor structure shows up as plates, clods, ponding and a hard pan you can feel with a probe.
Chemical indicators
These include pH, cation exchange capacity (CEC), macro and micronutrient levels, salinity and soil organic matter. Organic matter sits at the crossroads of chemistry, physics and biology, which is why it gets so much attention. Typical agricultural soils run from under 1 percent in sandy or depleted ground to 5 percent or more in prairie-derived or well-managed soils, though what is realistic depends heavily on climate and texture. Our guide on how to increase soil organic matter and how long it takes sets honest expectations.
Biological indicators
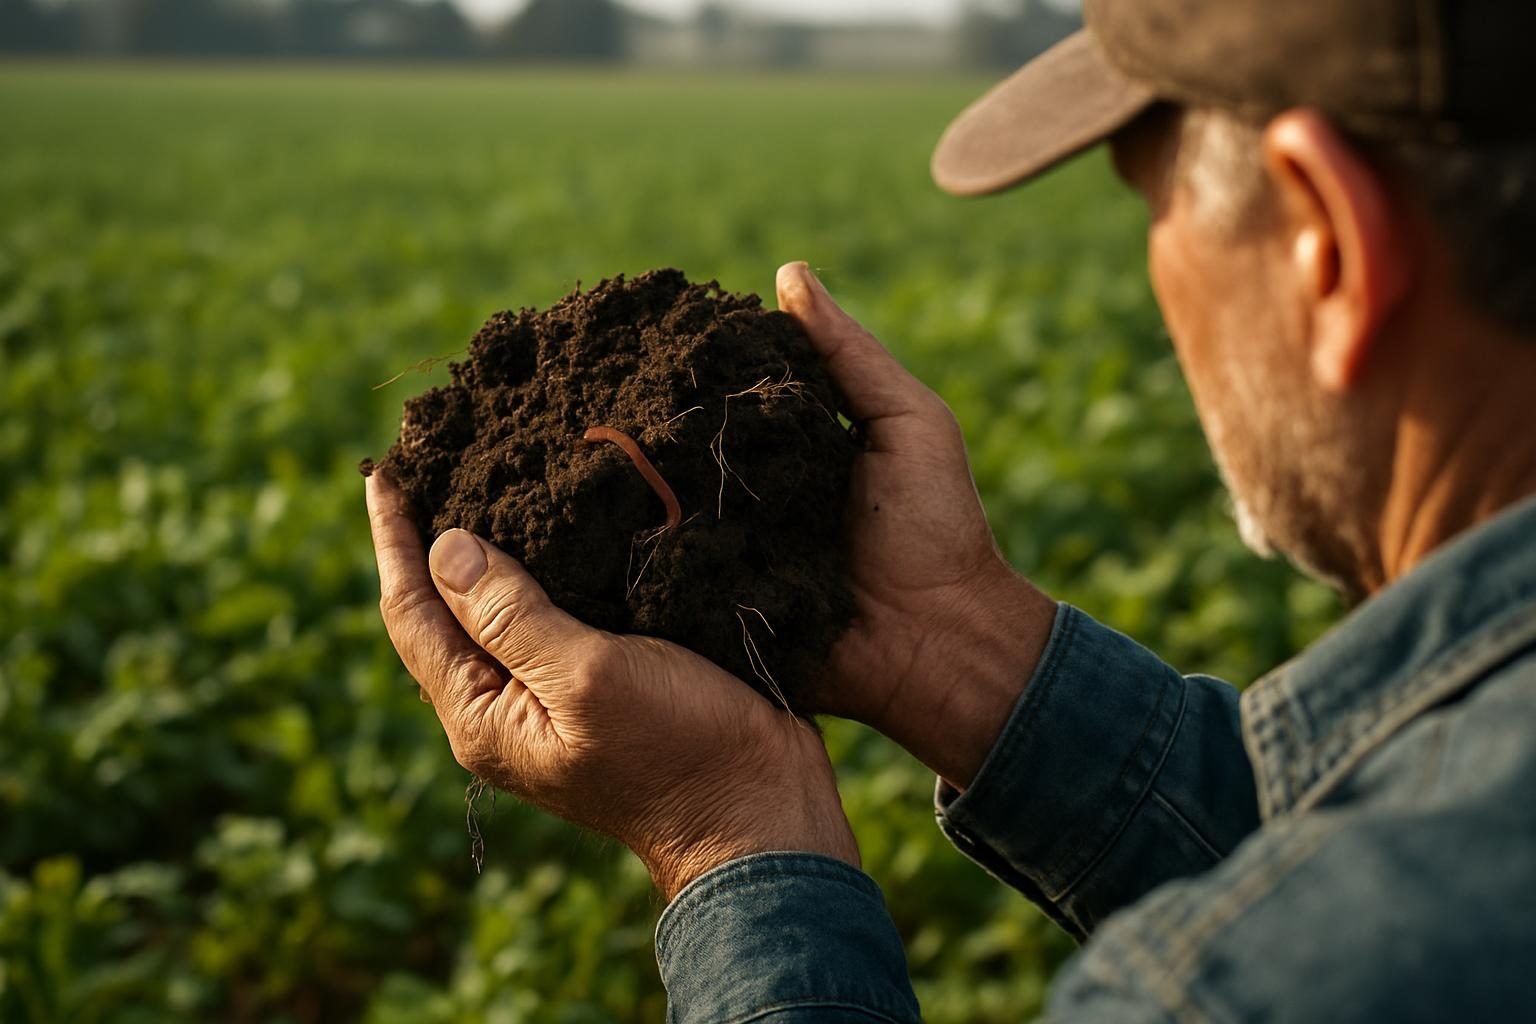
These cover earthworm numbers, microbial biomass and respiration, fungal and bacterial balance, root health and residue decomposition. Biology is the hardest to measure and the most responsive to management. Learn how fungal partners fit in with mycorrhizal fungi and the underground network your crops need, and watch for our upcoming deep dive on the soil microbiome.
| Indicator type | What to watch | Healthy sign | Warning sign |
|---|---|---|---|
| Physical | Structure, infiltration, compaction | Crumbly aggregates, rain soaks in | Crusting, ponding, platy layers |
| Chemical | pH, nutrients, organic matter | Balanced pH, rising organic matter | Extreme pH, falling organic matter |
| Biological | Worms, respiration, residue breakdown | Active worms, fast residue decay | Few worms, residue sits for seasons |
Simple field tests you can do this week
You do not need a lab to start learning about your ground. These three tests cost almost nothing, and the real value comes from repeating them in the same spots each year and comparing fields.
1. The slake test (aggregate stability)
- Collect a few pea-to-marble-sized dry clods or aggregates from the top inch or two of soil. Include samples from a field edge, a fencerow or sod area for comparison.
- Set them on a fine wire mesh or gently place them in a clear jar or glass of water.
- Watch for 5 to 10 minutes, then check again after an hour.
Aggregates that hold their shape are glued together by roots, fungal threads and microbial byproducts. Clods that melt into a cloudy puddle have weak structure and are prone to crusting and erosion. Expect the sod comparison to look dramatically better than a tilled field.
2. The infiltration test
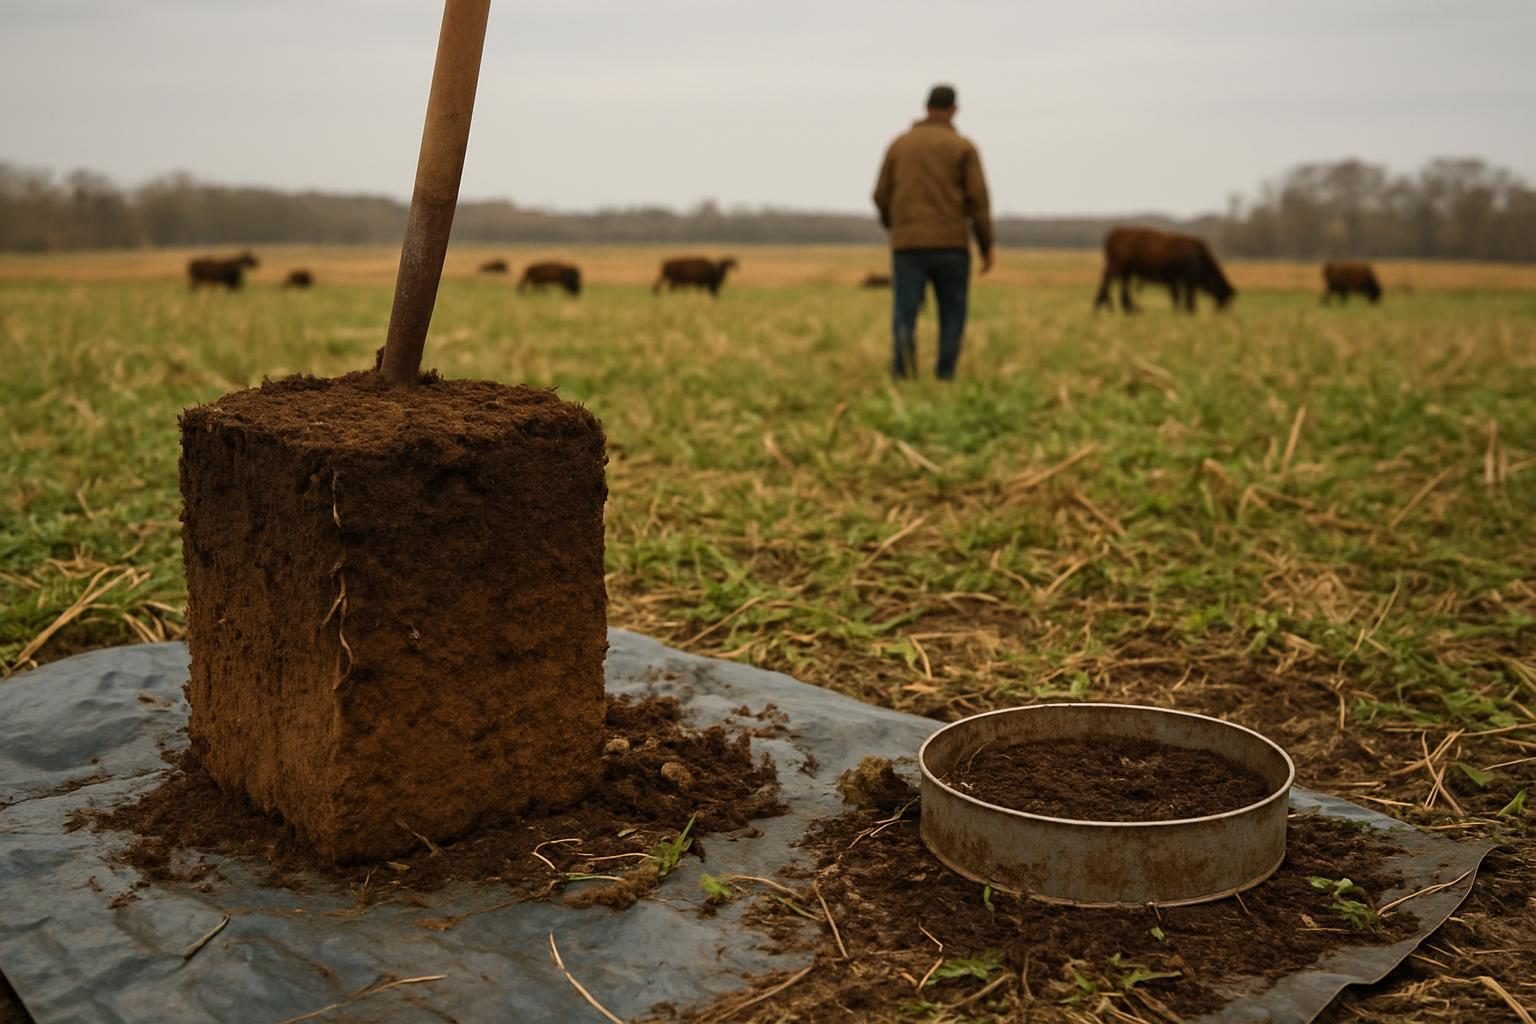
- Remove a 6-inch-diameter ring (a cut-off coffee can or section of pipe works) and push it about 3 inches into the soil. Clear surface residue first without disturbing the soil.
- Line the soil surface with plastic wrap, pour in 1 inch of water (about 444 mL for a 6-inch ring), and remove the wrap so the water drops onto the surface without splashing it.
- Time how long the water takes to soak in. Repeat with a second inch of water, since the first wets the soil and the second is the more meaningful reading.
As a rough guide, many extension guides treat a second inch that takes under about 10 to 15 minutes as good for many soils, while very slow times point to compaction or poor structure. Texture matters, so compare like with like and consult your local extension office for benchmarks. If your times are poor, see how to fix compacted soil without heavy tillage, and watch for our future guide on how to improve soil drainage.
3. The earthworm count
- Wait until the soil is moist and above roughly 50 degrees F, typically spring or fall.
- Dig a one-foot cube (12 by 12 by 12 inches) and place the soil on a tarp or board.
- Crumble it by hand and count the worms.
A common rule of thumb is that 10 or more worms per cubic foot suggests a healthy population, and fewer than about 5 suggests room to improve. Worm numbers swing with moisture, temperature and species, so treat the count as a trend, not a verdict. Also note burrows, castings and how easily the spade slides in.
Add two free habits: dig a clean profile and look for root depth, color change and compaction layers, and simply smell the soil. A sweet, earthy smell reflects active biology, while a sour or sulfur smell suggests waterlogging.
Lab tests worth paying for
Field tests tell you how the soil behaves. Lab tests tell you what is in it. A reasonable testing plan for most farms has three layers:
- Standard fertility test. pH, buffer pH, P, K, Ca, Mg, CEC, organic matter and often micronutrients. This is the baseline, and your state extension lab can usually run it cheaply.
- Soil health panel. Packages such as the Haney test or Cornell-style assessments add measures like CO2 respiration, water-extractable carbon and nitrogen, and sometimes aggregate stability. They are useful for tracking change over years.
- Biological assays. Microbial community or phospholipid fatty acid (PLFA) tests describe fungal and bacterial makeup. They are interesting and sometimes useful, but results vary between labs and interpretation is still developing, so spend here last.
A few practical tips: sample at the same time of year and from the same GPS-marked spots, use the same lab each time, and sample to the depth the lab specifies (often 6 to 8 inches). Prices and package contents change, so confirm with the lab. For a deeper comparison, read soil testing for regenerative farmers: standard, Haney and biology.
The first three practices that move the needle
If you do nothing else, build around three principles. They work everywhere, though the details shift by region.
1. Disturb the soil less
Tillage breaks aggregates, burns through organic matter and exposes soil to erosion. Reducing or eliminating it lets fungal networks and structure rebuild. Switching has trade-offs, including weed pressure, residue management and a learning curve, and wet, heavy ground in the humid East can be slow to warm. Weigh them in our guide to no-till farming: pros, cons and how to make the switch. Tools like a roller crimper can terminate cover crops without herbicide.
2. Keep the soil covered
Bare soil gets hot, dries out, crusts and erodes. Cover crops, mulch and crop residue protect the surface and feed biology. If you are new to this, start with cover crops for beginners and match species to your goals using cover crop mixes for soil health, grazing and weeds. Dealing with heavy ground? Look ahead to the best cover crops for clay soil. In the Corn Belt, interseeding cover crops into standing corn and soybeans can solve the short-window problem.
3. Keep living roots in the ground
Living roots feed the soil food web with sugars year-round. Extend the growing season with cover crops, diverse rotations, perennial pasture and, on livestock farms, well-managed grazing that rests plants between bites. See rotational grazing: a complete guide to adaptive grazing if animals are part of your system.
Diversity is a natural fourth principle. More plant species means more varied root exudates and a broader microbial community. Biological amendments can help in specific cases, but do not expect them to replace management, which is covered honestly in compost tea and biological amendments: do they work?
Setting realistic expectations
Soil health improves on a timeline of seasons and years, not weeks. Infiltration and aggregate stability often respond within one to three years of better management. Organic matter moves slowly, often a few tenths of a percent over several years, and depends on climate, texture and starting point. Arid western soils and hot southern soils burn through carbon faster than cool, humid ones. Track your field tests and lab results over time rather than chasing a single target number.
Key takeaways
- Soil health is about function: infiltration, nutrient cycling, structure and biological activity, not just fertility numbers.
- Use physical, chemical and biological indicators together, because no single metric tells the whole story.
- The slake test, infiltration test and earthworm count are free, fast and best repeated in the same spots each year.
- Start with a standard test, add a soil health panel if you want to track change, and treat biological assays as optional.
- Minimize disturbance, keep soil covered and keep living roots growing as long as you can.
- Expect gradual change and adapt practices to your region, soil type and operation.
Frequently asked questions
What is soil health in simple words?
Soil health is how well your soil does its jobs: absorbing and storing water, cycling nutrients, supporting roots and sustaining a living community of organisms. Healthy soil is crumbly, dark, full of life and resilient to drought and heavy rain.
How do I know if my soil is healthy?
Combine observation with simple tests. Look for crumbly structure, good root depth and visible earthworms. Run a slake test, an infiltration test and a worm count, then back them up with a lab test. Repeat annually to see whether you are trending in the right direction.
How long does it take to improve soil health?
Some physical and biological indicators, like infiltration and earthworm activity, can improve within one to three seasons. Organic matter builds much more slowly, often over many years. Results depend on your climate, soil texture, starting condition and how consistently you apply the practices.
Which soil health lab test should I buy first?
Start with a standard fertility test from your state extension or a reputable lab, since it gives pH, nutrients and organic matter. If you want to track biology and carbon cycling over time, add a soil health panel such as a Haney-style test. Confirm current packages and pricing with the lab.
Do I need to stop tilling to build soil health?
Not necessarily all at once. Reducing tillage is one of the most effective steps, but many farms transition gradually, especially where weed control, wet soils or equipment limits make full no-till difficult. Pair reduced disturbance with cover crops and living roots to get the biggest benefit. You can also enhance soil structure and carbon storage by incorporating biochar for soil.