Learning how to make a compost bin is one of the cheapest, most useful projects on any small farm, homestead or city lot. A good bin holds the pile together, keeps air moving, and keeps the neighbors and the raccoons happy. This guide walks through three proven designs, with materials, dimensions and build steps, so you can match the bin to your volume of material and your space.
Quick answer: To make a compost bin, build a square enclosure at least 3 x 3 x 3 feet (about 1 cubic yard) with open sides for airflow. For most gardens, a pallet bin (four pallets wired or screwed together, free to cheap) or a welded-wire cylinder (about 10 feet of 36-inch fencing) works well. If you process a lot of material, build a three-bay system so one bay is filling, one is cooking and one is curing.
Why the bin matters (and what it doesn’t do)
Compost happens with or without a bin. Microbes break down carbon-rich “browns” and nitrogen-rich “greens” whether they sit in a heap or a box. What a bin gives you is containment, moisture control and, above all, mass. A pile under roughly one cubic yard struggles to hold heat, and a pile that is too open dries out and stalls.
So the job of the bin is to hold enough material together, let air in from the sides, and make turning and harvesting easy. If you want the full process (ratios, moisture, temperature), start with our practical guide to making compost for gardens and farms, then come back here to build the container.
Choose a design by volume and space
Think first about how much material you generate in a typical month, and how much ground you can give up. Figures below are typical ranges, not rules.
| Design | Typical capacity | Footprint | Best for | Cost range |
|---|---|---|---|---|
| Wire cylinder | About 0.5 to 1 cubic yard | 3 ft diameter | Small yards, leaves, garden waste | Low |
| Pallet bin (single) | About 1 cubic yard | 3 x 3 to 4 x 4 ft | Most home gardens, free materials | Free to low |
| Three-bay system | 3 cubic yards or more total | About 9 to 12 ft wide x 3 to 4 ft deep | Market gardens, small farms, steady supply | Moderate |
As a rough rule, a household with a vegetable garden and a lawn will fill a one-cubic-yard bin in a season. A market garden or a homestead with livestock bedding will outgrow one bin quickly and benefits from the three-bay layout.
Design 1: The pallet bin
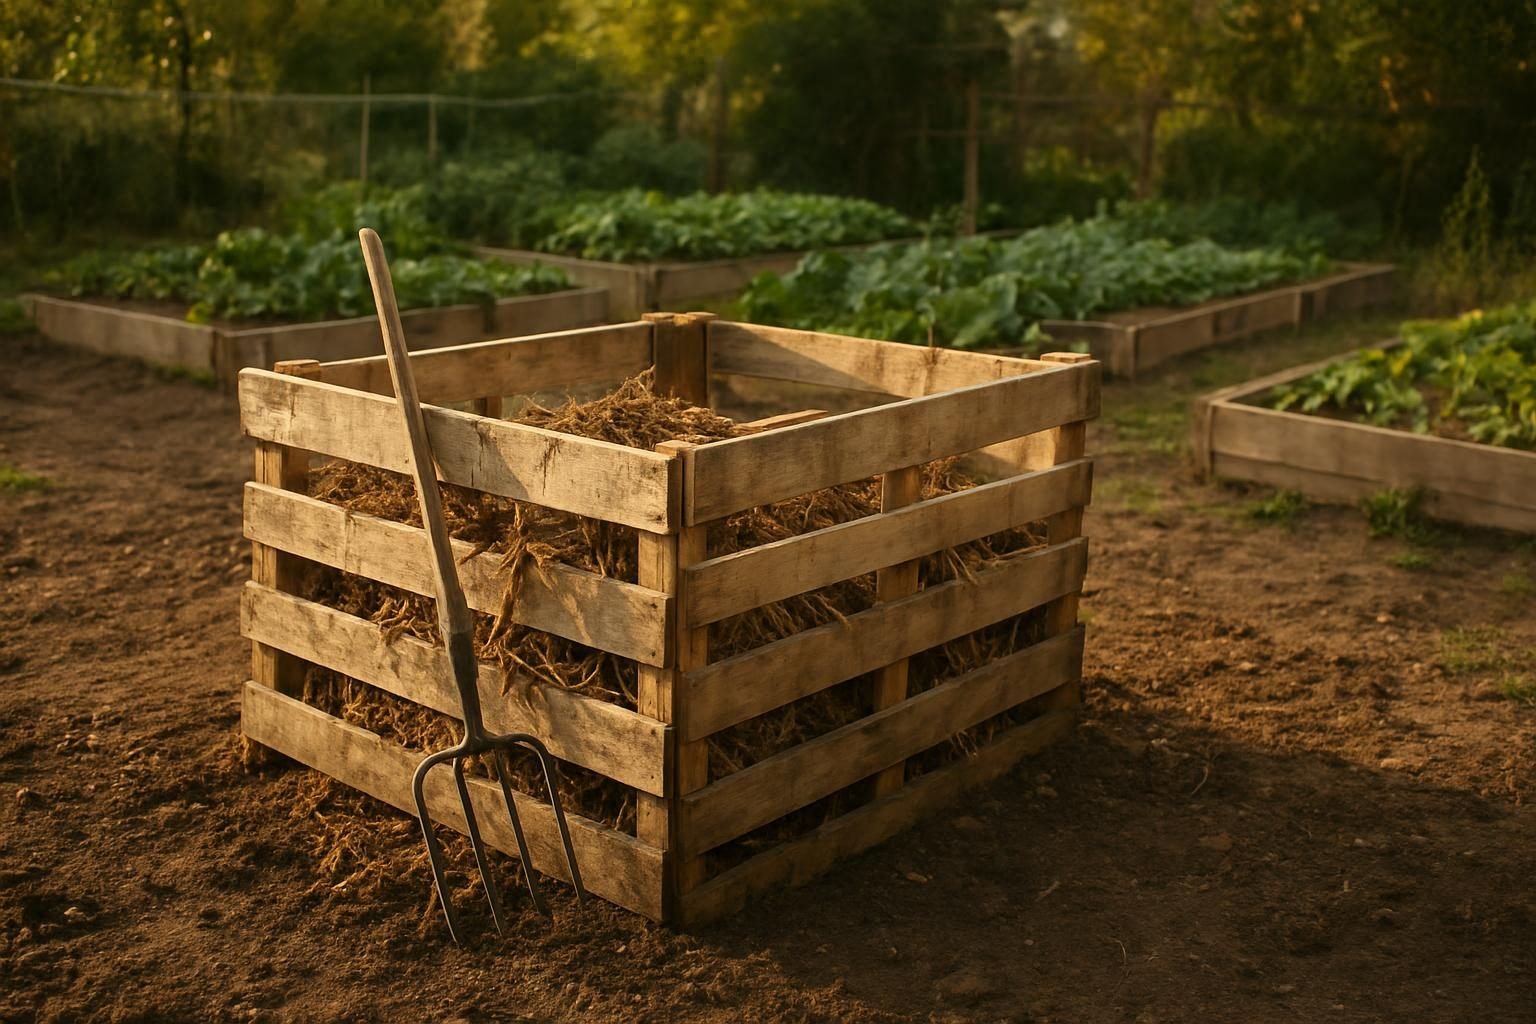
Pallets are the classic starter bin because they are often free and already have gaps for airflow. Look for pallets stamped “HT” (heat treated) and avoid any marked “MB” (methyl bromide) or with chemical stains or odors. Hardwood pallets last longer than pine in a wet pile.
Materials
- 4 standard pallets (about 40 x 48 inches), or 3 for a three-sided bin
- Exterior-grade screws (3 inches) or heavy-gauge wire or zip ties
- 2 hinges and a hook-and-eye latch (optional, for a swing-open front)
- Landscape fabric or hardware cloth to line the inside if you want to keep fine material in (optional)
Build steps
- Choose a level, well-drained spot, ideally on bare soil so worms and microbes can move in from below.
- Stand two pallets on edge to form a corner and screw or wire them together.
- Add the third and fourth pallets to make a square, fastening every corner at the top and bottom.
- For easy access, hinge the front pallet as a gate, or leave the front tied with wire that you can unhook.
- Line the inside with hardware cloth if rodents are a concern, burying the bottom edge a few inches or laying it flat under the pile.
The trade-off: pallets rot in a few years in wet climates like the humid East and South, but replacements cost little.
Design 2: The wire cylinder
This is the fastest bin you can build, and it is excellent for leaves, which are bulky and need airflow. It is also easy to lift off and move.
Materials
- 10 to 12 feet of welded wire fencing or hardware cloth, 36 to 48 inches tall (a 2 x 4 inch mesh or smaller)
- Wire, zip ties or small carabiners to close the circle
- Wire cutters and work gloves
Build steps
- Cut the fencing to length and form a circle roughly 3 feet across.
- Overlap the ends by a few inches and fasten at the top, middle and bottom.
- Set it on bare ground and fill with alternating layers of browns and greens.
- To turn the pile, unclip the cylinder, lift it off, set it beside the heap and fork the material back in.
Because wire is open on all sides, these piles can dry out in the arid West or in summer wind. Cover the top with a tarp or lid, and water as you build. Finer mesh helps keep kitchen scraps from escaping.
Design 3: The three-bay system
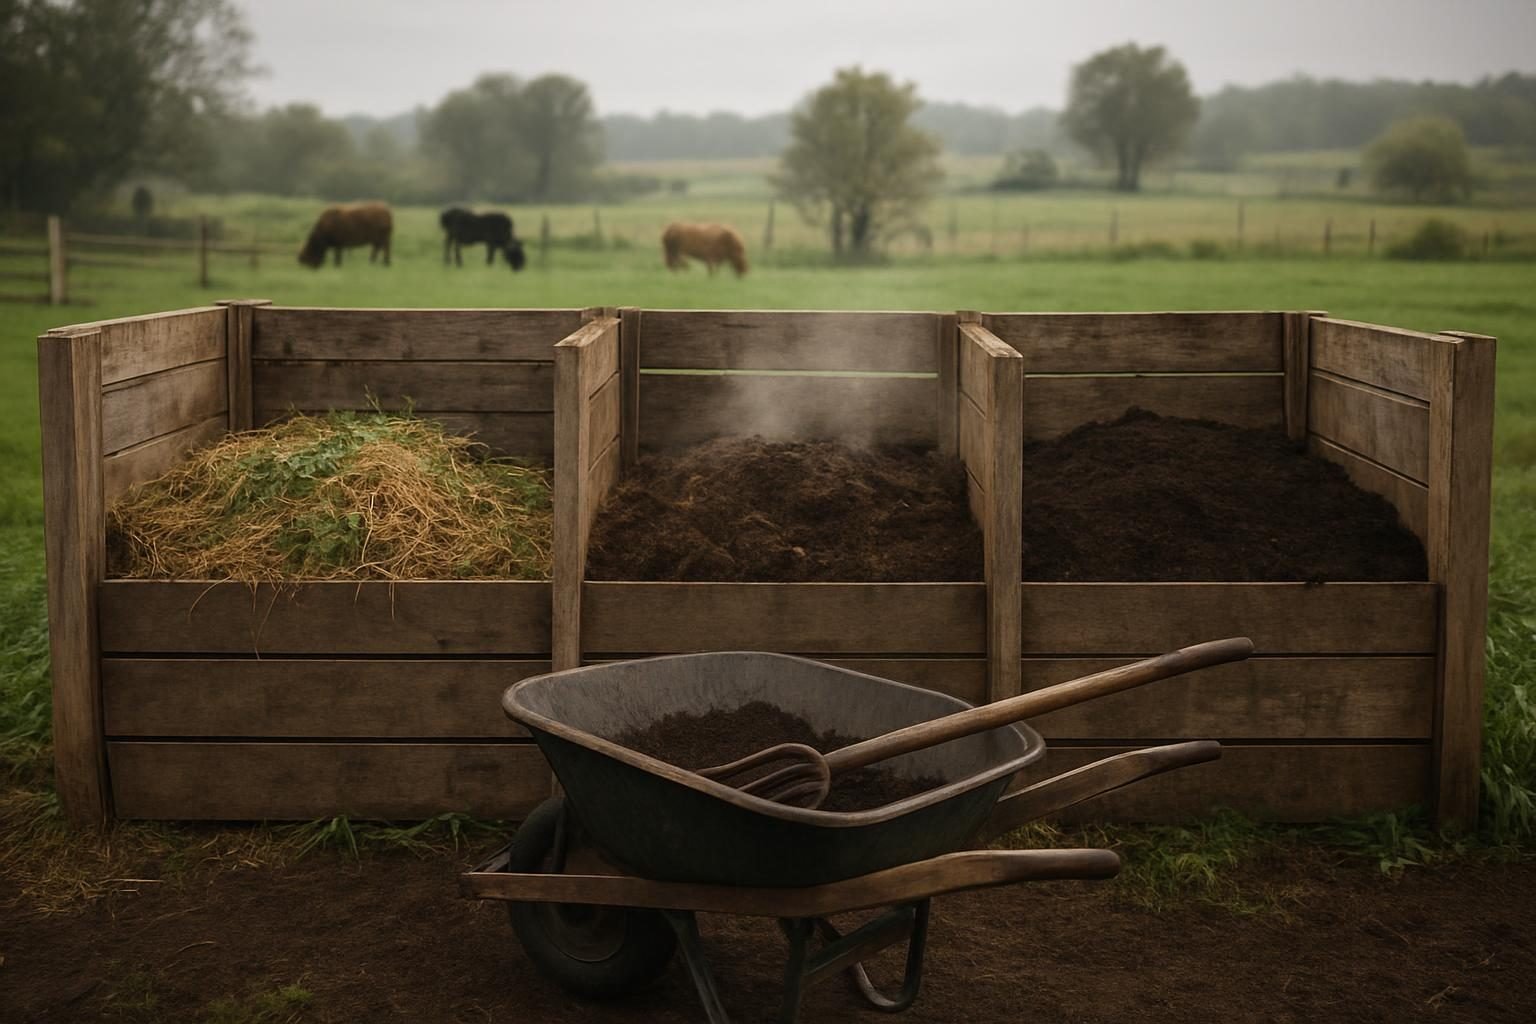
If you have steady volume, three bays side by side let you work in a rotation: one bay is being filled, one is actively decomposing, and one is curing or being used. This is the system many market gardens and small farms settle on.
Typical dimensions
Each bay is commonly 3 to 4 feet wide, 3 to 4 feet deep and 3 to 4 feet tall. The whole unit is therefore around 9 to 12 feet long. Leave a clear working space in front wide enough for a wheelbarrow and a fork.
Materials (per three-bay unit, typical)
- 4 posts (4×4 lumber or steel T-posts) for the front and 4 for the back
- Rot-resistant boards (cedar, locust or pressure-treated rated for ground contact) or reused pallets for the walls
- Slats or removable front boards, with gaps of about 1/2 to 1 inch for airflow
- Exterior screws, hinges and a roof or tarp for rain control (optional)
Build steps
- Mark out the footprint and set four rows of posts so the bays share dividing walls.
- Fasten back and side boards, leaving small gaps between boards for air.
- Build the front with slide-in boards or removable slats, so you can lower the front as the pile fills and open it fully to turn or empty.
- Add a lid or roof if you get heavy rain, since soggy piles go anaerobic.
- Fill bay one first. When it is full, turn it into bay two to restart the heat, and start filling bay one again.
This pairs naturally with active management. If you want to push the pile to hot, fast decomposition, read our guide to hot composting, which covers size, turning schedules and temperature.
Airflow, lids and access
Good bins share a few features no matter the style.
- Airflow: Open sides or gaps of about 1/2 to 1 inch let oxygen in. A bin with solid walls needs holes or a perforated pipe running through the pile.
- Base: Set the bin directly on soil where possible. A layer of coarse sticks or straw at the bottom keeps the base from compacting. On pavement, add a few inches of brush or finished compost to inoculate it.
- Lid: A lid or tarp sheds heavy rain in wet regions and slows drying in dry ones. It does not need to be airtight. In bear or raccoon country, use a latching lid and avoid meat, fish and dairy.
- Access: Make sure you can reach the whole pile with a fork. A removable or hinged front is the single most useful feature for turning and harvesting.
- Siting: Partial shade is a good compromise. Full sun dries a pile fast in the West; deep shade keeps it cold and wet in the East.
Common mistakes to avoid
- Making the bin too small to heat up. Aim for at least 3 x 3 x 3 feet.
- Packing the bin without browns. Too many greens turn slimy and smelly, so balance with leaves, straw or shredded cardboard.
- Using treated wood in direct contact with the pile if you plan to grow food from the finished compost. Check what the lumber was treated with and look to your local extension office for guidance.
- Forgetting water. A pile should feel like a wrung-out sponge.
What to do with the finished compost
Finished compost is dark, crumbly and earthy-smelling, with no recognizable food scraps. Use it to top-dress beds, mix into potting blends and feed trees. For beds specifically, see compost for raised beds for types, ratios and timing, and our raised bed soil mix recipes for blending it with other ingredients. If you garden without digging, compost is the backbone of the no-till garden method, where it is spread on top rather than worked in.
If you have no space for a bin at all, or want to compost indoors, consider vermicomposting. And if you are scaling up toward a farm enterprise, our hub on small-scale regenerative farming shows where compost production fits, and the wider Small & Urban Farms category has related projects. Compost sits at the heart of building living soil, which we cover in the soil health guide. For design thinking on where to place a bin relative to your garden, a permaculture garden layout puts it close to the kitchen door and the beds, and a hugelkultur mound is a good use for woody material that is too coarse for the bin. Compost also pairs with potting mix for raised garden bed planning, and with the habit of seed saving as you build a closed-loop garden.
Key takeaways
- Size matters: aim for about 1 cubic yard (3 x 3 x 3 feet) so the pile can hold heat.
- Pallet bins are cheap and quick, wire cylinders are best for leaves, and three-bay systems suit steady, high volume.
- Build in airflow, a way to reach the whole pile, and a lid or tarp suited to your climate.
- Set the bin on soil, keep the pile as moist as a wrung-out sponge, and balance greens with browns.
- Check local rules and wildlife pressures before choosing materials and what you add.
Frequently asked questions
What is the best size for a compost bin?
For most gardens, about 3 x 3 x 3 feet (one cubic yard) is a good target. It is large enough to hold heat and small enough to turn by hand. Smaller bins still make compost but work more slowly and may not get hot.
Is it safe to use pallets for a compost bin?
Generally yes, if you pick the right ones. Look for the “HT” heat-treatment stamp and avoid pallets marked “MB” or any that smell of chemicals or have oil or stain on them. When in doubt, choose another material or ask your local extension office.
Does a compost bin need a bottom or lid?
Usually no bottom: setting the bin on soil lets worms, microbes and drainage do their work. A lid is optional but helpful. It sheds heavy rain in wet regions, slows drying in hot, dry ones, and keeps animals out when latched.
How many bins do I need?
One bin is enough for a small household. If you want a continuous supply, use two or three bins, or a three-bay system, so one is filling while the others finish. Market gardens and small farms usually benefit from three bays.
Where should I put a compost bin?
Choose a level, well-drained spot within easy reach of both your kitchen and your garden. Partial shade works in most climates. Keep it away from wells and surface water, and check local ordinances or HOA rules, especially in cities.