Learning how to make compost is one of the cheapest, most useful skills a grower can pick up. Done well, it turns kitchen scraps, leaves, manure and crop residue into a dark, crumbly soil amendment that feeds the biology in your beds. Done carelessly, it becomes a smelly heap that never seems to finish. This guide covers the principles first, then the practical steps for gardens, homesteads and small market farms.
Quick answer: To make compost, mix roughly two to three parts carbon-rich “browns” (leaves, straw, wood chips, cardboard) with one part nitrogen-rich “greens” (food scraps, grass clippings, manure) by volume. Keep the pile as damp as a wrung-out sponge, give it air by turning or building in layers of coarse material, and wait. Depending on your method, finished compost takes roughly 6 weeks to 12 months.
What compost is and why it matters
Compost is organic matter that microbes, fungi and larger decomposers have broken down into stable, humus-like material. It is not fertilizer in the bagged-product sense. Its main value is feeding soil life, improving structure and water-holding capacity, and releasing nutrients slowly. If you want the bigger picture of how that fits into building fertile ground, see our complete guide to building living soil.
It is also a practical way to close loops on a farm: crop trimmings, bedding, spoiled hay and manure become an input instead of a disposal problem.
Greens vs browns: the ratio that drives everything
Microbes need carbon for energy and nitrogen to build their bodies. The balance is usually described as a carbon-to-nitrogen (C:N) ratio, with a target of around 25:1 to 30:1 for the whole pile. You do not need a lab test. Measuring by volume works well enough: about two to three buckets of browns for every one bucket of greens is a reliable starting range.
| Type | Examples | Role |
|---|---|---|
| Greens (nitrogen-rich) | Kitchen scraps, fresh grass clippings, manure, coffee grounds, fresh weeds, crop trimmings | Feed microbes, speed heating |
| Browns (carbon-rich) | Dry leaves, straw, shredded cardboard, sawdust, wood chips, dry corn stalks | Energy source, structure, airflow, odor control |
| Generally avoid | Meat, bones, dairy, greasy food, pet waste from cats and dogs, diseased plants, weeds gone to seed | Attract pests, risk pathogens or spreading weeds |
Rules of thumb: if the pile is wet, slimy or smells like ammonia, add browns. If it is dry, slow and nothing is breaking down, add greens and water. Particle size matters too. Chopping or shredding material into pieces of an inch or two speeds decomposition because microbes work on surfaces.
Pile vs bin vs windrow: choosing a system
The right container depends on volume, space and how much attention you want to give it.
Open pile
The simplest option. Build a heap at least about 3 feet wide and tall so it holds some heat and moisture. Cheap and flexible, but it can attract critters and dry out at the edges in arid climates.
Bins and tumblers
Wooden pallet bins, wire cylinders or a closed tumbler suit backyards and urban lots. They tidy the process, deter some pests and make turning easier. Tumblers are convenient but have limited volume, which can make it hard to reach hot temperatures with small batches.
Windrows
Long, narrow rows (often 4 to 6 feet high and wide at the base, length as needed) turned with a tractor loader or a purpose-built turner. This is the standard approach for farms handling large volumes of manure and residue. Windrows need space, a water source and a plan for runoff, and large operations may face local regulations, so check with your state or county.
On very small plots, worm composting is a good indoor or patio option for food scraps. If you want faster results from a managed pile, our guide to hot composting goes deeper on temperature control.
Step-by-step: building your first pile
- Pick a spot. Level, well-drained ground with access to water, ideally partly shaded in hot climates and sheltered from heavy rain in wet ones.
- Start with a coarse base. A 4 to 6 inch layer of sticks, corn stalks or wood chips lets air in from below.
- Layer or mix browns and greens. Alternate roughly 2 to 3 parts browns to 1 part greens. Mixing the layers together as you go works better than leaving thick slabs of one material.
- Moisten as you build. Water each layer lightly. Target the feel of a wrung-out sponge: a few drops if you squeeze a handful, no stream.
- Bury food scraps. Tuck them into the center and cover with browns to cut odor and flies.
- Cover if needed. A tarp or straw cap prevents soaking in rainy regions and drying in windy or arid ones.
- Manage it. Turn, check moisture and wait (see below).
Moisture, air and turning
Decomposition needs both water and oxygen. Too wet and air is squeezed out, producing anaerobic, smelly conditions. Too dry and microbes go dormant. The squeeze test is your best everyday tool.
Turning reintroduces oxygen, redistributes moisture and moves cooler outer material into the hot core. Typical patterns:
- Hot, managed piles: turn every few days to once a week, especially once the interior starts to cool. A compost thermometer helps; piles that are working well often reach about 130 to 160°F in the core. Hold at those temperatures for several days to help kill many weed seeds and pathogens, and check your extension service for guidance if you are composting manure for food crops.
- Cold or passive piles: turn every month or two, or not at all, and simply accept a longer timeline.
How long does compost take?
| Method | Typical timeline | Effort |
|---|---|---|
| Hot, frequently turned pile | About 6 to 12 weeks, plus curing | High |
| Bin with occasional turning | About 3 to 6 months | Moderate |
| Cold, passive pile | About 6 to 12+ months | Low |
| Worm bin | About 2 to 4 months per batch | Low to moderate |
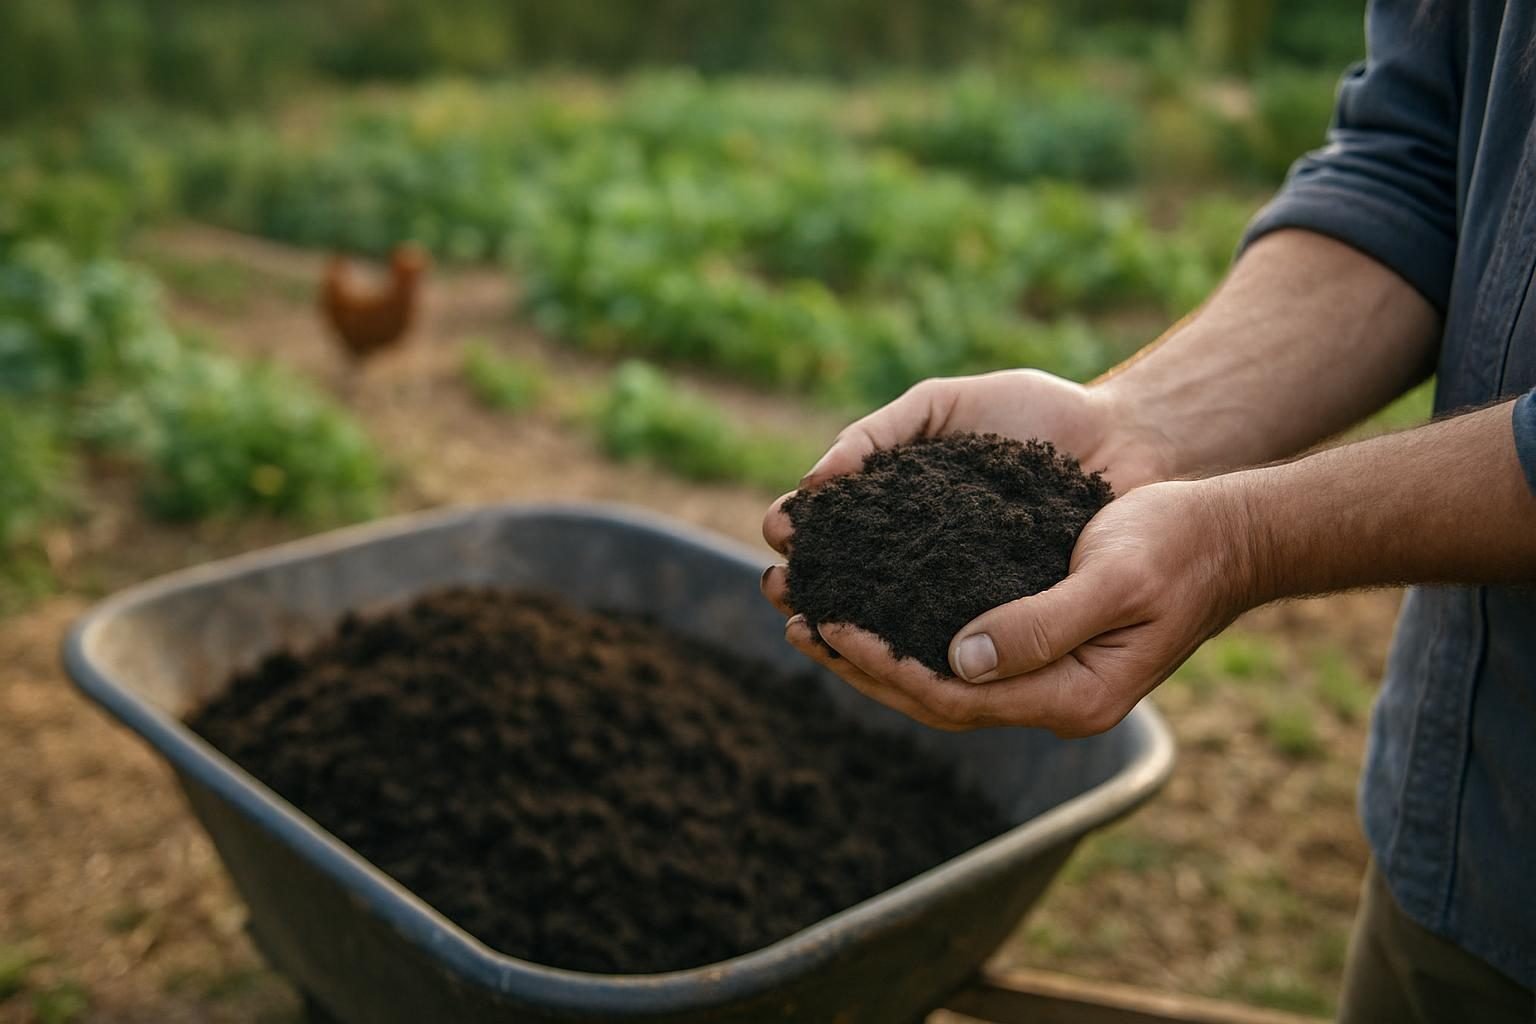
Finished compost is dark, crumbly and smells like forest soil, with few recognizable ingredients. Let it cure for a few weeks before using it around seedlings. When you’re ready to use it, compost for raised beds offers guidance on ratios and application methods.
Common problems and fixes
| Problem | Likely cause | Fix |
|---|---|---|
| Smells like ammonia or rot | Too many greens, too wet, or compacted | Add dry browns, turn, add coarse material |
| Pile never heats up | Too small, too dry, too many browns | Build bigger (about 3 ft cube minimum), add greens and water |
| Dry and stalled | Not enough moisture | Water while turning; cover the pile |
| Flies or rodents | Exposed food scraps, meat or dairy | Bury scraps, cap with browns, use a closed bin |
| Weeds sprouting from finished compost | Pile didn’t get hot enough | Keep seeding weeds out or manage heat more carefully |
| Slimy, matted layers | Grass clippings or wet leaves clumped | Mix in with dry, coarse browns |
Using finished compost
A thin layer goes a long way. Common practice is about a half-inch to an inch spread on garden beds, a handful in transplant holes, or mixed into potting blends. It works especially well on beds you are not tilling; our guide to no-dig gardening shows how compost mulch builds beds from the top down. If you are filling containers or frames, a good raised bed soil mix typically includes compost as one component. Have your compost tested if you use manure heavily, since salts and nutrient levels can build up over time. For questions about whether brewed extracts add anything beyond compost itself, see our look at compost tea and biological amendments.
Scaling up for a market garden
As your acreage grows, compost shifts from a hobby to a logistics and business question. A few considerations:
- Know your volumes. Many growers apply compost at rates in the range of tens of cubic yards per acre in intensive beds. Estimate your annual need before deciding whether to make or buy.
- Source feedstocks. Local leaf drop-offs, arborist chips, spoiled hay, stable bedding and livestock manure are common. The animals on your own farm can be a feedstock source; our guide to regenerative backyard chickens covers using birds in a compost-friendly system.
- Equipment. A tractor with a loader is often the practical minimum for windrows. Hand-turning a few cubic yards is feasible; hundreds is not.
- Food safety and organic rules. If you sell produce or hold organic certification, there are standards for raw manure and compost temperatures and waiting periods before harvest. Confirm current requirements with your certifier, USDA National Organic Program documentation and your state agriculture department.
- Buy vs make. Sometimes buying quality compost is more economical than your labor and equipment time. Run the numbers as part of your market garden plan.
For farm-wide context on small acreage systems, see our guide to small-scale regenerative farming, or browse the full Small & Urban Farms category. Homesteaders working out where compost fits in a first-year plan may also want our upcoming how to start a homestead guide.
Regional notes
- Humid East and South: Fast decomposition, but rain can waterlog piles. Cover them and favor coarse browns.
- Corn Belt and Plains: Abundant crop residue and manure; wind and summer heat can dry piles quickly, so monitor moisture.
- Arid West: Water is the limiting factor. Build in partial shade, cover piles, and consider bins that hold moisture.
- Cold North: Piles may freeze. Build large, insulate with straw, and expect finishing to resume in spring.
Key takeaways
- Aim for roughly 2 to 3 parts browns to 1 part greens by volume.
- Keep material as damp as a wrung-out sponge and give it air.
- Piles at least about 3 feet in each dimension hold heat best.
- Timelines run from about 6 weeks (hot, managed) to a year (passive).
- Avoid meat, dairy, pet waste and diseased plants in home systems.
- At market-garden scale, plan for equipment, feedstock supply and food safety rules.
Frequently asked questions
What is the best ratio of greens to browns for compost?
A good starting point is two to three parts browns to one part greens by volume. Adjust by observation: add browns if it is wet or smelly, and greens or water if it is dry and slow.
How often should I turn my compost?
For hot, fast piles, turn every few days to weekly once the core cools. For passive piles, turning once a month or two is plenty, and some people skip it and simply wait longer.
Can I compost in winter?
Yes, though activity slows or stops in freezing weather. Keep adding materials, bury scraps in the center, insulate with straw or leaves, and expect the pile to restart in spring.
Why does my compost smell bad?
Usually it is too wet, compacted or too heavy on greens, creating low-oxygen conditions. Turn it, mix in dry browns like shredded leaves or straw, and add coarse material to open up airflow.
Is homemade compost safe for vegetable gardens?
Generally yes when made from plant materials and finished fully. If it includes manure, follow extension guidance on heating temperatures and waiting periods before harvesting crops that touch the soil, and confirm any requirements with your state or certifier if you sell produce.