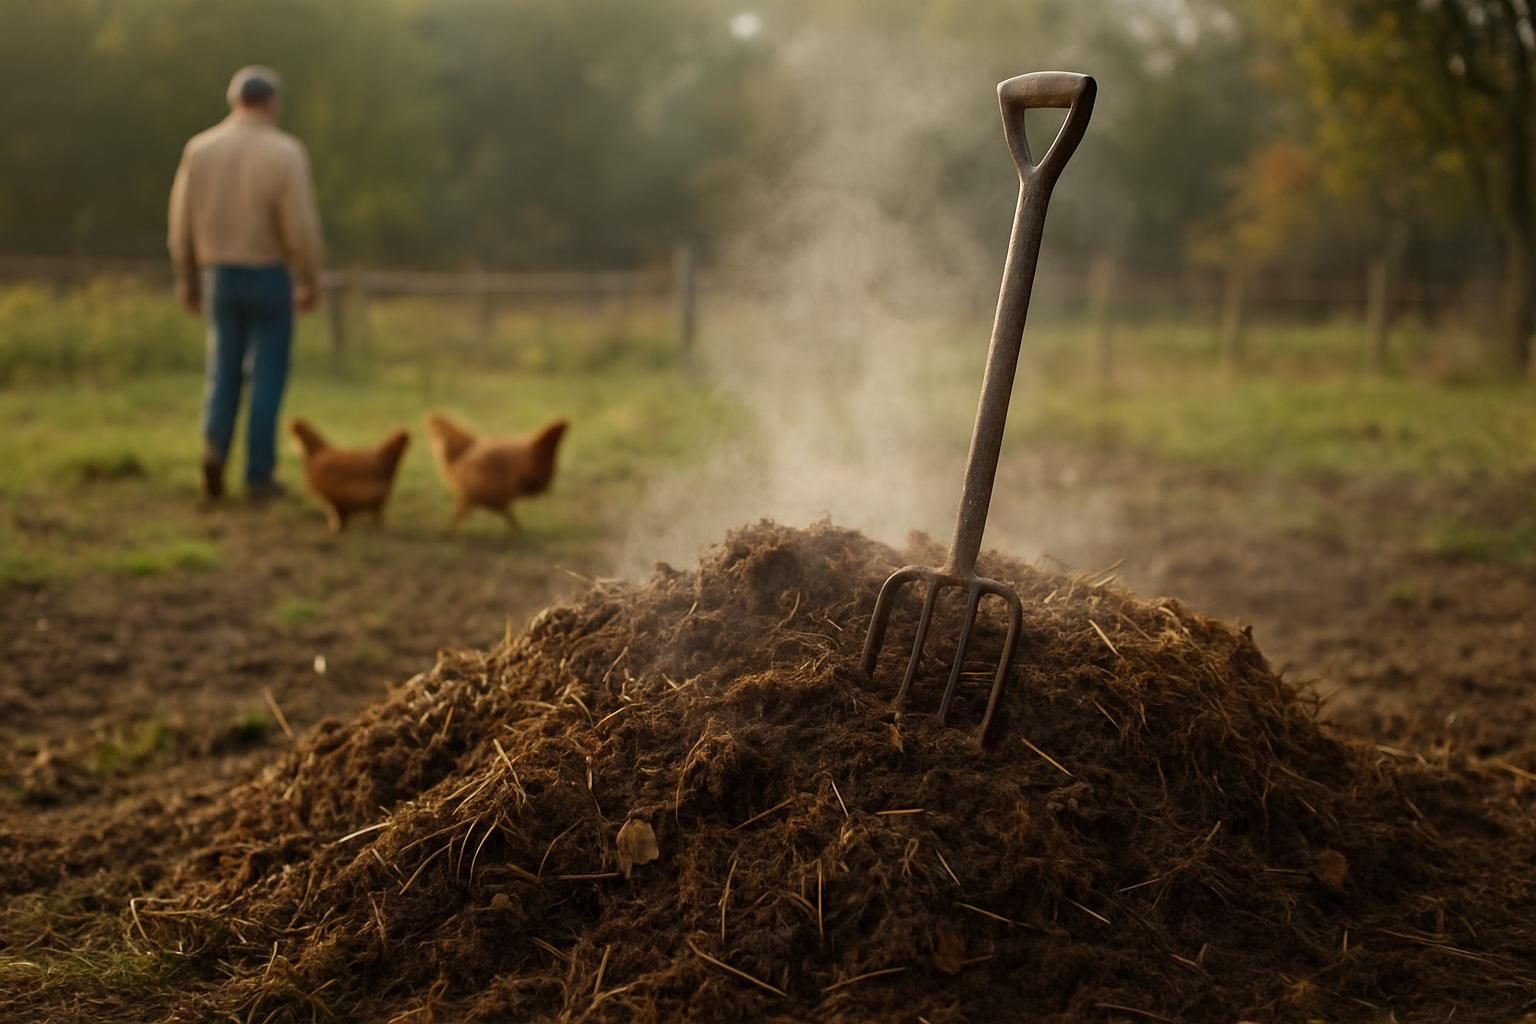
Chicken manure is one of the richest free fertilizers on a small farm, and one of the easiest to misuse. Spread it fresh and you can scorch seedlings, load a bed with salts and ammonia, and put pathogens near your salad greens.
Composting chicken manure fixes all three problems. This guide covers why raw manure burns, how to build a pile that actually gets hot, how long to age it, and how to time applications around harvest.
Quick answer: Fresh chicken manure is high in nitrogen, ammonia and soluble salts, so it burns plants and can carry pathogens like Salmonella. Mix it with carbon-rich material (typically 1 part manure to 2-3 parts carbon by volume), keep the pile moist and hot (130-160°F) with regular turning, then cure it for 2-3 months. Apply finished compost before planting, and wait roughly 90-120 days between raw manure and harvest of edible crops (check current USDA organic and food safety guidance for your situation).
Why fresh chicken manure burns plants
Chicken manure is a “hot” manure. Poultry excrete nitrogen as uric acid, which converts quickly to ammonia. Fresh droppings commonly test around 3-6% nitrogen on a dry basis, with plenty of phosphorus and potassium, and a lot of soluble salt.
Three things hurt your plants when you apply it raw:
- Ammonia. It damages roots and leaf tissue on contact, especially seedlings.
- Salt load. High soluble salts pull water out of roots through osmosis, causing leaf-edge burn and wilting even in moist soil.
- Nitrogen swings. A sudden flush of available nitrogen can push soft, pest-prone growth, or leach out in a heavy rain.
Composting stabilizes the nitrogen into organic forms, drives off excess ammonia, and lets microbes digest the material into something your soil biology can handle. If you want the bigger picture on why that matters, our guide to the soil microbiome and how bacteria and fungi feed crops explains what you are feeding when you add finished compost.
Composting chicken manure: the carbon you need
Manure alone makes a wet, smelly, nitrogen-heavy slump. The fix is carbon. You are aiming for an overall carbon-to-nitrogen ratio of roughly 25-30:1. Because chicken manure sits around 7-10:1 and bedding varies, a practical starting recipe is 1 part manure to 2-3 parts carbon by volume.
| Carbon source | Typical C:N | Notes |
|---|---|---|
| Dry leaves | 40-80:1 | Free, abundant in fall; shred if you can |
| Wood shavings | 100-400:1 | Slow to break down; use as bedding, not as the only carbon |
| Straw | 60-100:1 | Good structure and airflow |
| Chopped corn stalks | 50-80:1 | Chop small for faster breakdown |
| Sawdust | 200-500:1 | Use sparingly; can tie up nitrogen |
Figures are typical ranges and vary with moisture and source. Fall leaves are the easiest carbon for most of us; see fall leaves as mulch, leaf mold and compost carbon for how to collect and store them so you have dry carbon on hand in spring.
Using deep-litter bedding as a head start
The deep-litter method is a compost system running inside your coop. You start with 4-6 inches of dry carbon (shavings, straw, chopped leaves) and keep adding fresh layers as the birds work it. Their scratching mixes and aerates, and the bedding absorbs moisture and ammonia.
Tips that keep it working:
- Add fresh bedding whenever you smell ammonia or see damp patches.
- Keep it dry, not soggy. Fix leaky waterers first.
- Turn it occasionally with a fork if the flock is not doing it for you.
- Clean out once or twice a year, often spring and fall, and move the whole load to a compost pile.
Deep litter is not finished compost. It is a pre-mix that already has the right carbon balance, which makes the next stage far easier. If you are still sorting out the housing side, our chicken coop buyer’s guide and winter chicken care and coop prep cover ventilation and bedding depth, both of which affect how well litter behaves.
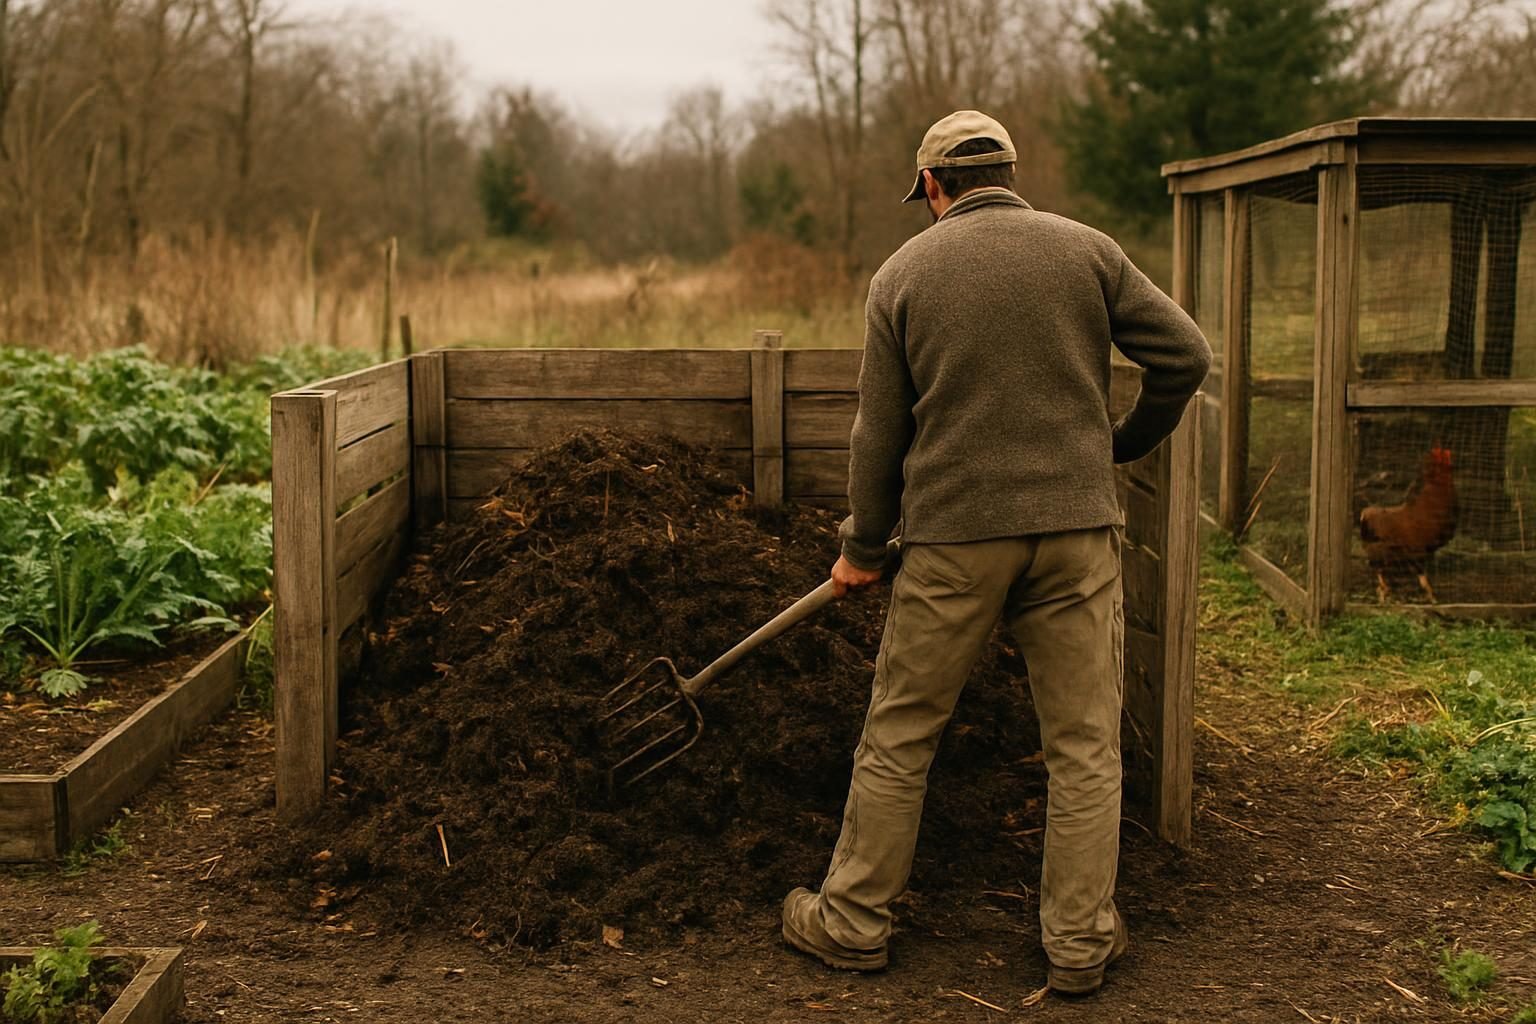
How to compost chicken manure, step by step
- Pick a site. Choose level, well-drained ground away from wells, streams, ditches and your garden’s edible-crop zone. Rain runoff from a manure pile is a water-quality problem.
- Build the base. Lay down 6 inches of coarse carbon (straw, chopped stalks) for drainage and airflow.
- Layer or mix. Combine manure and carbon at roughly 1:2 or 1:3 by volume. Layers work, but mixing is faster.
- Moisten. Aim for the dampness of a wrung-out sponge, around 50-60% moisture. You should get a drop or two when you squeeze a handful.
- Size the pile. At least 3 x 3 x 3 feet (about a cubic yard) to hold heat. Bigger piles hold temperature better in cold climates.
- Monitor temperature. Use a long-stem compost thermometer. A healthy pile reaches 130-160°F within days.
- Turn. Turn when the center starts to cool, often every 5-10 days in the active phase. Move outer material to the middle.
- Cover. A tarp or a thick straw cap sheds heavy rain and prevents nutrient leaching. In arid climates, covering also slows drying.
For bin and pile choices that suit your scale and space, see compost bin types compared: tumbler, pile, bays and worms. If something goes sideways, our upcoming guide on composting troubleshooting for smells, pests and slow piles will help.
Pathogen precautions
Chicken manure can carry Salmonella, Campylobacter and E. coli. Heat is your main tool. Many food safety and organic standards look for sustained temperatures in the range of 131-170°F for a set number of days, with multiple turns, followed by curing. Requirements differ for certified-organic operations and for produce sold under food safety rules, so confirm current details with your certifier, state extension office or the USDA National Organic Program.
- Wear gloves and a dust mask when handling dry manure or litter, and wash hands thoroughly afterward.
- Keep tools and boots used on the pile out of the kitchen and away from produce.
- Keep children and pets away from active piles.
- Do not use manure from sick flocks without extra caution and veterinary guidance.
How long to age chicken manure compost
Timelines depend on climate, carbon quality, pile size and how often you turn. Typical ranges:
| Method | Typical time to finished compost |
|---|---|
| Hot, actively turned pile | 6-10 weeks active, plus 4-8 weeks curing |
| Static pile, occasional turns | 4-8 months |
| Cold pile, little management | 9-12+ months |
Cold winters and dry summers slow everything. Humid, warm regions in the South and East move faster but can go anaerobic if the pile stays soggy.
Finished compost should be dark, crumbly and earthy-smelling, with no ammonia odor and no recognizable bedding. A simple bag test helps: seal a handful in a jar for a day; if it smells sharp or sour when you open it, it needs more curing. You can also run a germination test by sprouting radish or lettuce seeds in a compost-and-soil mix.
Safe timing before harvest
Even with good composting, give edible crops a buffer. Commonly cited guidance, including USDA organic standards for raw manure, is:
- Raw or uncomposted manure: apply at least 120 days before harvest of crops whose edible parts touch soil (carrots, lettuce, strawberries, potatoes), and at least 90 days before harvest of crops that do not touch soil.
- Properly composted material: these waiting periods generally do not apply, but many growers still hold off on applying to leafy greens right before harvest as a precaution.
Confirm current rules with the USDA National Organic Program, your certifier, or your state’s produce safety program, since these standards can change and vary by operation type.
In practice, work compost into beds a few weeks before planting, or topdress established perennials and fruit crops in late fall or early spring. For fields, spread and incorporate in the fall or well before planting, and avoid frozen or saturated ground to limit runoff.
Applying finished compost in gardens and fields
Finished chicken manure compost is potent. A typical garden application is a layer of about 1/2 to 1 inch (roughly 1.5 to 3 cubic yards per 1,000 square feet), worked lightly into the top few inches or used as a topdress. Heavy feeders like corn, squash and brassicas appreciate it; root crops generally need less.
- New raised beds: blend compost into the mix rather than layering a thick band. Our guides to dirt for raised beds and potting mix vs garden soil in raised beds help you get the proportions right.
- In-ground beds: amend based on a soil test, not guesswork. Poultry manure is rich in phosphorus, and repeated heavy applications can build phosphorus past what crops need. See soil testing for regenerative farmers.
- Fields: match rates to a nutrient management plan and your state’s rules. Your NRCS office or extension agent can help.
Compost alone will not fix every soil problem, but it feeds the biology and builds organic matter over time. For the bigger strategy, read how to increase soil organic matter and our pillar guide, Soil Health: The Complete Guide to Building Living Soil. For related fundamentals, see the Soil Health category.
Key takeaways
- Raw chicken manure burns plants through ammonia and salts, and can carry pathogens.
- Mix roughly 1 part manure with 2-3 parts carbon by volume, keep it damp, and turn it.
- Hot piles (130-160°F) reduce pathogens; cure for 1-2 months after the active phase.
- Deep-litter bedding is a built-in head start, not finished compost.
- Follow pre-harvest waiting periods for raw manure (typically 90-120 days) and confirm current rules with USDA or your certifier.
- Test your soil so you do not over-apply phosphorus.
Frequently asked questions
Can I put fresh chicken manure directly on my garden?
It is risky. Fresh manure can burn roots and seedlings and may carry pathogens. If you must use it raw, apply it well ahead of planting, typically in fall for spring crops, and follow pre-harvest waiting periods. Composting first is the safer route.
How long does chicken manure need to compost before it is safe?
A hot, well-turned pile can finish in 2-4 months including curing, while a cold or neglected pile can take a year or more. Judge by the finished product: dark, crumbly, earthy-smelling and free of ammonia, not by the calendar alone.
What is the best carbon material to mix with chicken manure?
Dry leaves, straw and chopped corn stalks work well because they add bulk and airflow. Wood shavings are fine as coop bedding but break down slowly, and sawdust should be used sparingly because it can tie up nitrogen.
Is deep-litter bedding ready to use on the garden?
Not usually. Deep litter is a partial head start, but it still needs hot composting and curing before it goes on edible crops. Move it to a dedicated pile, manage moisture and turning, and then cure it.
How soon can I harvest vegetables after using chicken manure?
With raw manure, common guidance is 90 days for crops whose edible parts do not touch soil and 120 days for those that do. Finished, properly composted material is treated differently, but confirm current standards with the USDA, your certifier or local extension.