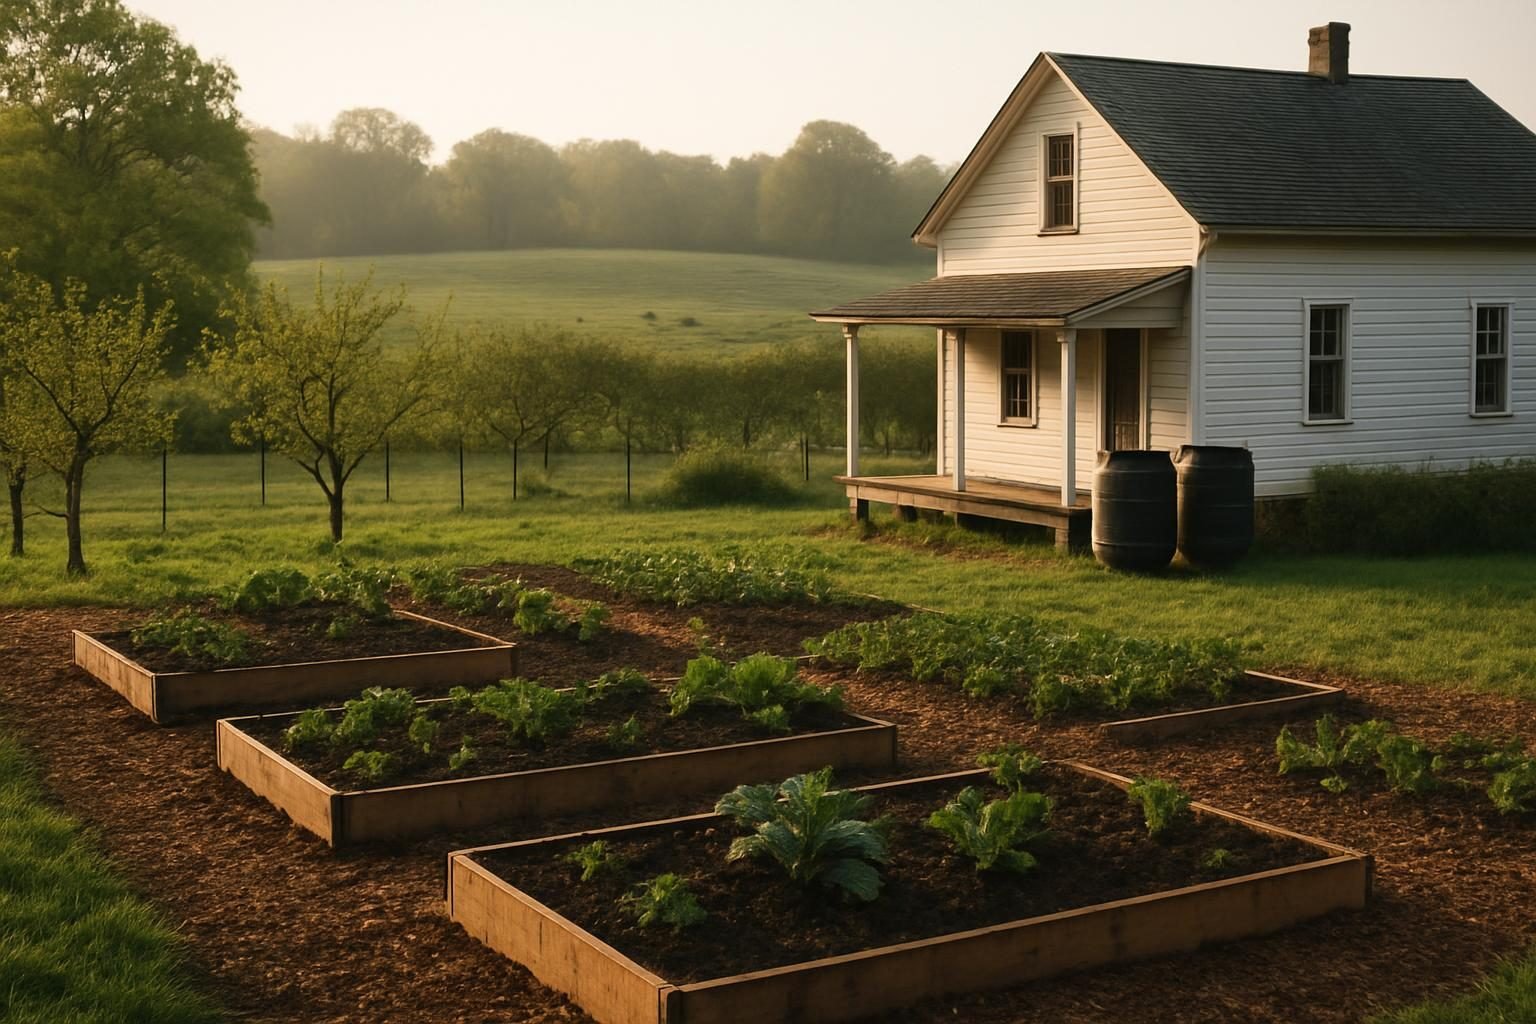
If you want to save tomato seeds, you need only a ripe fruit, a jar, some water and a few days of patience. Tomatoes are one of the friendliest crops for seed saving, and doing it year after year gives you plants adapted to your soil, your weather and your pests. Once established, you can grow them in no-till garden beds to build soil health while you harvest.
This guide walks through the whole process: choosing the right fruit, fermenting, rinsing, drying, labeling and storing. It also explains why hybrids do not come true and how to keep varieties from crossing.
Quick answer: Pick fully ripe fruit from an open-pollinated or heirloom plant, scoop the seeds and gel into a jar, add a little water and ferment 2 to 4 days at room temperature until a film forms. Rinse the seeds clean, dry them on a non-stick surface for 1 to 2 weeks, then store them labeled in a cool, dark, dry place. Properly stored seed commonly stays viable 5 years or more.
Why Save Tomato Seeds?
Saving seed cuts your input costs, but the bigger payoff is adaptation. Each season you keep seed from the plants that thrived on your ground, your fertility program and your pest pressure, and over several generations your tomatoes tend to get better suited to your site. That fits the regenerative approach of working with local conditions instead of fighting them, a theme we cover in what regenerative agriculture is and how to start.
It also protects varieties. Many heirloom tomatoes survive only because gardeners keep growing and sharing them. For market growers, a signature variety with a loyal customer base is a business asset, and seed you control keeps it that way.
Open-Pollinated, Heirloom and Hybrid: What Comes True
Not every tomato is worth saving seed from. The key is understanding what kind of plant you have.
- Open-pollinated (OP): Varieties that reproduce true to type when pollinated within the same variety. Seed from an OP plant grows into plants that look and taste much like the parent.
- Heirloom: Open-pollinated varieties with a history of being passed down, often 50 years or more by common definitions. All heirlooms are OP, but not all OP varieties are heirlooms.
- Hybrid (F1): The first-generation cross of two distinct parent lines. Seed saved from an F1 plant produces offspring that vary widely, because the traits of the parents shuffle and separate in the next generation.
That last point is why hybrids do not come true. You might get small, late or oddly flavored fruit from a hybrid you loved. Seed packets usually say “F1” or “hybrid” if that is what you bought. If the label is unclear, treat the plant as a hybrid and do not bother saving seed from it unless you want to experiment with selecting your own line, which takes several generations.
Keeping Varieties From Crossing
Tomatoes are mostly self-pollinating. Each flower contains both male and female parts, and many pollinate themselves before the flower even opens. That makes crossing fairly uncommon, which is great news for beginners.
Crossing is more likely in two situations: potato-leaf varieties and older heirlooms with exserted stigmas (the female part sticks out beyond the anther cone), and regions with lots of pollinators, especially bumblebees and sweat bees. If you grow several varieties in a small space, take simple precautions.
- Distance: Separate varieties by roughly 10 to 25 feet for a reasonable safeguard, more for varieties with exposed stigmas or in pollinator-rich areas. Recommendations vary by source, so treat these as typical ranges.
- Barriers: Plant a tall crop like corn or sunflowers between tomato varieties, or stagger varieties to different corners of the garden.
- Bagging: Cover an unopened flower cluster with a small mesh or organza bag until the fruit sets. This is the most reliable method and works well on a few chosen trusses.
- Isolation by timing: Varieties that flower at different times will not cross each other.
If you pollinator-proof too well you lose the benefit of a diverse planting, so balance purity with habitat. Our guide to hedgerows for pollinators covers how to keep beneficial insects on your land without sacrificing seed purity in your tomato rows.
Choosing Fruit and Plants to Save From
Selection is the quiet superpower of seed saving. Rather than grabbing seed from whatever fruit is handy, choose deliberately.
- Pick from healthy, vigorous plants that performed well across the season, not just one lucky fruit.
- Choose fruit that matches the variety’s true type in shape, size, color and flavor.
- Take fruit from several plants, ideally 3 to 6 or more, to maintain genetic diversity.
- Leave the fruit on the vine until it is fully ripe, even slightly soft. Seeds in underripe fruit may not be mature.
- Avoid plants showing disease. Some tomato diseases can travel on or in seed, so skip any plant with obvious problems.
How to Save Tomato Seeds: Step by Step
The fermentation method mimics what happens when a tomato falls to the ground and rots. It breaks down the gel sac around each seed, which contains germination inhibitors, and helps knock back some seed-borne pathogens.
What You Need
- A sharp knife and a cutting board
- A clean glass jar or plastic cup
- Water and a fine mesh strainer
- Ceramic plates, glass dishes or coffee filters for drying
- Paper envelopes or small jars for storage, and a pen
The Steps
- Cut and scoop. Slice a ripe tomato crosswise and squeeze or scoop the seeds, gel and juice into your jar. Eat the rest of the fruit.
- Add water. Add a few tablespoons of water if the mixture is thick. Do not fill the jar, since too much water slows fermentation.
- Label the jar. Write the variety name right away. Mix-ups at this stage are the most common seed-saving mistake.
- Ferment 2 to 4 days. Leave the jar uncovered or loosely covered at room temperature, roughly 70 to 80 degrees F. Stir once or twice a day. Cooler temperatures take longer. A white or gray mold film forms on top and the mixture smells sour. That is normal.
- Stop at the right time. Once a film covers the surface and the seeds have sunk, stop. Fermenting longer than about 5 days risks sprouting or damaging the seed.
- Rinse. Add water, stir, and let the seeds settle. Good seeds sink; pulp, mold and bad seeds float. Pour off the top, refill and repeat until the water runs clear. Finish in a fine strainer under running water.
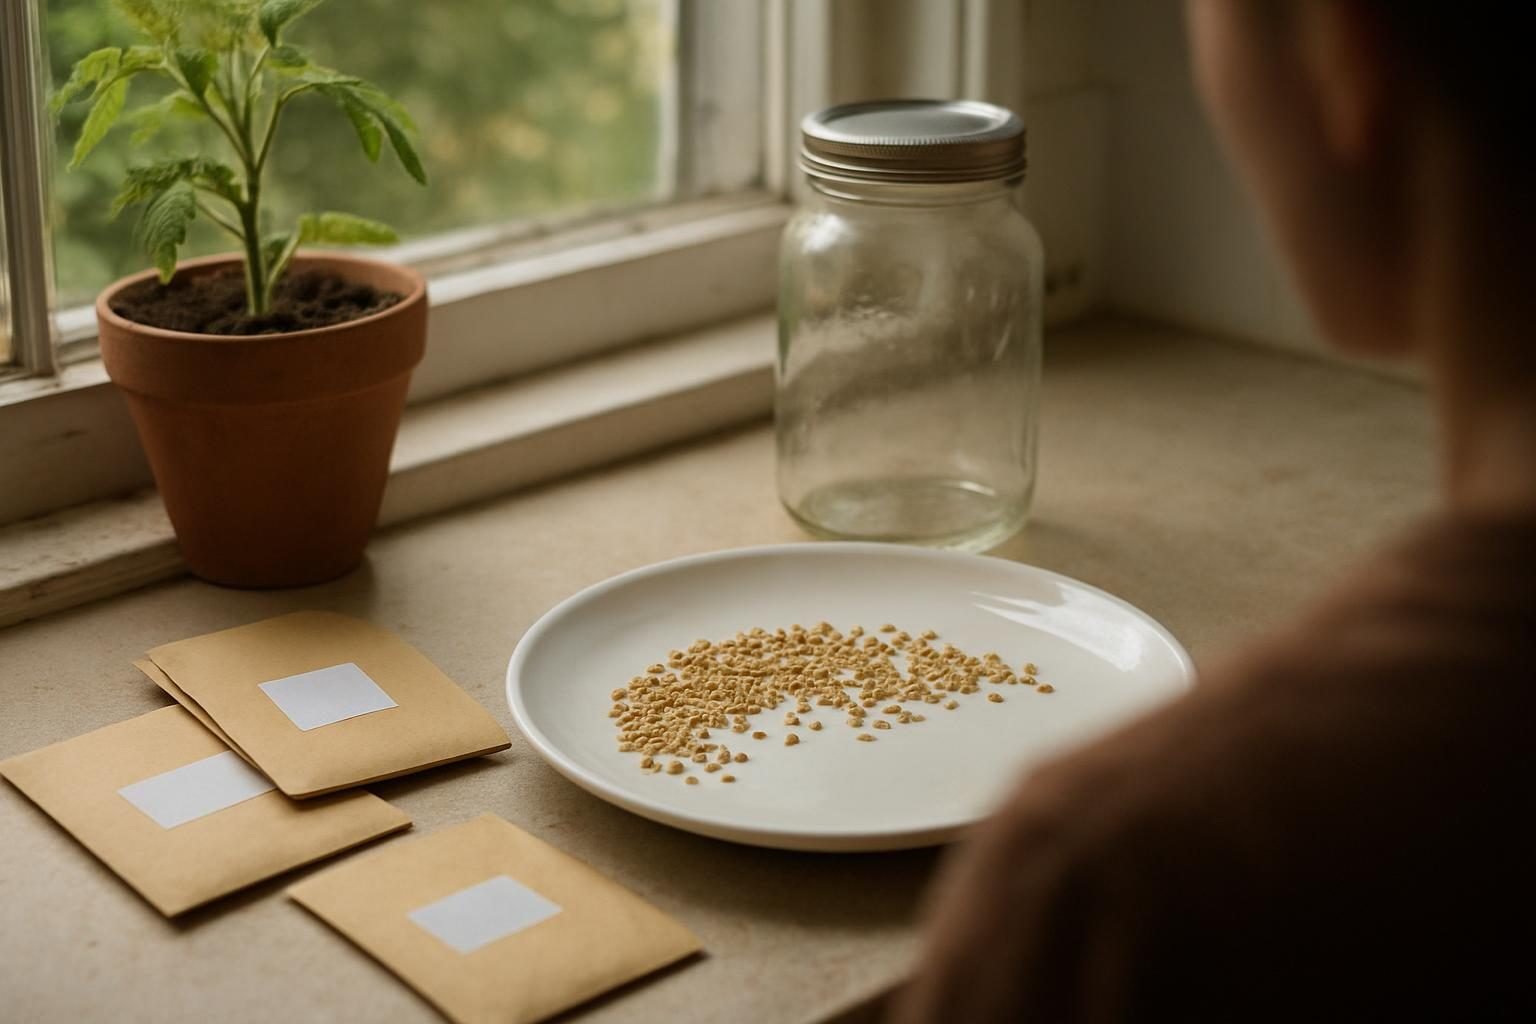
- Dry. Spread seeds in a single layer on a ceramic plate, glass dish or coffee filter. Avoid paper towels, where seeds stick, and avoid direct sun or heat sources. Stir daily and dry for 1 to 2 weeks until seeds are hard and do not bend.
- Label and store. Place fully dry seeds in labeled envelopes or jars.
Drying and Storing Tomato Seeds
Drying is where seed savers often get impatient. Seeds that go into storage even slightly damp can mold or lose viability. Give them extra time, especially in humid climates like the Southeast or Mid-Atlantic, where a dehumidified room or a fan on low can help. In arid regions of the West, drying goes quickly, but keep seeds out of intense direct sun.
For storage, the three enemies are heat, light and moisture. A common rule of thumb is that the sum of storage temperature in degrees F and relative humidity percent should stay under about 100. Practical ways to get there:
- Store dry seed in paper envelopes inside a sealed glass jar or airtight container.
- Add a desiccant packet or a spoonful of dry powdered milk wrapped in tissue to absorb moisture.
- Keep the jar somewhere cool and dark, such as an interior closet, basement shelf or refrigerator. A freezer works too if seed is very dry and containers are airtight.
- Label each envelope with variety, year harvested and any notes such as “from 4 plants, bagged trusses.”
Tomato seed stored well commonly stays viable for around 4 to 10 years, with germination slowly declining over time. Test older seed by sprouting 10 seeds on a damp paper towel in a warm spot and counting how many germinate over 5 to 10 days. For more on lifespans by crop, see our upcoming guide on how to store seeds and how long they last.
Common Problems and Fixes
| Problem | Likely cause | Fix |
|---|---|---|
| Seeds sprouted in the jar | Fermented too long or too warm | Stop at 2 to 4 days; keep below about 80 degrees F |
| Seeds stuck to paper | Dried on a paper towel | Use glass, ceramic or coffee filters; soak and gently scrape if stuck |
| Moldy stored seed | Not fully dry before storage | Dry longer; add desiccant |
| Offspring do not match parent | Hybrid parent or cross-pollination | Confirm variety type; increase isolation or bag flowers |
| Low germination | Underripe fruit or old seed | Use fully ripe fruit; run a germination test |
Fitting Seed Saving Into Your Farm or Garden
Seed saving works best when it is built into your routine rather than done in a rush at season’s end. Mark your best plants with a tag in midsummer so you remember which to harvest from. Grow your saved seed in healthy ground; the biology of your soil affects plant vigor, which is why seed saving pairs naturally with building living soil. See our soil health guide for the foundation, and use finished compost, as described in our guide to how to make compost, to feed the plants you plan to save from.
If you are expanding from a backyard patch toward sales, saved seed of a standout variety can differentiate your stand. Our pieces on selling at farmers markets and small-scale regenerative farming cover how to turn that kind of advantage into income. Just check any local or state seed-labeling rules before you sell seed itself, since regulations vary and you should confirm current requirements with your state department of agriculture.
New to the whole subject? Start with our seed saving for beginners guide to see which crops are easiest, then branch out. If you grow squash, look at how to save pumpkin seeds for planting, and for flowers, how to save zinnia seeds. You can also browse everything in our Small and Urban Farms section.
Key Takeaways
- Save seed only from open-pollinated or heirloom tomatoes; hybrid offspring will not come true.
- Tomatoes mostly self-pollinate, so modest distance or bagging usually keeps varieties pure.
- Choose fully ripe fruit from healthy, typical plants, and sample several plants.
- Ferment 2 to 4 days, rinse until clean, and dry thoroughly on a non-stick surface.
- Store dry seed cool, dark and airtight, labeled with variety and year.
- Run a simple germination test on older seed before you rely on it.
Frequently asked questions
Do I have to ferment tomato seeds?
Fermentation is not strictly required, since you can rinse and dry seeds without it. But it removes the gel coating that inhibits germination, helps clean the seed and may reduce some seed-borne diseases. Most experienced seed savers consider it worth the extra few days.
Can I save seeds from store-bought tomatoes?
You can, but results are unpredictable. Most grocery tomatoes are hybrids, so the plants grown from their seed will vary, and the fruit may be picked unripe. If you find a farmers market heirloom you love, ask the grower whether it is open-pollinated, then save from a fully ripe fruit.
How long do saved tomato seeds last?
Under cool, dark, dry conditions, tomato seed commonly stays viable for about 4 to 10 years, with germination gradually declining. Warm, humid storage shortens that considerably. A quick paper-towel germination test tells you whether older seed is still good.
How far apart should I plant varieties to avoid crossing?
Many sources suggest roughly 10 to 25 feet between varieties as a practical buffer, more for varieties with exposed stigmas or where pollinators are abundant. For guaranteed purity, bag unopened flower clusters until fruit sets, or plant varieties that bloom at different times.
Why did my fermenting seeds grow mold?
A white or gray film on top is a normal part of fermentation and actually helps break down the gel. Problems arise if the jar sits too long, gets too warm or turns foul and fuzzy for several days. Stop fermenting once seeds sink and the film has formed, then rinse thoroughly.