A hoop house is one of the few investments that can add months of harvest to a small farm without adding acres. For small-scale regenerative farmers, it often means the difference between a short summer rush and a steady income from spring through late fall, and sometimes through winter.
This guide compares the main tunnel types, gives typical sizes and cost ranges, explains how to get the most from NRCS cost-share, and covers the part many growers skip: keeping the soil inside a tunnel healthy over the long haul.
Quick answer: A hoop house is an unheated, plastic-covered tunnel that extends your season by trapping solar heat and keeping rain off crops. High tunnels (walk-in, permanent) suit tomatoes, peppers and winter greens; low tunnels and caterpillar tunnels are cheaper, movable and good for early spring and fall protection. Budget roughly $1 to $4 per square foot for a DIY or kit tunnel, ventilate aggressively, and plan for salt management and organic matter from day one. Check with your local NRCS office about high tunnel cost-share.
High tunnel vs low tunnel vs caterpillar tunnel
These terms get used loosely, so here is how most farmers and extension services use them.
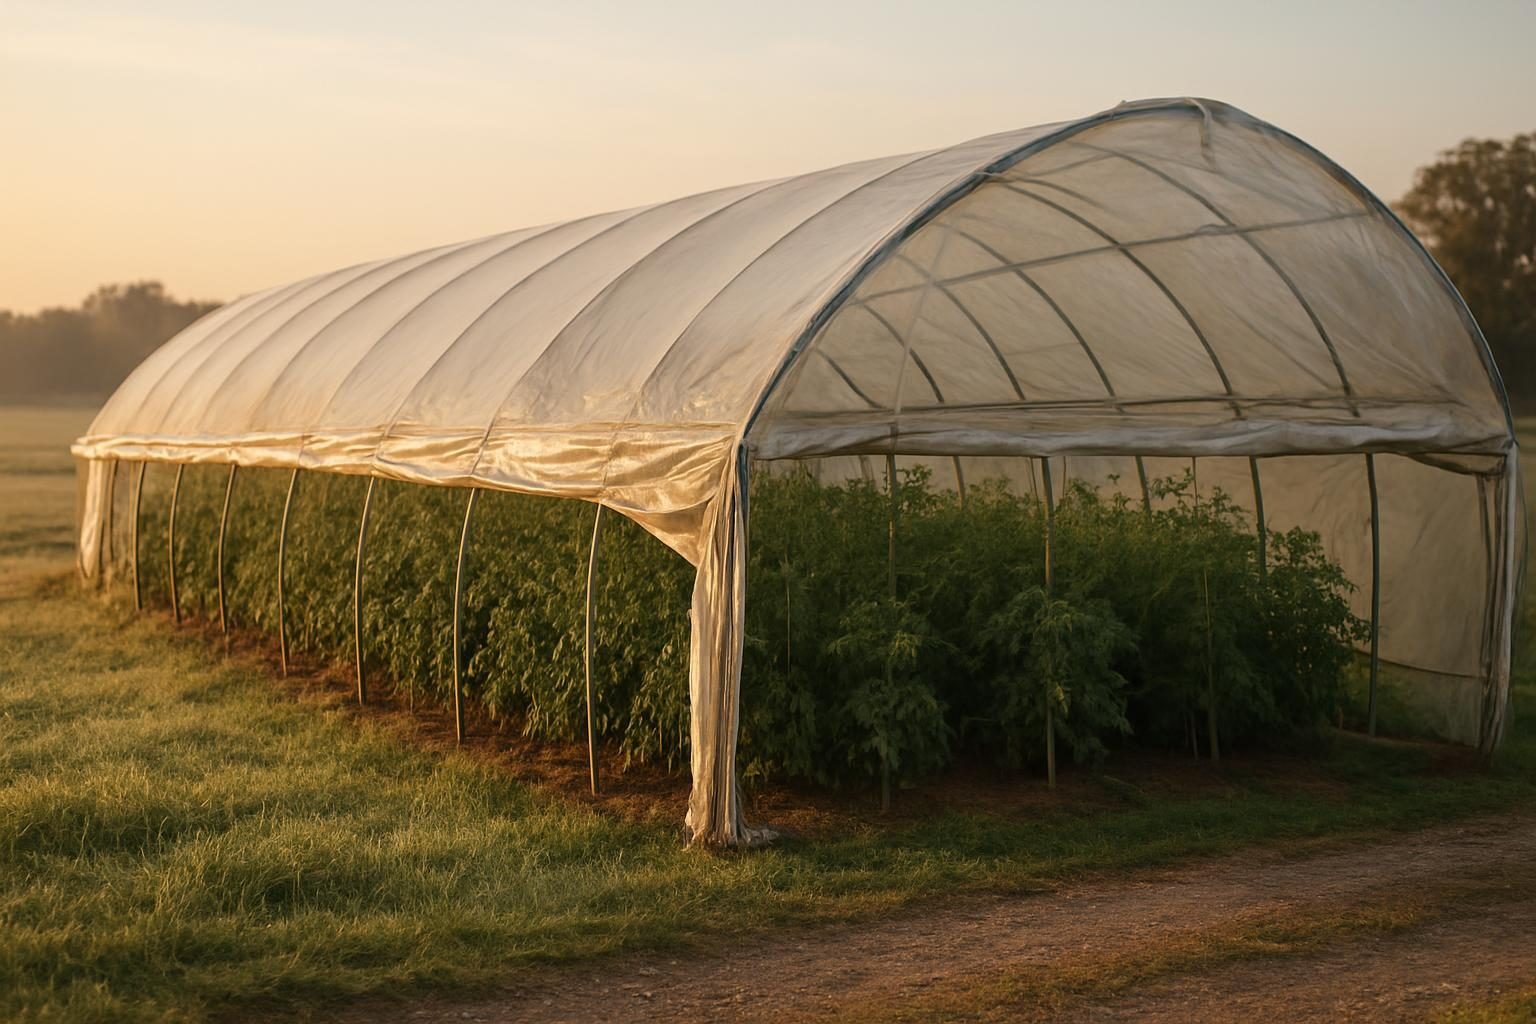
- High tunnel (hoop house): A walk-in structure, usually 12 to 30 feet wide, with a steel frame, single or double layer of polyethylene, and roll-up sides for ventilation. Crops grow in the native soil. This is the structure most people mean by “hoop house.”
- Low tunnel: Small hoops, typically 2 to 4 feet tall, set over a single bed and covered with plastic or row cover. You lift or vent the cover by hand. Excellent for early lettuce, spinach, brassica transplants and strawberries.
- Caterpillar tunnel: A hybrid. It is a long, low-profile, walk-in-ish tunnel, often 6 to 9 feet wide and about 6 feet tall, built from bent conduit or rebar-anchored hoops with a cover that rolls up from the sides. Cheap and movable, but less comfortable to work in and less wind-resistant than a true high tunnel.
Side-by-side comparison
| Feature | High tunnel | Caterpillar tunnel | Low tunnel |
|---|---|---|---|
| Typical width | 12 to 30 ft | 6 to 9 ft | 3 to 4 ft |
| Typical height | 8 to 14 ft peak | 5 to 7 ft | 2 to 4 ft |
| Approx. cost per sq ft* | $3 to $8 kit; less if DIY | $1 to $3 | Under $1 |
| Movable? | Usually fixed (some on skids or rails) | Yes, with effort | Yes, easily |
| Best crops | Tomatoes, peppers, cucumbers, winter greens, cut flowers | Greens, root crops, early starts | Lettuce, spinach, brassicas, strawberries |
| Walk-in work | Yes | Stooping or limited | No |
*Typical ranges only; steel prices, shipping, covering film, end walls and labor vary widely by region and supplier. Get current quotes before you budget.
Sizes and cost ranges: what to expect
Popular sizes for small farms are 20 by 48 feet, 30 by 96 feet, and 14 by 96 feet. A 30 by 96 foot tunnel covers nearly 2,900 square feet, which is plenty for a CSA’s tomato crop or a few hundred pounds of winter greens per month.
Cost depends on three things: the frame, the cover, and everything else. The frame is a steel pipe or tubing kit from a commercial supplier. The cover is typically a 6-mil, greenhouse-grade polyethylene film (often UV-stabilized and rated for several seasons). “Everything else” is the line item people forget: end walls, doors, roll-up side hardware, baseboards, anchors or ground posts, a shade cloth option, and electrical or irrigation hookups.
A reasonable planning approach is to get quotes for the kit, add 20 to 40 percent for site prep, labor, and hardware, then add irrigation. If you build it yourself, you save on labor, but give yourself time. Putting a plastic cover on a windy day is a famously bad idea.
Before you commit, run the numbers the same way you would for any enterprise. Our guides on writing a farm business plan and pricing farm products will help you check whether the extra harvest weeks actually pay back the structure.
NRCS high tunnel cost-share
The USDA Natural Resources Conservation Service (NRCS) has offered a Seasonal High Tunnel System practice under EQIP (the Environmental Quality Incentives Program). In general, it provides cost-share help to farmers who build a qualifying high tunnel and follow conservation requirements, such as soil health practices and a plan for managing nutrients and pests.
Details vary by state and year, including payment rates, size limits, eligibility, signup windows, and ranking criteria. Confirm current program details with your local NRCS service center before buying anything, because in most cases you must be approved before you build; starting construction early can disqualify you.
How to approach the application
- Contact your local NRCS office and ask about the Seasonal High Tunnel practice and current signup deadlines.
- Make sure your farm and operator records are in order (farm number, entity information) as the office will explain.
- Choose a site and share it with the planner. Drainage, wind exposure, and access matter.
- Work with NRCS on a conservation plan that includes soil-building practices you will use inside the tunnel.
- Wait for contract approval before purchasing or constructing.
For a wider look at how grants, loans, and cost-share fit into a farm’s finances, see our regenerative farming business guide to funding, certification, and sales.
What to grow in a hoop house
The best tunnel crops are the ones that reward protection from rain, wind, and cold, and that bring a premium when the field outside is empty.
- Early and late season: Tomatoes planted weeks earlier than field crops, peppers, cucumbers, and basil.
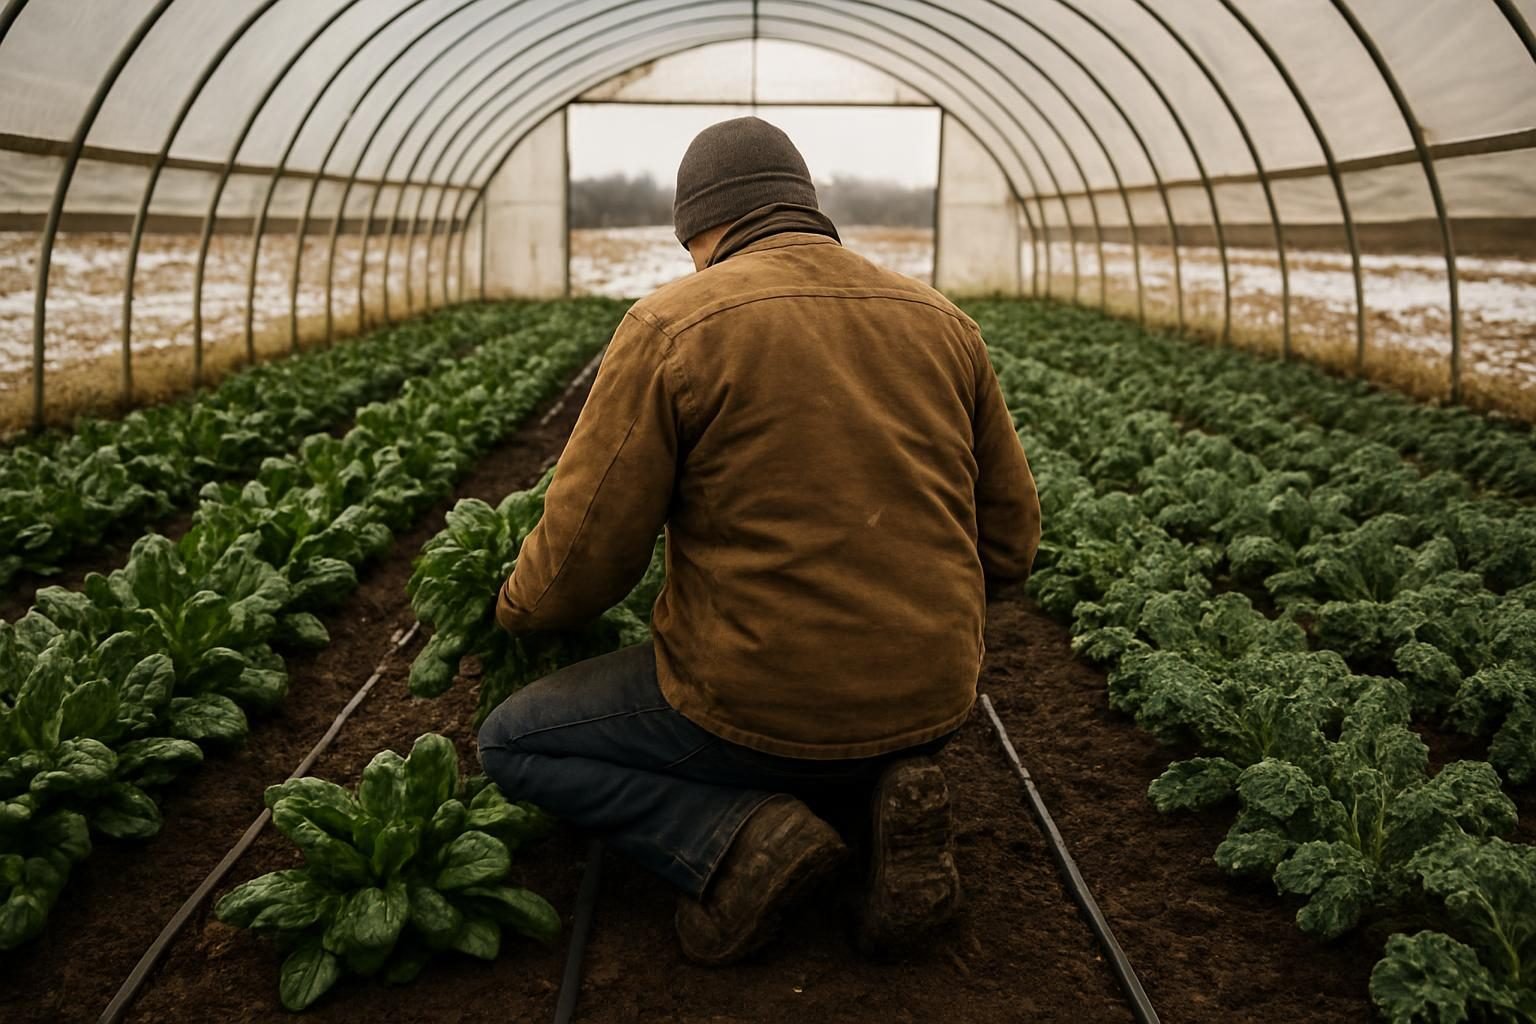
- Winter and shoulder season: Spinach, kale, arugula, mache, carrots, scallions, and other cold-hardy crops. Growth slows greatly in the darkest weeks, so you are mostly storing crops in the ground rather than forcing growth.
- Specialty crops: Cut flowers and ginger or turmeric in northern climates, where the heat is a real advantage.
- Quick turnarounds: Fast, high-value crops like growing microgreens for profit can use a tunnel’s bench space during the lean months.
For help choosing what earns its square footage, our guide to the most profitable crops for small farms is a good starting point, and our step-by-step market garden plan shows how a tunnel fits into a whole-farm rotation.
Ventilation: the make-or-break detail
Most hoop house failures are overheating, not freezing. On a sunny 50-degree day, the inside of a closed tunnel can climb well past 90 degrees within an hour or two, enough to scorch seedlings and cause tomato blossom drop.
Practical ventilation rules
- Roll-up sides are the workhorse. Open them in the morning on any day that will be sunny, even in cold weather, and close them before the afternoon cools.
- Open the end walls or doors to create cross-flow, especially in summer.
- Automatic openers (wax-cylinder or thermostat-driven) are worth the money if you cannot be there at midday.
- Shade cloth (30 to 50 percent) helps in hot regions like the South and arid Southwest, where summer heat is the bigger challenge.
- Humidity matters too. In the humid East and Southeast, poor airflow encourages foliar disease. Prune, space plants, and vent even on cool days.
Soil health inside a hoop house
Tunnel soil lives a different life than field soil. Rain does not leach it, so whatever you add stays put. Evaporation also pulls moisture and dissolved salts upward. Over several seasons, salts from fertilizers, irrigation water, and some composts can concentrate in the root zone, causing stunted growth, leaf burn, and poor germination.
How to manage salt buildup
- Test regularly. Ask your lab for electrical conductivity (EC) or a soluble salts test, in addition to nutrients, and compare with the lab’s guidance for your crops.
- Do not over-apply. More compost or fertilizer is not better. Base inputs on soil tests, not habit.
- Irrigate deeply but infrequently, and use drip irrigation to avoid wetting leaves while keeping moisture steady.
- Leach if needed. If tests show high salts, a deep soaking or opening the tunnel to natural rain for a season can flush them. Your NRCS or extension contact can advise on the right approach for your soil.
- Rotate and diversify. Rotate plant families and include a cover crop in the tunnel during the off season.
Building organic matter without overloading it
The same principles that apply outdoors apply under plastic, as outlined in our overview of soil health principles: keep the soil covered, keep living roots in the ground when you can, minimize disturbance, and feed soil life. A no-dig approach works well in tunnels, with a layer of finished compost on top each season rather than tilling it in. Finished hot compost is safer than raw manure, and a modest top-dressing of worm castings can help seedling starts. Test any compost for salts before spreading it heavily.
Many growers also keep the plastic off for a season every few years, or move the tunnel entirely. Movable tunnels let rain, frost, and sun reset the ground.
Site selection and siting tips
- Choose a well-drained, level or gently sloped site with good access to water.
- Orient the long axis east to west for maximum winter light in many northern sites; north to south can reduce shading in summer. Ask local extension for regional guidance.
- Avoid frost pockets and spots where cold air pools.
- Consider wind: anchor deeply, and add windbreaks where possible. In snow country, plan for snow load and clear snow promptly.
- Check local zoning and building rules. Many places treat tunnels as agricultural structures, but rules vary.
Is a hoop house right for your farm?
If you sell at market or through a CSA, extra weeks of early tomatoes or winter greens can lift income without more land. If you are an urban farmer working a small lot, a tunnel multiplies the productive months of a limited space. If you are planning a membership model, consider how a tunnel can fill gaps in your CSA shares. Start with one tunnel, learn its quirks for a season, and expand only after you see how it performs.
You can browse more guides in our Small and Urban Farms section.
Key takeaways
- High tunnels are permanent walk-ins for premium crops; low and caterpillar tunnels are cheaper, movable options for early and late protection.
- Plan costs with quotes, and add allowances for end walls, hardware, irrigation, and labor.
- NRCS cost-share may help, but confirm current details and get approval before you build.
- Ventilation prevents most failures; open early, vent often, and add shade in hot regions.
- Test for soluble salts, apply inputs based on tests, and build organic matter with finished compost and cover crops.
Frequently asked questions
What is the difference between a hoop house and a greenhouse?
A hoop house is typically an unheated, passively ventilated structure covered in plastic, using the sun for warmth. A greenhouse is usually heated, with active climate control and often a rigid cover. Hoop houses cost far less to build and operate, but give less control in deep winter.
How much does a hoop house cost?
Typical ranges run from under $1 per square foot for simple low tunnels to roughly $3 to $8 per square foot for commercial high tunnel kits, before site work, labor, and irrigation. Prices change with steel and film costs, so always get current quotes.
Can I grow food in a hoop house all winter?
In many climates, yes, but expect slow growth. Cold-hardy greens such as spinach, kale, and mache can survive and be harvested through winter, especially with an added layer of row cover inside the tunnel. Very cold regions may see growth stop for several weeks around the shortest days.
How do I prevent salt buildup in hoop house soil?
Test soil for soluble salts or EC each year, avoid over-fertilizing or over-applying compost, use drip irrigation, rotate crops, and leach the soil with deep watering or open the tunnel to rain when tests show high levels. Adding organic matter helps buffer the soil over time.
Do I need a permit to build a hoop house?
It depends on your county or municipality. Many places exempt agricultural structures, but size, setbacks, and zoning rules differ. Check with your local planning or zoning office before you build, and ask NRCS about any program requirements if you plan to use cost-share.