Growing microgreens for profit is one of the few small-scale farm ventures you can start in a spare room, a garage, or a corner of a hoop house, with a first harvest in about two weeks. The catch is that the crop is easy and the business is not: margins depend on labor, waste, and having buyers lined up before the first tray is seeded. For growers interested in broader regenerative practices on small plots, microgreens fit well within that framework.
This guide walks through setup and costs, the varieties worth growing, media choices, realistic yield ranges, food safety, and how to sell and price what you grow.
Quick answer: Microgreens can be profitable on a small footprint because they turn in 7 to 21 days and sell at a high price per pound. A typical 1020 tray yields roughly 4 to 16 ounces depending on variety. Startup can run from a few hundred dollars for a simple shelf setup to several thousand for a dedicated, climate-controlled space. Profit comes from selling steadily to chefs, markets, and subscriptions, keeping waste low, and pricing to cover your labor, not just your seed.
Why microgreens fit small and urban farms
Microgreens are seedlings harvested at the first true-leaf stage, usually 7 to 21 days after sowing. They need little space, no field, and no weather luck. That makes them a good fit for city lots, rented buildings, and farms looking for winter income. If you are weighing options, compare them against other high-value crops in our guide to the most profitable crops for small farms and market gardens, and see how they fit a city operation in urban farming: how to grow food (and a business) in the city.
The honest trade-off: microgreens are labor-dense and perishable. You are selling a product with a short shelf life, so a weak sales plan hurts more than a weak growing plan.
Setup and startup costs
You need four things: a space you can keep clean, light, airflow, and water. Most growers use a growing medium like compost or similar substrate. Costs vary widely by region and equipment choices, so treat the ranges below as rough estimates and get your own quotes.
| Item | Typical range | Notes |
|---|---|---|
| Shelving (wire racks) | $100 to $500 | Choose NSF-style or rust-resistant racks if you can |
| LED grow lights | $200 to $1,500+ | Full-spectrum, one fixture per shelf level |
| Trays (1020, with and without holes) | $1 to $3 each | Buy in bulk; you need many more than you think |
| Seed | Varies by variety | Buy in 1 to 5 lb or larger bags once you know what sells |
| Growing media | Varies | Often the largest recurring supply cost |
| Fans and dehumidifier | $100 to $600 | Airflow prevents mold, the number one crop loss |
| Packaging and labels | Per-unit cost adds up | Clamshells, compostable options, or bulk bags |
| Scale, knives or harvest tools, sanitizer | $100 to $400 | Sharp knife or dedicated harvest tool, food-safe sanitizer |
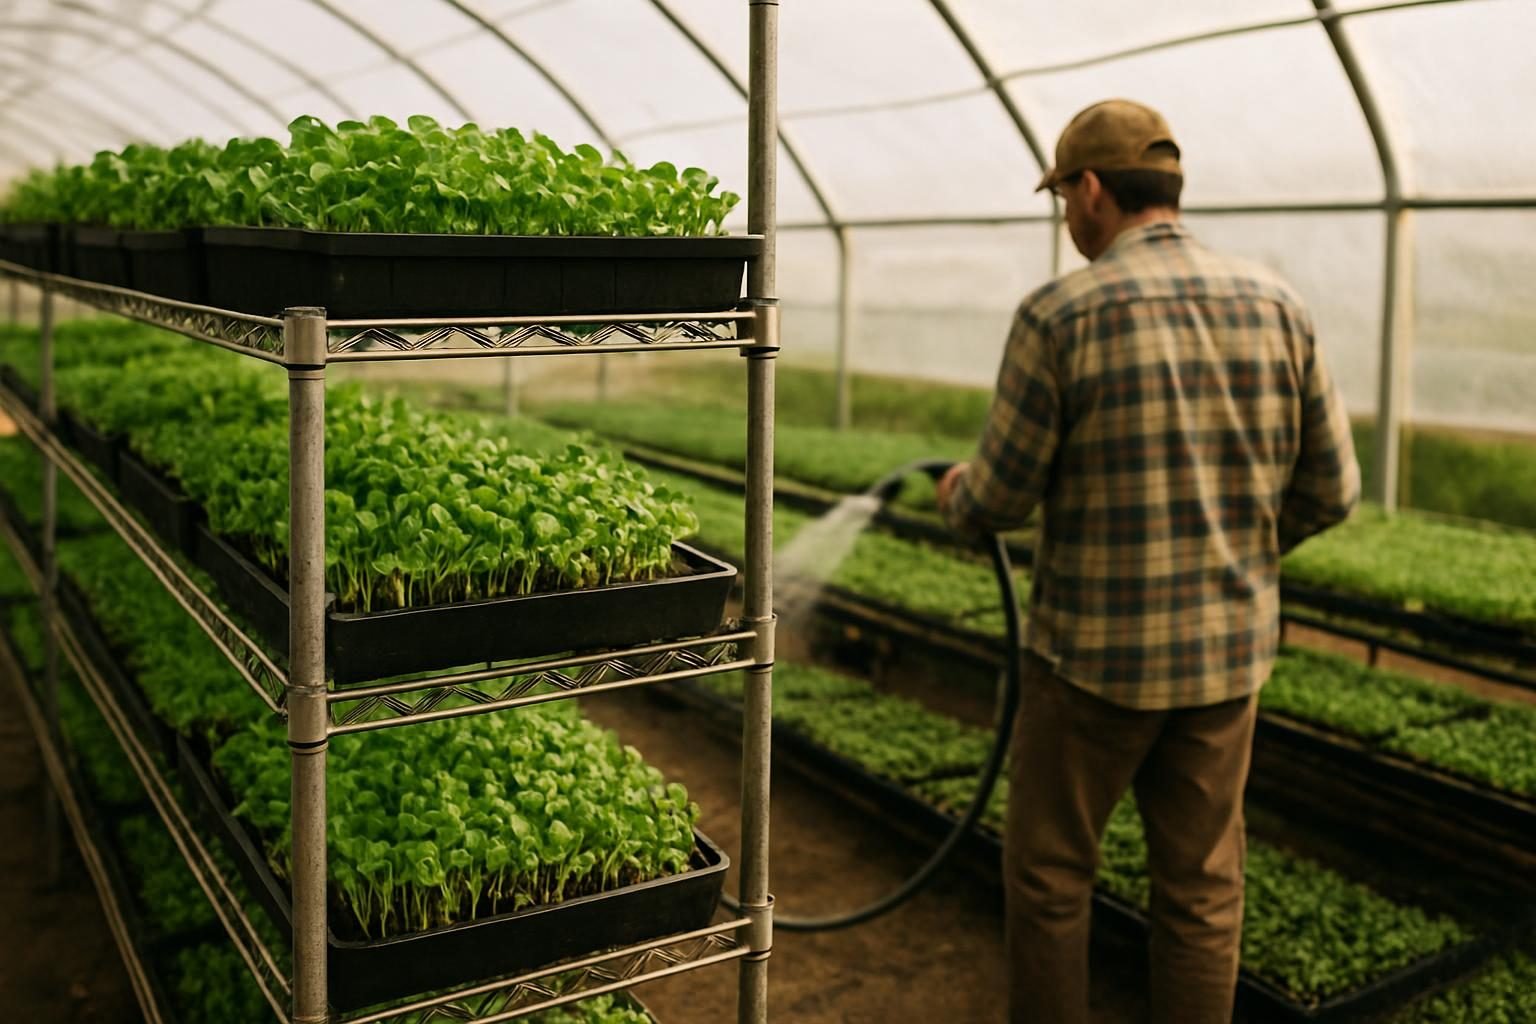
Many growers start with a few shelves and 20 to 50 trays, prove they can sell what they grow, then scale. If you already have a heated space, a hoop house can host microgreens in shoulder seasons, though temperature swings and humidity need managing.
Best varieties for profit
Start with a few reliable crops, not a catalog. Mix fast, easy sellers with a couple of premium items.
- Radish: Fast (about 6 to 10 days), forgiving, vivid color, good flavor. A staple for restaurants.
- Sunflower: Heavier yield and a longer grow (about 8 to 12 days), nutty and crunchy. Soak seed first. Needs good airflow.
- Pea shoots: Popular with chefs, sweet flavor, solid yield, and a longer grow (about 10 to 14 days).
- Broccoli, kale, and other brassicas: Reliable and quick, good in mixes.
- Arugula and mustard: Peppery, quick, common in blends.
- Basil, cilantro, and amaranth: Slower and more finicky, but they command higher prices when you can grow them well.
Use seed sold specifically for sprouting or microgreens from a reputable supplier, and ask for lot testing information. Seed quality drives both germination and food safety.
Growing media: soil, coco, mats, and more
The medium affects cost, cleanliness, yield, and what you do with the leftovers.
- Peat or compost-based potting mix: Familiar and forgiving, but heavier and messier to handle. Used media can be composted afterward.
- Coco coir: Lightweight, holds water well, and is a common choice. Buffer and rinse according to the supplier’s instructions, since salts can vary.
- Hemp, jute, or other fiber mats: Clean, easy to harvest, and good for shoots like radish and broccoli. Higher per-tray cost, but less cleanup.
- Hydroponic setups: Cleaner, but they demand more attention to water quality and sanitation.
Spent media and root mats are a resource. Feed them to a worm bin or add them to a hot compost pile and you close a loop that conventional growers often send to the landfill. Avoid composting any visibly moldy trays with your finished compost unless the pile reliably gets hot.
Yields per tray: what to expect
Yield depends on variety, seed density, light, temperature, and how well you manage moisture. These are typical ranges for a standard 10 by 20 inch tray, not guarantees. Track your own numbers from the first harvest.
| Variety | Typical days to harvest | Typical yield per tray |
|---|---|---|
| Radish | 6 to 10 | 6 to 10 oz |
| Sunflower | 8 to 12 | 8 to 16 oz |
| Pea shoots | 10 to 14 | 8 to 14 oz |
| Broccoli and kale | 7 to 12 | 4 to 8 oz |
| Arugula and mustard | 7 to 12 | 4 to 8 oz |
| Basil, cilantro | 14 to 21 | 3 to 6 oz |
The basic growing cycle
- Prepare the tray: Fill with damp medium or lay a pre-wetted mat. Level, do not compact.
- Sow evenly: Use density guidance for each variety. Overseeding raises mold risk.
- Blackout period: Stack or cover trays for 2 to 4 days (longer for pea and sunflower) to encourage roots and stems.
- Light period: Uncover and place under lights. Water from below or with a gentle mist, avoiding soggy canopies.
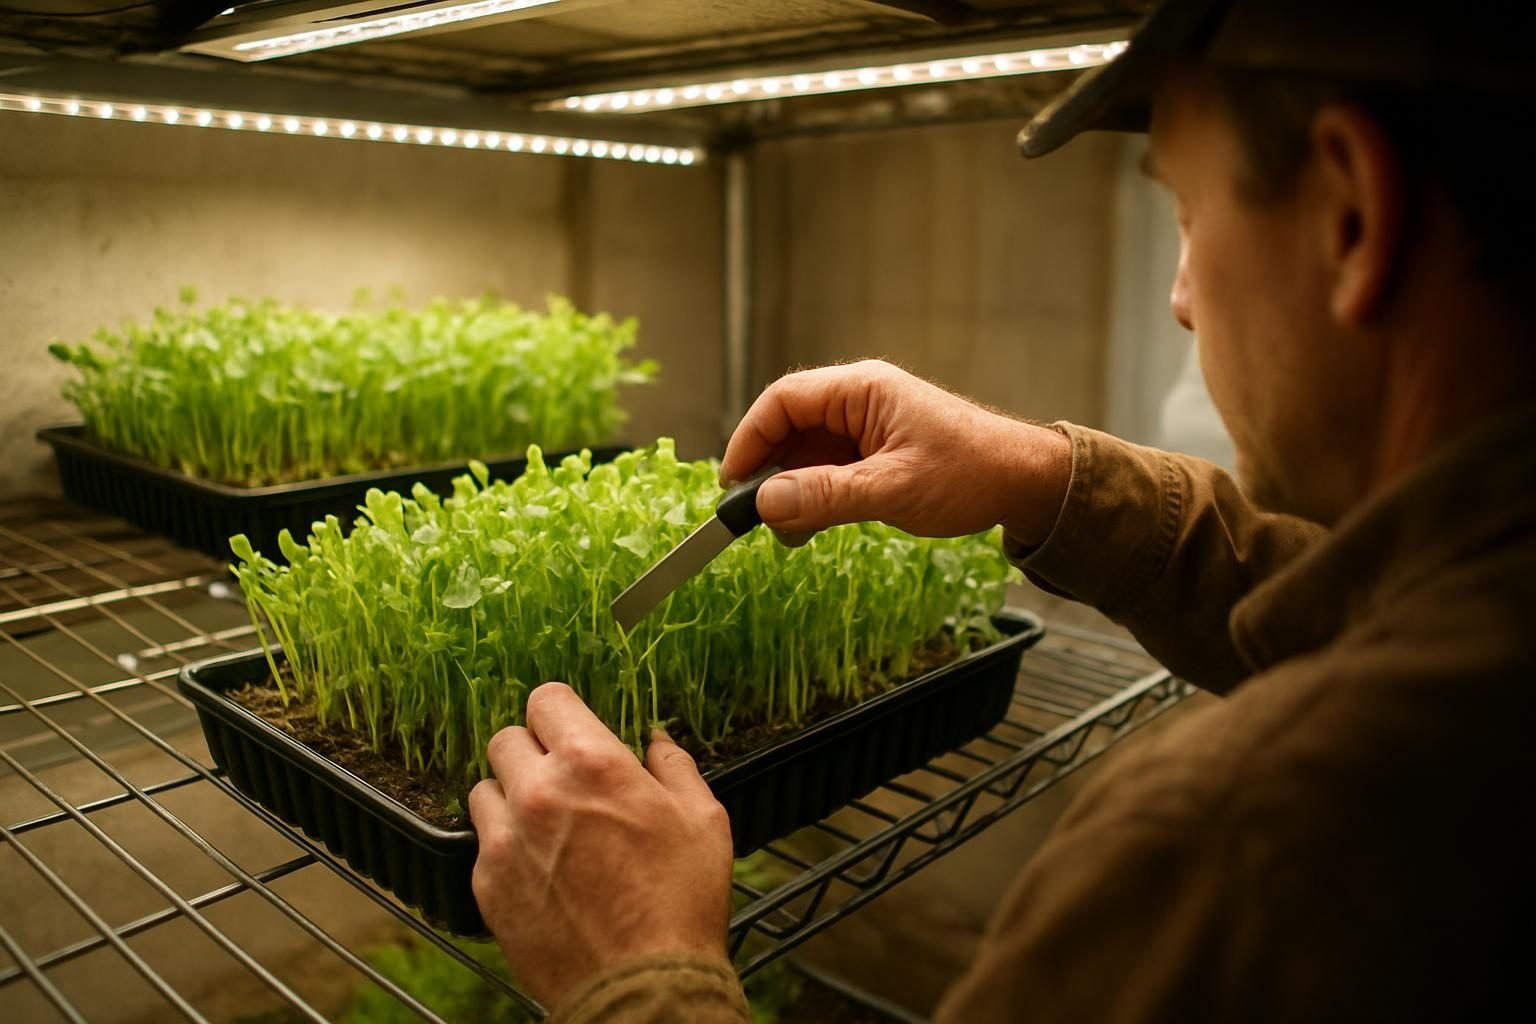
- Harvest: Cut just above the medium when cotyledons are open and the first true leaves are emerging, ideally with dry foliage.
- Chill and pack: Cool quickly, pack, and keep cold through delivery.
Food safety: do not skip this
Microgreens are usually eaten raw, so cleanliness is the core of the business. Rules differ by state and by how you sell, so confirm requirements with your state department of agriculture, health department, and local extension office before your first sale. Some growers fall under exemptions, while others need registration or inspection, and the details change.
- Use clean, sanitized trays, tools, and surfaces every cycle.
- Buy seed intended for sprouting or microgreens and keep lot records.
- Use potable water and keep hoses off the floor.
- Control mold with airflow, appropriate seeding density, and avoiding overwatering.
- Harvest above the medium so you are not cutting soil-contacting tissue.
- Wash hands, wear clean gloves where required, and keep pets and sick workers out of the grow space.
- Keep product cold and label with a harvest or pack date.
- Ask about product liability insurance; many restaurants and markets want proof of coverage.
Check current FDA and state guidance, including produce safety rules, to see whether and how they apply to you.
Selling to restaurants, markets, and subscriptions
Do not seed a single tray until you have at least a few likely buyers. Microgreens do not store like squash.
Restaurants and chefs
Chefs value consistency, flavor, and reliable delivery more than novelty. Bring samples, offer a small trial order, and ask what they actually use. Delivering twice a week on a fixed schedule builds trust. Expect some price pushback, especially from busy kitchens, and be ready to explain your quality and freshness.
Farmers markets
Markets let you reach home cooks directly and often at higher per-ounce prices. Keep product in a cooler or on ice, offer tastes where permitted, and present neat, labeled containers. Our guide to selling at farmers markets covers booth setup and customer habits in detail.
Subscriptions, CSAs, and grocers
Weekly subscriptions smooth your cash flow and help you plan trays. Small grocers and co-ops may buy on consignment or wholesale. You can also add microgreens as an extra in a CSA share, which helps with winter retention.
Pricing microgreens so you actually profit
Prices vary by region, variety, and buyer type, so research what local chefs and stores pay. Many growers price by weight for wholesale and by container for retail. Work backward from your costs, not from what looks impressive on a sign.
- Add up costs per tray: seed, media, packaging, water, electricity, and a share of equipment and rent.
- Add labor: time spent seeding, watering, harvesting, packing, delivering, and cleaning. This is the cost beginners most often skip.
- Account for loss: assume some trays fail or go unsold, often a meaningful share at first.
- Set price per ounce or container that covers all of the above plus a margin.
- Test and adjust with a few buyers, then review monthly.
For a deeper method, see how to price farm products so your farm is profitable. Plan your numbers formally with a farm business plan, and see our hub on the regenerative farming business for funding and sales channels. Confirm any tax or legal questions with a qualified professional.
Common mistakes to avoid
- Growing before selling, then dumping unsold trays.
- Too many varieties too soon, which multiplies complexity.
- Poor airflow and humidity control, leading to mold.
- Ignoring labor in pricing.
- Skipping food safety paperwork and insurance.
- Underestimating tray volume needed to hit a revenue goal.
Microgreens work best as one enterprise within a larger plan. If you are still shaping that plan, our guide to how to start a market garden shows how a quick-turn crop fits with field production, and you can browse more ideas in the Small and Urban Farms category.
Key takeaways
- Microgreens are fast, compact, and well suited to small and urban spaces, but they are labor-intensive and perishable.
- Start small with a few reliable varieties such as radish, sunflower, and pea shoots.
- Expect typical yields of roughly 4 to 16 ounces per tray depending on the crop, and track your own.
- Airflow and sanitation prevent most problems; confirm state and local food safety rules before selling.
- Line up buyers first, price to cover labor and loss, and recycle spent media through compost or worms.
Frequently asked questions
How much money can you make growing microgreens?
It depends on your tray count, variety mix, sales channels, and labor. Many small growers earn modest side income, and a smaller number build a full-time business with steady restaurant and subscription accounts. Treat any income claim skeptically and calculate your own numbers using your actual costs and prices.
What is the easiest microgreen to grow for beginners?
Radish is a common first choice because it germinates quickly, tolerates minor mistakes, and is ready in about a week or so. Sunflower and pea shoots are also forgiving and yield well, though they need soaking and good airflow.
Do I need a license to sell microgreens?
Requirements vary by state, county, and sales channel. Some operations qualify for exemptions or cottage-style rules, while others need registration, inspection, or a food handler certification. Contact your state department of agriculture and local health department before selling.
Can I grow microgreens without grow lights?
A bright south-facing window can work for a small batch, but most commercial growers rely on LED lights for consistent color, yield, and timing. In a greenhouse or hoop house, natural light can work well in some seasons, with supplemental lighting in winter.
How long do microgreens last after harvest?
When harvested dry, chilled quickly, and stored cold, most varieties keep for roughly 5 to 10 days, though quality declines over time. Shorter shelf life varieties such as basil can suffer from chilling, so follow variety-specific storage guidance and label with a pack date.