Good seed is one of the cheapest inputs on a farm and one of the easiest to ruin. Heat, humidity and time quietly kill germination, and you often don’t find out until a flat of nothing in April. Here is how to store seeds so they stay alive, and how long you can realistically expect each crop to last.
Quick answer: Store seeds that are fully dry in airtight containers in a cool, dark, stable place, ideally a refrigerator or a cool interior closet. Cool and dry matter far more than fancy packaging. Most common vegetable seeds stay usable for roughly 1 to 5 years, with onions and parsnips at the short end and many squash, beans and tomatoes at the long end. When in doubt, run a simple germination test before planting.
Why seeds lose viability
A seed is a living embryo in a state of very slow metabolism. Every season it sits in warmth and moisture, it burns through stored energy and accumulates cellular damage. Storage is really about slowing that clock down.
Three things drive the rate: temperature, moisture and, to a lesser degree, light and oxygen. A widely cited rule of thumb from seed-storage research is that lowering either seed moisture or storage temperature extends shelf life substantially, and that the two effects stack. You don’t need a lab to use that principle. You need dry seed and a cool spot.
The three storage conditions: cool, dry, dark
Cool
Aim for a steady temperature, ideally somewhere around 40 degrees F or cooler, but stability matters as much as the number. A seed stored in a closet that holds 60 degrees all year will usually outlast seed in a shed that swings from freezing to 95 degrees. Garages, attics, sheds and car trunks are the usual culprits for ruined seed, especially in the humid South and the hot arid West.
Dry
Moisture is the biggest enemy. Seeds that go into storage even slightly damp can mold or lose viability fast. In humid regions like the Southeast and Mid-Atlantic, ambient humidity alone can undo careful drying if the container is not airtight. In the arid West, the risk shifts toward heat rather than humidity, but dry seed is still the starting requirement.
Dark
Light is a minor factor compared to heat and moisture, but darkness costs nothing. An opaque container or a closed cabinet handles it.
Dry seeds properly before you store them
If you buy seed, it arrives dry enough. If you save your own, drying is the step most often rushed. For wet-processed crops like tomatoes and cucumbers, see our guide to saving tomato seeds through fermenting, drying and storing, which covers the cleaning and drying details for that crop.
General drying guidelines:
- Spread seeds in a single layer on a ceramic plate, glass dish or screen. Paper plates work, but wet seed can stick.
- Dry in a shaded, well-ventilated indoor spot at ordinary room temperature. Avoid direct sun, ovens and dehydrators, which can overheat and damage the embryo.
- Allow roughly one to two weeks, longer in humid weather. Large seeds like beans, squash and pumpkin can take longer than small ones.
- Test dryness by bending or striking. A dry bean shatters when hit with a hammer rather than smashing or denting. Small seeds should snap rather than bend.
- For extra insurance in humid climates, a small amount of desiccant (such as silica gel packets) in the container helps. Keep it separated from the seed by paper.
If you are just getting started with saving your own seed, our upcoming seed saving for beginners guide will help you choose which crops to try first.
Best containers for seed storage
The container’s main job is to keep humid air out. A good one is airtight, rodent-proof and easy to label.
| Container | Pros | Cons |
|---|---|---|
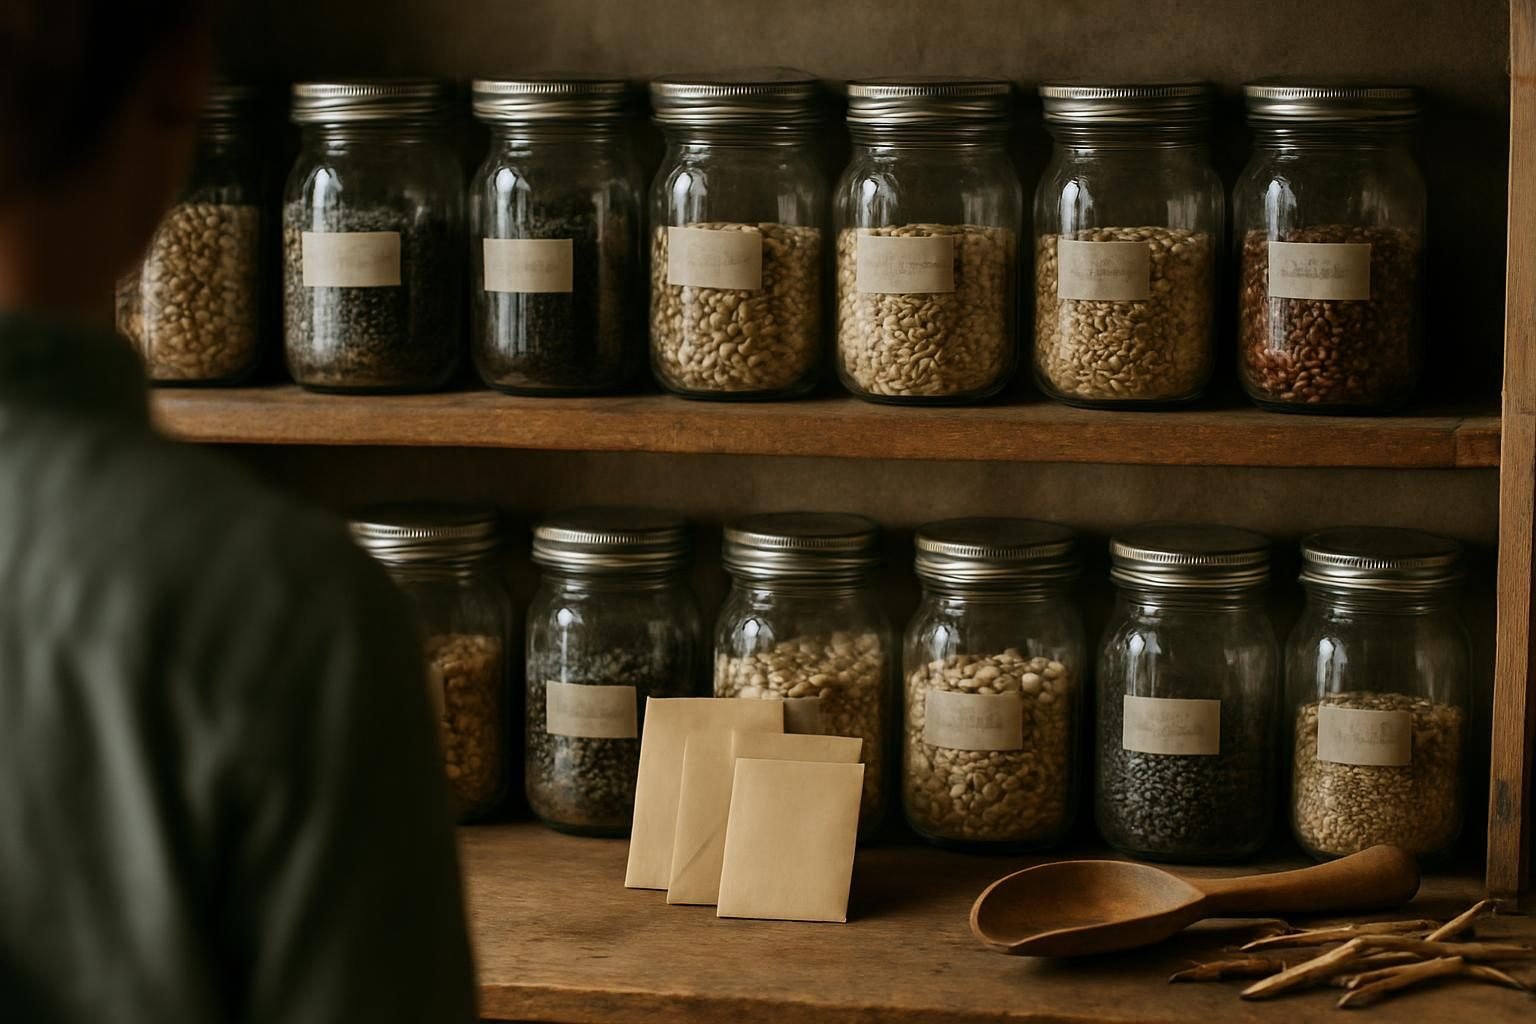
| Glass jars with tight lids (canning jars) | Airtight, reusable, rodent-proof, easy to see contents | Heavy, breakable, transparent so keep in the dark |
| Heat-sealed or zip foil pouches | Good moisture barrier, light-blocking, space-efficient | Harder to reopen repeatedly, can puncture |
| Metal tins with gasket lids | Durable, opaque, rodent-proof | Seal quality varies, can rust |
| Paper envelopes alone | Cheap, breathable for short-term, good for labeling | No moisture protection, use inside a sealed outer container |
| Plastic zip bags alone | Cheap and convenient | Not reliably airtight, can trap moisture if seed is damp |
A practical system for most growers: seeds in paper envelopes or small paper packets (so they can breathe out any residual moisture and are easy to label), placed inside a larger airtight jar or tin, with a desiccant packet if you live somewhere humid. Label every packet with the crop, variety, year harvested and any notes.
Where to keep them: fridge, freezer or closet
The refrigerator is the best option for most small farms and homesteads. It is cool, dark and stable, and a sealed jar of seed fits easily on a shelf or in a door bin. Let the container reach room temperature before opening it, so condensation doesn’t form on cold seed.
Freezing can extend life further for long-term storage, but it works only if the seed is very dry and the container is truly airtight. Freezing seed that is even slightly damp can cause ice crystals to damage the embryo. For most growers storing seed for a few seasons, the refrigerator is plenty, and a cool interior closet is a reasonable second choice. Check with your state’s extension service for region-specific advice, particularly if you maintain seed collections long term.
How long seeds last by crop
Viability depends on the crop, the quality of the seed lot, and how it was stored. The ranges below are typical figures for seed kept cool and dry. Treat them as planning estimates, not guarantees. Individual seed lots vary, and stored seed often germinates at lower rates than fresh seed even when it still sprouts.
| Typical viability | Crops |
|---|---|
| About 1 year (short-lived) | Onion, leek, parsnip, many herbs such as parsley, and spinach in warm storage |
| About 2 to 3 years | Carrot, sweet corn, pepper, beet in some conditions, lettuce in warm storage, many flowers |
| About 3 to 5 years | Beans, peas, brassicas (cabbage, broccoli, kale, turnip), tomato, squash, pumpkin, cucumber, melon, radish |
| Often 5 years or more | Lettuce stored cool and dry, tomato, cucumber, many brassicas and squash under ideal conditions |
Some patterns hold up across crops. Large-seeded legumes and cucurbits tend to store well. Onion-family and umbel seeds (carrot, parsnip, parsley) tend to lose viability sooner. Seed from open-pollinated heirloom varieties and from commercial lots follows the same general rules, but a seed lot that was harvested or dried poorly may not reach these ranges.
If you grow pumpkins or flowers for saving, our upcoming guides on how to save pumpkin seeds for planting and how to save zinnia seeds cover harvest and drying for those crops specifically.
How to run a simple germination test
Before you plant a bed or fill a seed tray with old seed, a quick germination test tells you whether the seed is worth sowing and how thickly to sow it. It takes about a week or two and costs almost nothing. When you’re ready to plant, no-till garden beds are an excellent option for establishing new growing space.
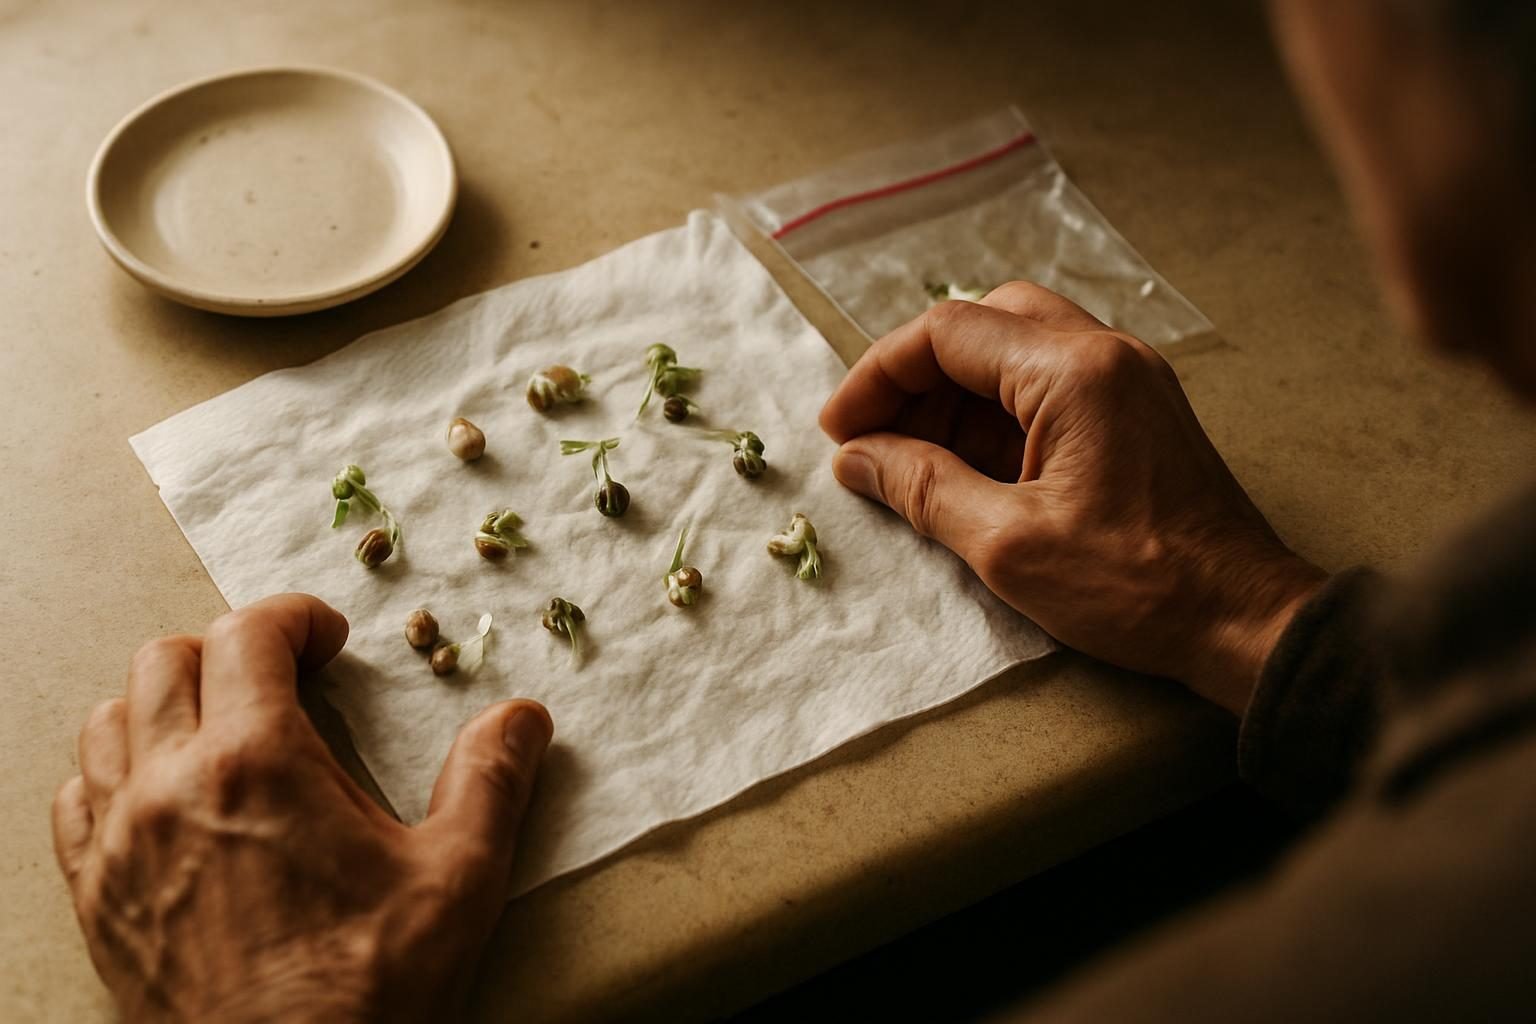
- Count out 10 seeds (or 20 for a more reliable result) from the lot you want to test.
- Moisten a paper towel so it is damp but not dripping. Lay the seeds on one half and fold the other half over, or roll it loosely.
- Place it in a labeled zip bag or on a plate loosely covered, and keep it somewhere warm, typically around room temperature. Heat-loving crops like peppers and tomatoes do better in a slightly warmer spot.
- Check every day or two and keep the towel damp. Note the date each seed sprouts.
- Count sprouted seeds after the typical germination window for that crop (about a week for lettuce or radish, longer for peppers or parsley).
- Calculate the rate. If 8 of 10 sprout, you have roughly 80 percent germination.
Use the result to decide what to do. A rate in the range of 80 percent or better is generally considered good for most vegetable crops. A rate of roughly 50 to 70 percent means the seed is still usable, but you should sow more thickly to compensate. A very low rate means it’s time to replace the seed. Some crops, like parsley or certain flowers, germinate slowly or erratically, so give them enough time before judging.
Common storage mistakes to avoid
- Storing seed in a hot garage, shed or vehicle.
- Sealing seed that is not fully dry, which invites mold.
- Opening cold containers in warm humid air so condensation forms on the seed.
- Skipping labels, then losing track of variety and harvest year.
- Leaving seed where mice, weevils or other pests can reach it. Beans and peas are especially prone to weevils, and some growers freeze them briefly in a sealed container as a precaution.
- Assuming old seed is dead without testing it.
Building seed storage into a regenerative system
Saving and storing your own seed is more than a cost saver. Over several seasons, locally saved seed adapts to your soil, climate and management, and it gives you resilience when supply chains tighten or favorite varieties are discontinued. It pairs naturally with the practices in our guide to small-scale regenerative farming on under five acres, where a diverse, low-input system benefits from seed you can rely on.
If you are growing for income, good storage also protects your investment. Seed for market crops is a real line item, and our overview of the most profitable crops for small farms and market gardens is a good place to think about which varieties are worth buying in bulk and storing carefully. For more guides in this area, browse the full Small and Urban Farms category.
Healthy seed starts with healthy soil and plants, too. Seed saved from vigorous plants grown in living soil tends to start strong, which ties back to the principles in our complete guide to building living soil. If you are planning your first full growing season, our step-by-step plan to start a market garden shows where seed purchasing and storage fit into the schedule.
Key takeaways
- Cool, dry and dark conditions matter most. Keep seed in an airtight container in the fridge or a cool, stable interior spot.
- Dry saved seed thoroughly before storing it, and never use heat to speed the process.
- Typical viability ranges from about 1 year for onions and parsnips to 5 years or more for many squash, brassicas and tomatoes, but treat these as estimates.
- Paper packets inside a sealed jar or tin, labeled with crop, variety and year, is a simple and reliable system.
- A paper towel germination test takes about a week and tells you whether to sow, sow thicker or replace the seed.
Frequently asked questions
What is the best way to store seeds long term?
Dry the seeds thoroughly, seal them in an airtight container such as a glass jar or foil pouch, add a desiccant packet if you live in a humid area, and keep them somewhere cool, dark and stable. A refrigerator works well for most growers. Label each container with the crop, variety and harvest year, and test germination before planting older seed.
Can I store seeds in the freezer?
Yes, if the seed is very dry and the container is truly airtight. Freezing can extend viability, but moisture inside the seed can form ice crystals that damage the embryo. For most home and small-farm use, the refrigerator is simpler and carries less risk. Let sealed containers warm to room temperature before opening to prevent condensation.
How do I know if old seeds are still good?
Run a germination test. Place 10 to 20 seeds on a damp paper towel, keep them warm, and count how many sprout over the crop’s normal germination window. If roughly 80 percent or more sprout, the seed is in good shape. A lower rate means you can still plant it, but sow more thickly, or replace the seed if the rate is very low.
Do seeds need to be stored in the dark?
Darkness helps slightly, but heat and moisture do far more damage than light. An opaque container, a closed cabinet or the back of a refrigerator shelf handles it easily. If you use clear glass jars, simply keep them out of direct sunlight.
Should I keep seeds in paper envelopes or airtight containers?
Use both. Paper envelopes make labeling easy and let seed breathe, but they offer no protection from humidity on their own. Put the envelopes inside an airtight jar or tin, ideally with a desiccant packet in humid regions, so you get the organization of paper and the moisture protection of a sealed container.